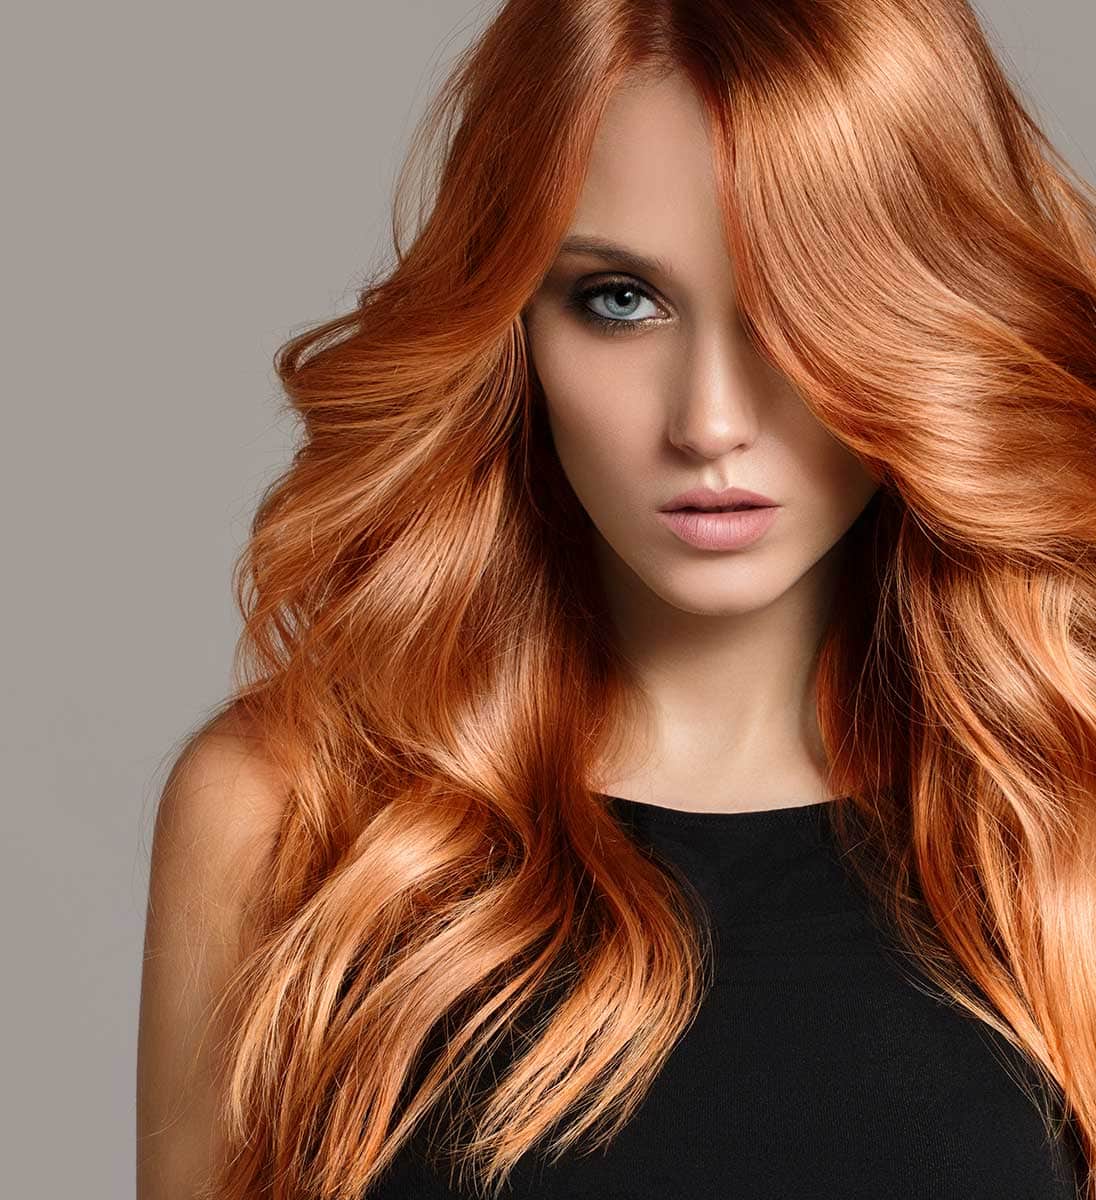
Short shag haircuts are great for women at any age. They are fun, spunky and can be adapted across different hair types like thick hair or fine hair. It can be a straight or curly shag with curtain bangs or side swept bangs. It's a versatile cut that compliments various face shapes as well. The key is considering the different hair types and adjusting cutting techniques to make it just right.
This short shag with bangs is a short length shag. While we may be more used to seeing longer shags with layers, the short shag is a style that's popular as well. If done right, you can rely on the hair's natural texture rather than hair products to make it look right. You shouldn't need a curling iron or flat iron to style it. Watch this tutorial and follow along with the transcript.
Short Shag with Bangs Tutorial:
Welcome back to Jatai Academy. I'm Russell Mayes, Director of Content. Today we're going to be doing a short shag. Now the short shag is just a combination of a Chelsea haircut and a pixie haircut because you have the short shape overall, but you have this long kind of tendrilly softness that hangs over the ear and in the back of the head. It's not a shaggy bob.
But what makes this haircut really a shag is the separation that you get from using a razor. We're going to use our Feather Plier to make sure we channel and fine-tune each section to make sure it lays right and fits perfectly before we move on to the next one. So, I'm going to show you how to do that from start to finish. So, let's get started.
Establishing the Length
So, we're going to get started with a center parting all the way down to the nape. Then, I'm going from the occipital bone to the mastoid, which is that bump right below the ear. And that's going to give me one whole panel to deal with.
Now, her hair is pretty thick. So, I'm going to start splitting this panel into smaller pieces so that I can easily cut this with the razor because if it's too big a section, the razor is not going to cut very effectively. And I'm going to start here with my Feather Plier Razor. That is a guardless razor, which gives me the cleanest cut and the most control over cutting of each section.
And I'm just going to go through and determine my length by pulling everything straight down, taking a very broad razor stroke. Now her hair has this, it's a coarser texture, right? And it's got a little bit of wave to it. So, I have to really pay attention and be mindful of the way that the hair reacts after I cut each section.
So, you're going to find that when I'm doing this haircut, it's as much about me fine-tuning the shape as it is to me just going through and applying a basic technique of cutting a round shape. Cuz that's all this shape is going to be and this short shag is just a round shape with a little bit exaggerated length over the ears and in the nape. But what makes it pop is the ability to fit it in to where it naturally flows with the way that her hair wants to move.
So I'll comb my section, determine my length, and then I'll go through and deep channel so I can get some separation to happen naturally so that when she washes it, she doesn't become product dependent to make the hair separate. I'm cutting that separation into it.
Now, right here, it's a little thicker right there. So, I'm going to take that hair right on the tendril a little off so it lays a little flatter and that hair on top of it can hang over that. And I'm just fine-tuning it until I get it just right.
Building Graduation
Now, we're going to take the rest of that section and instead of holding it horizontally, I'm going to hold it vertically. By holding it vertically, that's going to allow me to start building a little bit of graduation to it. And I'm leaving it longer than the hair that I cut underneath.
So by leaving it longer than what hair I cut at the nape, it's going to allow that shape to collapse a little bit and not build up so much fullness. So, I'll go through, cut my vertical section, see how it falls, and then start adding texture as I see fit. And then I'll just continue my previous guide in the middle and start walking that guide over to the right.
Now you'll notice that on some of the sections I will just flat cut the length and then some of the sections I'll channel cut and then cut the length. What determines that is how thick the section feels. If the section feels very thick, I'm going to go through and channel cut and take the length off. If it doesn't feel overly thick, I'm just going to cut the length off and then go back in and start applying my texture.
So, there's two schools of thought when it comes to cutting hair. There's the real technical aspect of it where I'm going through and taking real clean sections and clean partings and I'm building my shape like I'm designing architecturally. I'm designing the shape. And then there's the free form method or the visual method, which is more of a French aesthetic where you visually look at the hair, see how it falls, and then you modify the haircut visually, not based upon some sort of architectural structuring that you're designing the haircut with a pattern.
So in order to be great at cutting hair, I feel you have to master both the technical way of doing hair and then the visual free form way of doing hair. So this haircut here with the razor is kind of a combination of both. I have a structure in mind that I'm cutting which is this graduated underneath a little round layered shape. And then I'm visually going through and applying my cut, taking out hair where it needs to be taken out of and leaving hair where it needs. And so visually going through and modifying that structured haircut to get it to flow the way that I want it to flow.
Now, I've just been walking my guide over to the side, taking a look at it, and then modifying the shape as I need to with whatever texture needs to be modified. We're going to start in the middle there. I'm using my middle guide as my length guide. We'll channel and then cut my length, and then I'll fine-tune it as I see fit.
Now, working with the Feather Plier Razor, it is very sharp and it cuts beautifully well, but you can't cut a really thick section. So, because the razor is fairly lightweight, I have to respect the lightweight and use my scissor motion to cut. I can't use the weight of the razor to go through and cut. I have to use the movement to cut. And that forces me to deal with smaller sections, which forces me to deal with a more detailed shape.
Now, we're going to go through and start applying a little bit of texture here, making sure everything fits in. There we go. That's looking pretty good. And also, this blade is very, very sharp. And because it's sharp, it allows me to go through and effortlessly cut and remove whatever hair I need to remove without a whole lot of force and a lot of pressure.
Now, as the blade dulls, it starts to push the hair and I have to work at cutting it and it starts to take my focus away from what I'm doing. And when I notice that, that means it's time to change the blade. So, just change the blade. Some hair forces it to get duller faster.
Give us a thumbs up, click subscribe, and the notification bell to be notified of future Jatai Academy content.
Center Back of the Head
Now, we're going to move on to our next section once I feel I have that entire flat section, the nape taken care of. And here, I'll go through and take a section from the drop crown right to the high point of the ear. This is the center back of the head. I'm taking my guide from underneath. I'm pulling this vertical section straight out from the head and I'm cutting it straight up and down.
I'm no longer graduating this section. I feel that because her hair is so thick. If I start graduating this section, it's going to start building up kind of a shelf look and it's going to start to look very very thick. And that's the thing about cutting a shorter haircut, a shag or a pixie on thicker hair is I want to avoid that mushroomy type of shape.
So by pulling it straight out from the head and cutting straight up and down vertically, I'm not increasing length as I get to the crown. It's all the same length, same head shape as I go up. So the nape section I graduated to make sure I kept that natural head shape and then from there, I start to layer the section.And I'm doing the same methodology I was doing before where I cut in the center. And then I walk my guide to the ear. And then I'll go to the center and walk my guide to the ear on the opposite side.
After I've got that done, I'm going to check it out and see how it flows. Is there anything that's sticking out that I don't like that feels asymmetrical, it feels too disheveled? And then I'll modify the basic shape. thin. After I do that, I'll go through and start applying my channel cutting so I can remove weight and force the hair to separate. And I just want to be very, very methodical as I'm going through and I'm applying my deep channel cut to each section.
I don't lift up a guide from the previously cut section when I'm applying my texture. Each section is only going to be texturized once. And then I'll modify as needed after I've cut the entirety of the panel. This whole panel here, this second panel I'm working on, after I texturize the whole thing, I'll shake it, look at it, and then modify and add more texture where I need it.
It's always easier to go through and add more texture and take out more weight than it is to put it back if you've taken too much. So, I want to be mindful of that. I want to be respectful of that and be careful. There we go. That's laying down very nice.
Now, we're just checking the weight and checking the texture, checking the movement. And I'm liking the way that that's flowing. I like that little bit of length that we have at the nape. A little bit of tendrilly pieciness.And I think that when she washes and just puts some cream in it, it'll be really nice. This kind of flippy pixie you know, shagg-ish type of shape. It's almost the back kind of reminds me of that waif-ish pixie that was very popular in the 80s, but because we're leaving the sides longer, too, it makes it more of a short shag.
Now, we're going to take the next panel, which is the quarter part, high point of the head to the top of the ear. That's the entire back of the head. So, now I'll do the exact same methodology I was doing before. Pull everything straight back. Cut it straight up and down. So it leaves me a little bit of length at the top of the head, but it takes that bulbous weight out in the center back so I don't get that kind of mushroomy type of shape that can become very very prevalent on super thick coarse hair.
Removing the previously cut guide, I have guide number two and then guide section number three. Comb those together as I walk my guide to the left side. Sorry, my head got in the way there and just lay the razor against it and try to keep the same stroke size for every section around the entirety of the head so I maintain some symmetry and some consistency in my texture that I'm applying on the ends.
Now, we're going to take everything, work it over to the ears, and I think that that's shaping up pretty good. And you'll see that because I'm pulling this straight out from the head, it's leaving that length right there at the ear. So, I'll have that little bit of shaggy shape over the ear. I don't have to worry about cutting it out. I can cut it out if I want, but I don't need to.
Around the Ears
After I've cut the whole back, I'll go through and take a section on the side. I'll pull that forward at a diagonal parting and then determine my length going a little shorter towards the nose and a little longer right there at the ear. And I'll fit that in as I see fit.
And there is a fly flying around there. It was driving me crazy. And how a fly got in the salon, I have no idea. But anyway, we're going to take the first section. We've cut that to fit in. Now we're going to take the second section, very very broad stroke to keep that kind of tendrilly texture from the front right over the ear so it doesn't get bulky.
The broader that this stroke that I take, the softer that the end result will be. Then there we go. That's looking pretty good. Check that out.
See how it falls over the ear? If I need to add more texture, I'll add more texture. But I think that that's looking pretty good.
The Fringe
After I've done that on both sides, I will now take the first section right at the bump of that front of the hairline where I would take the bangs to the top of the ear. I'll pull that hair forward. Determine where I want my shortest piece of my layering and fringe around the front to fall. And I want this to hit just above the nose.So, I'm going to leave it a little longer than the nose so that as it dries, it shrinks up and pops up a little bit. Then we're going to take a little bit right in the middle and channel that a little bit shorter.
So, but since it's shorter in the center, it's going to force it to flow out of her face. And we can see a nice amount of movement that's happened right there. Now, I'm going to take that piece and blend it to the section that I have already cut right over the ear.
I'm taking a deep channel cut and then cut my length. And this is just purely visual cutting. I'm seeing where my length is from my short piece and then my length that I'm going to. And then I'm just carving that in.There's my piece that just fell out on my finger. That's my guide. And then I'll just blend that into the piece that I cut right around the front around the fringe and keep going until I get everything dialed in exactly like I want and to where it moves and flows beautifully on its own that I don't have to force it into shape. And that's looking pretty good. I like that that length that around the ear is separating like that.
Deep Channel Cutting
Now, we're going to take another parallel section right behind it using my previously cut guide and then go through channel cut that length off to make sure that nothing's going to hang over that front. So, the key point to this is to just make sure I have that deep channel cut to force some separation and to keep it from getting lumpy. The broader the stroke, the less lumpy I'm going to get. Every section that I take, I will comb and see how it fits into the rest of the haircut.
Here's the rest of the hair. I'm pulling that forward, doing the exact same thing I was doing before, and following the previously cut guide. She has got a mountain of hair and I love it. I think it's great. I like the color, too. She's doing henna on it. So, this lighter pieces of henna is where she's gone a little bit of gray. And so that henna just makes it look like a highlight, which I think looks really cool. Everything's fitting in around the front, right? Nice. I like that.
Follow us on your favorite social media @JataiFeather
Checking everything, making sure it fits in properly. And I like the way that's looking.
Round Out the Layering on Top
Now, let's go through and because I was pulling everything to the sides and then to the back, I left a corner on the top. I just want to go through and round out my layering on the top.
So, I'm going to take a mohawk section from the front all the way to the back. And anything that hangs out, I'm going to cut off. I'm going to keep the same kind of razor texture that I was doing before. And here, I will slow down and methodically apply my cut. I'm not trying to just power through it. I'll slow down because the insides of my finger are very delicate and I don't want to cut them.
So, I'll be respectful of the cut, respectful of the razor motion as I hold through and do this. Now, when you first start doing this kind of layering where you're cutting on the inside of your hand, it's a little frightening. So, I may start with the Feather Styling Razor, which has a built-in guard, so I don't have to worry so much about cutting myself, and I can get the motion and the practice of doing the cut without the fear of having to cut myself.
But eventually, you'll move to a bladeless, I'm sorry, a guardless razor, and that gives you a lot more control. Now, we're just going to go through and blow it dry and style it and make sure we get a little bit of paste on it to get some separation and some pieciness. And a little bit of smoothing cream as well. I like it. It looks good. You can also let it air dry but we're blowdrying to speed up the process. You don't need texture spray or a round brush for this haircut.
Final Look
Here's our end result of this razor cut shag. And I think we've really got this shape dialed in. We've got the right texture. We've got the right amount of separation. The haircut fits. It's really a neutral shape. And it's all about getting the right texture channeled into it very deeply with the razor and making sure each little layer and each section fits before we move on to the next.
And when you have coarse hair like this, it demands a lot of fine-tuning to make sure it just flows right. You're not just going to power through this haircut. You need a lot of fine-tuning and detailing to make sure it fits not only her head shape, but also her hair texture and gives you the separation that you want. Try out this low maintenance shaggy haircut with bangs.
Check out the Jatai Academy. There's all kinds of fantastic information on there that will make you a better hairstylist and barber. Let us know what you'd like to see in the future. Thank you so much for watching and we will see you next time.

 HAIRSTYLIST
 BARBER
 NAIL TECH
 ESTHETICIAN
 CONSUMER
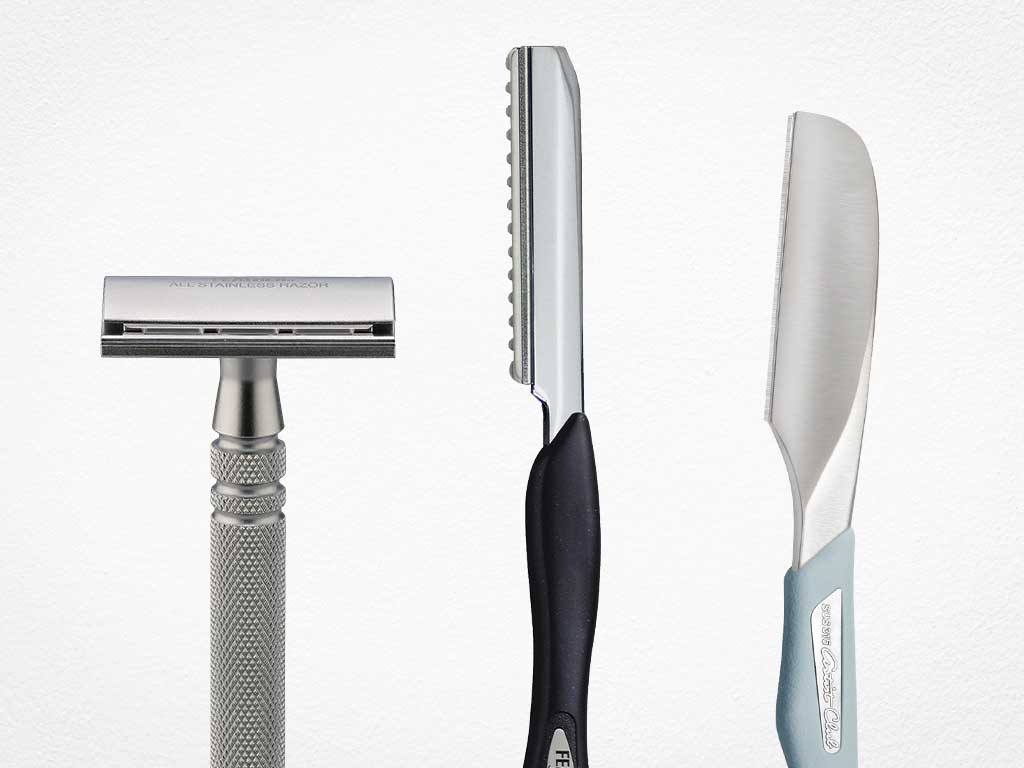 RAZOR HANDLES
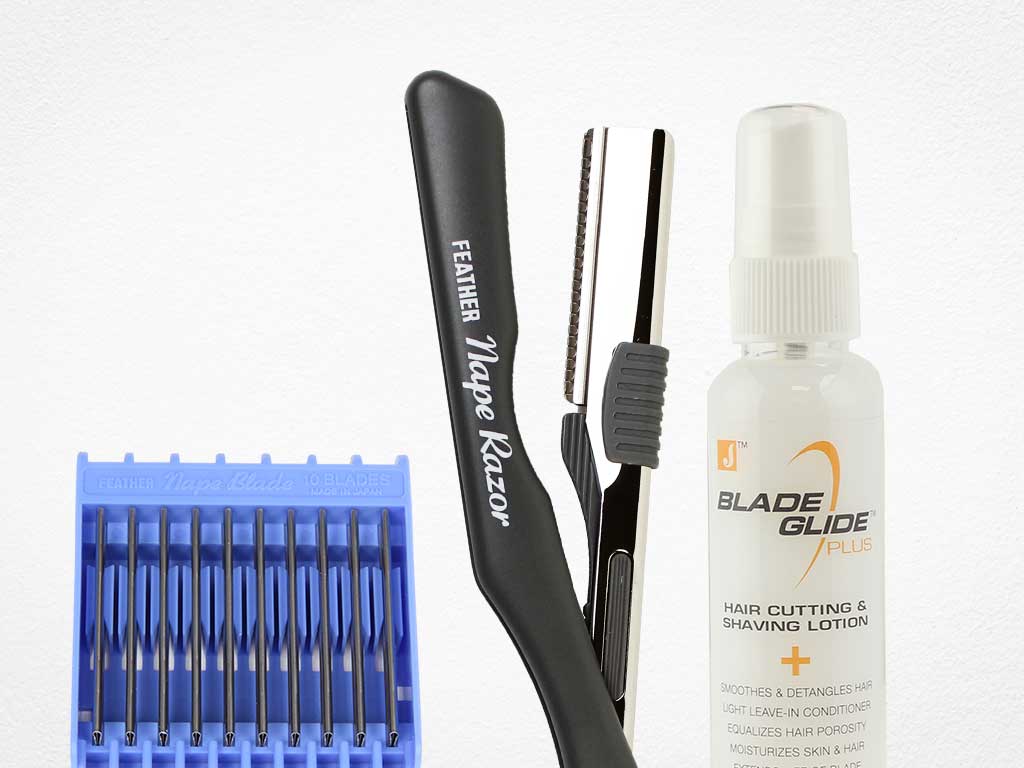 RAZOR KITS
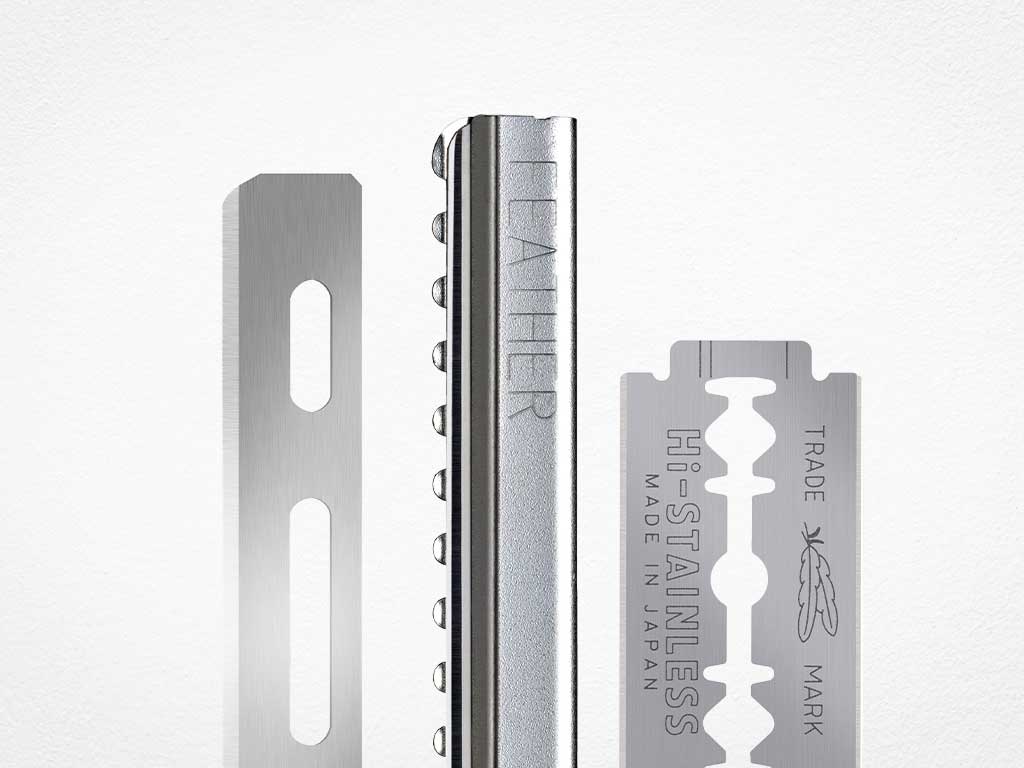 RAZOR BLADES
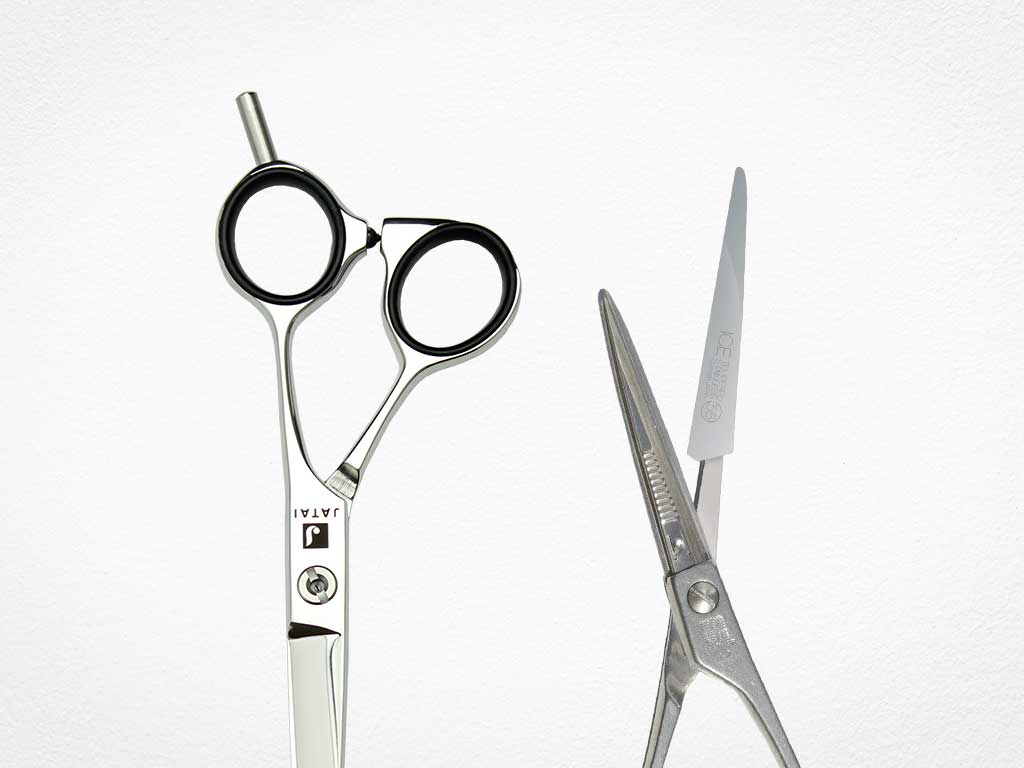 SHEARS & SCISSORS
 END PAPER
 COMBS & BRUSHES
 LOTIONS & CREAMS
 ACCESSORIES
 NAIL CARE
 TWEEZERS
 EYELASH
 HAIRCARE & SHAVING
 SKINCARE
 KITS & SETS
 SPECIALTY


 Filter


