-
SHOP BY
-
 HAIRSTYLIST
-
 BARBER
-
 NAIL TECH
-
 ESTHETICIAN
-
 CONSUMER
SHOP BY
ProfessionBrands -
-
HAIRCARE & SHAVING
HAIRCARE & SHAVING
 RAZOR HANDLES
 RAZOR KITS
 RAZOR BLADES
 SHEARS & SCISSORS
 END PAPER
 COMBS & BRUSHES
 LOTIONS & CREAMS
 ACCESSORIES

-
PERSONAL CARE
PERSONAL CARE
 NAIL CARE
 TWEEZERS
 EYELASH
 HAIRCARE & SHAVING
 SKINCARE
 KITS & SETS
 SPECIALTY
COMBS & BRUSHES
LOTIONS & CREAMS
ACCESSORIES
SPECIALTY
COMBS & BRUSHES
LOTIONS & CREAMS
ACCESSORIES


7 products
7 products
Sort by:


Du-Boa High Tech Brush
$17.49
Unit price perDu-Boa High Tech Brush
$17.49
Unit price per- Seamless bristles to prevent snagging or cutting the hair
- Rubber cushion base gives great grip and comfort
- Bristle tips will not fall off while brushing
- Well-balanced from end to end
- Solid, durable and long lasting
- Made in Japan
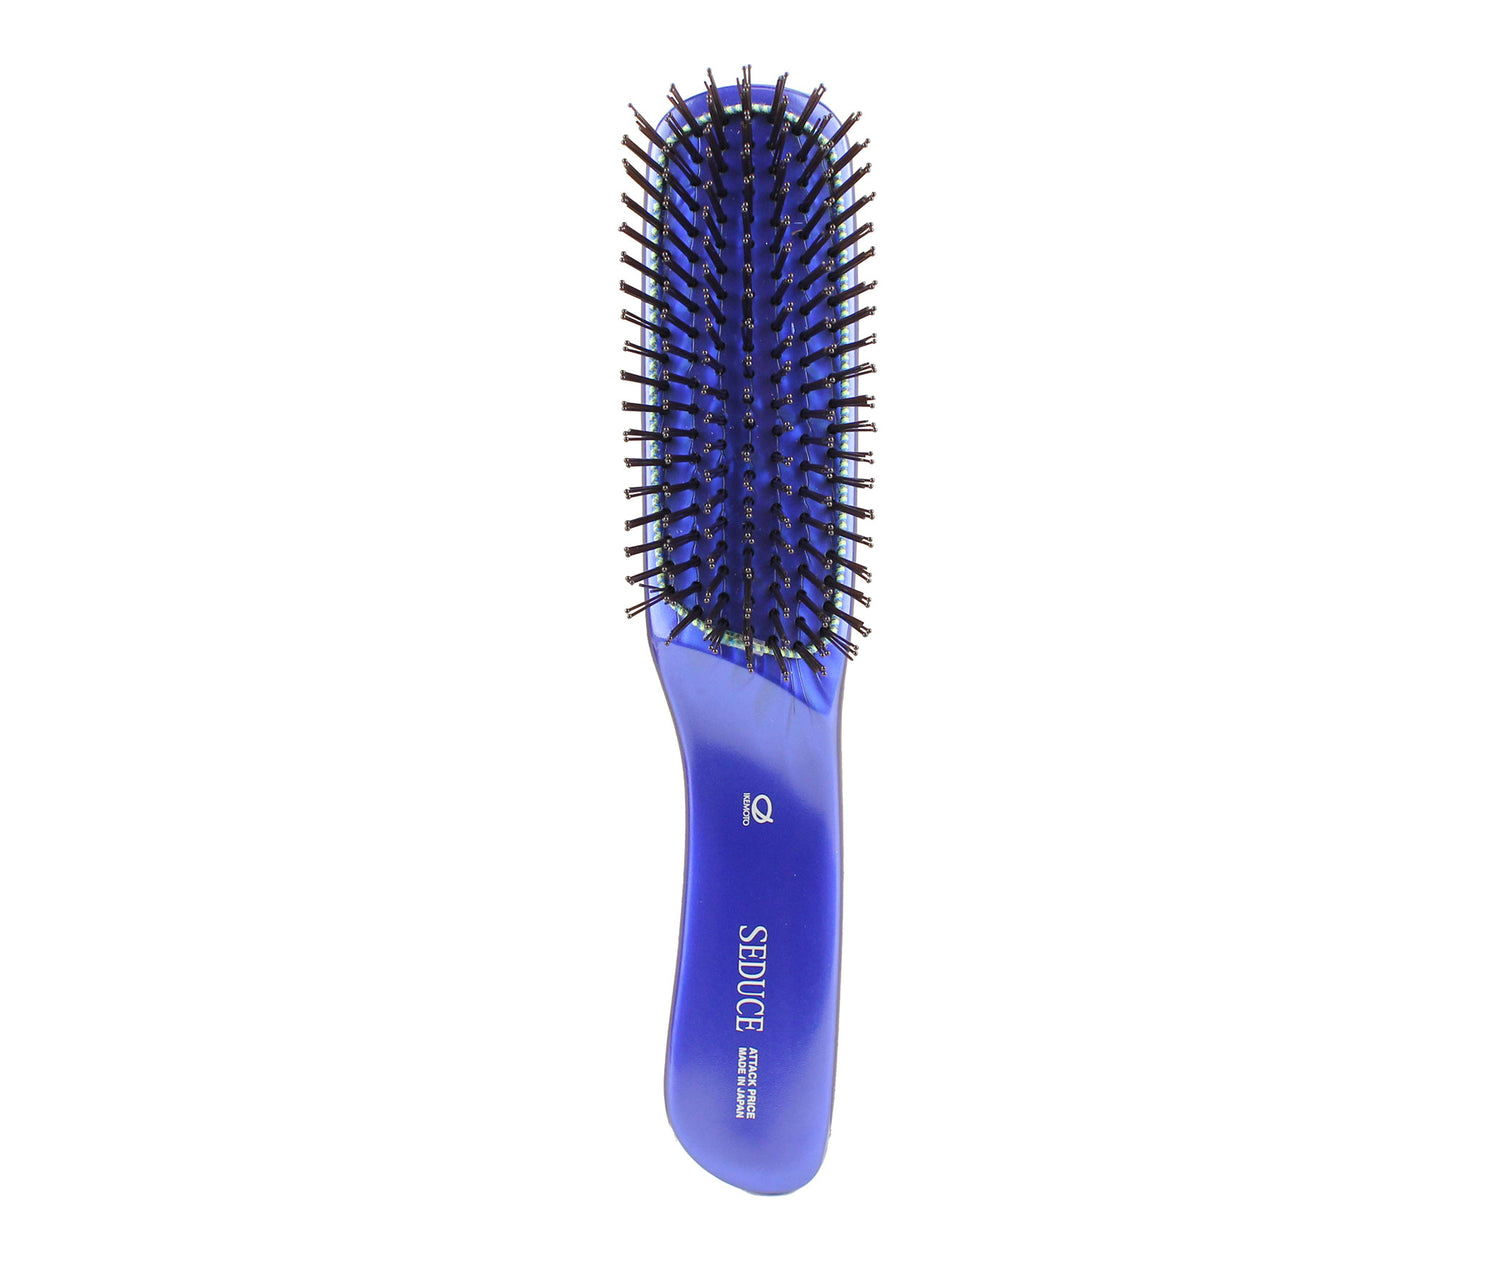

Ikemoto Scalp and Hair Seduction Brush
$10.00
Unit price perIkemoto Scalp and Hair Seduction Brush
$10.00
Unit price per- Softens and smooths out fine, coarse, straight and even curly hair
- Massages and stimulates the scalp for an invigorating experience
- Removes tangles with ease and without pain
- Beautiful, solid blue or red handle
- Anti-static elastic ring to prevent static
- Heat resistant up to 80°C/176°F
- Made in Japan


Du-Boa Anti-Static Aging Scalp Brush
$15.00
Unit price perDu-Boa Anti-Static Aging Scalp Brush
$15.00
Unit price per- Gentle rounded nylon tips can be used comfortably on the scalp and hair
- Clear middle bristles are slightly hard while brown outer bristles are soft
- Short round tip bristles are good for styling and increasing volume
- Long round tip bristles help clean the pores and massage the scalp
- Helps create soft, smooth hair
- Made in Japan


Du-Boa Aging Scalp Brush with Boar Hair
$18.00
Unit price perDu-Boa Aging Scalp Brush with Boar Hair
$18.00
Unit price per- Nylon bristles have soft elasticity
- Rounded tips gently massage the scalp and distribute natural oils from the scalp
- Soft boar hair glides through hair leading to less breakage during styling
- Boar hair creates glossy, beautiful and voluminous flowing hair
- Anti-static elastic ring to prevent static
- Made in Japan


Du-Boa Anti-Static Styling Brush
$10.00
Unit price perDu-Boa Anti-Static Styling Brush
$10.00
Unit price per- Contains olive squalane oil to protect the skin and maintain scalp moisture
- Contains silicone for smooth brushing
- Nasron® (stainless steel fiber) strips remove static while brushing
- Well-balanced from end to end
- Durable pink handle that's easy to hold and maneuver
- Made in Japan
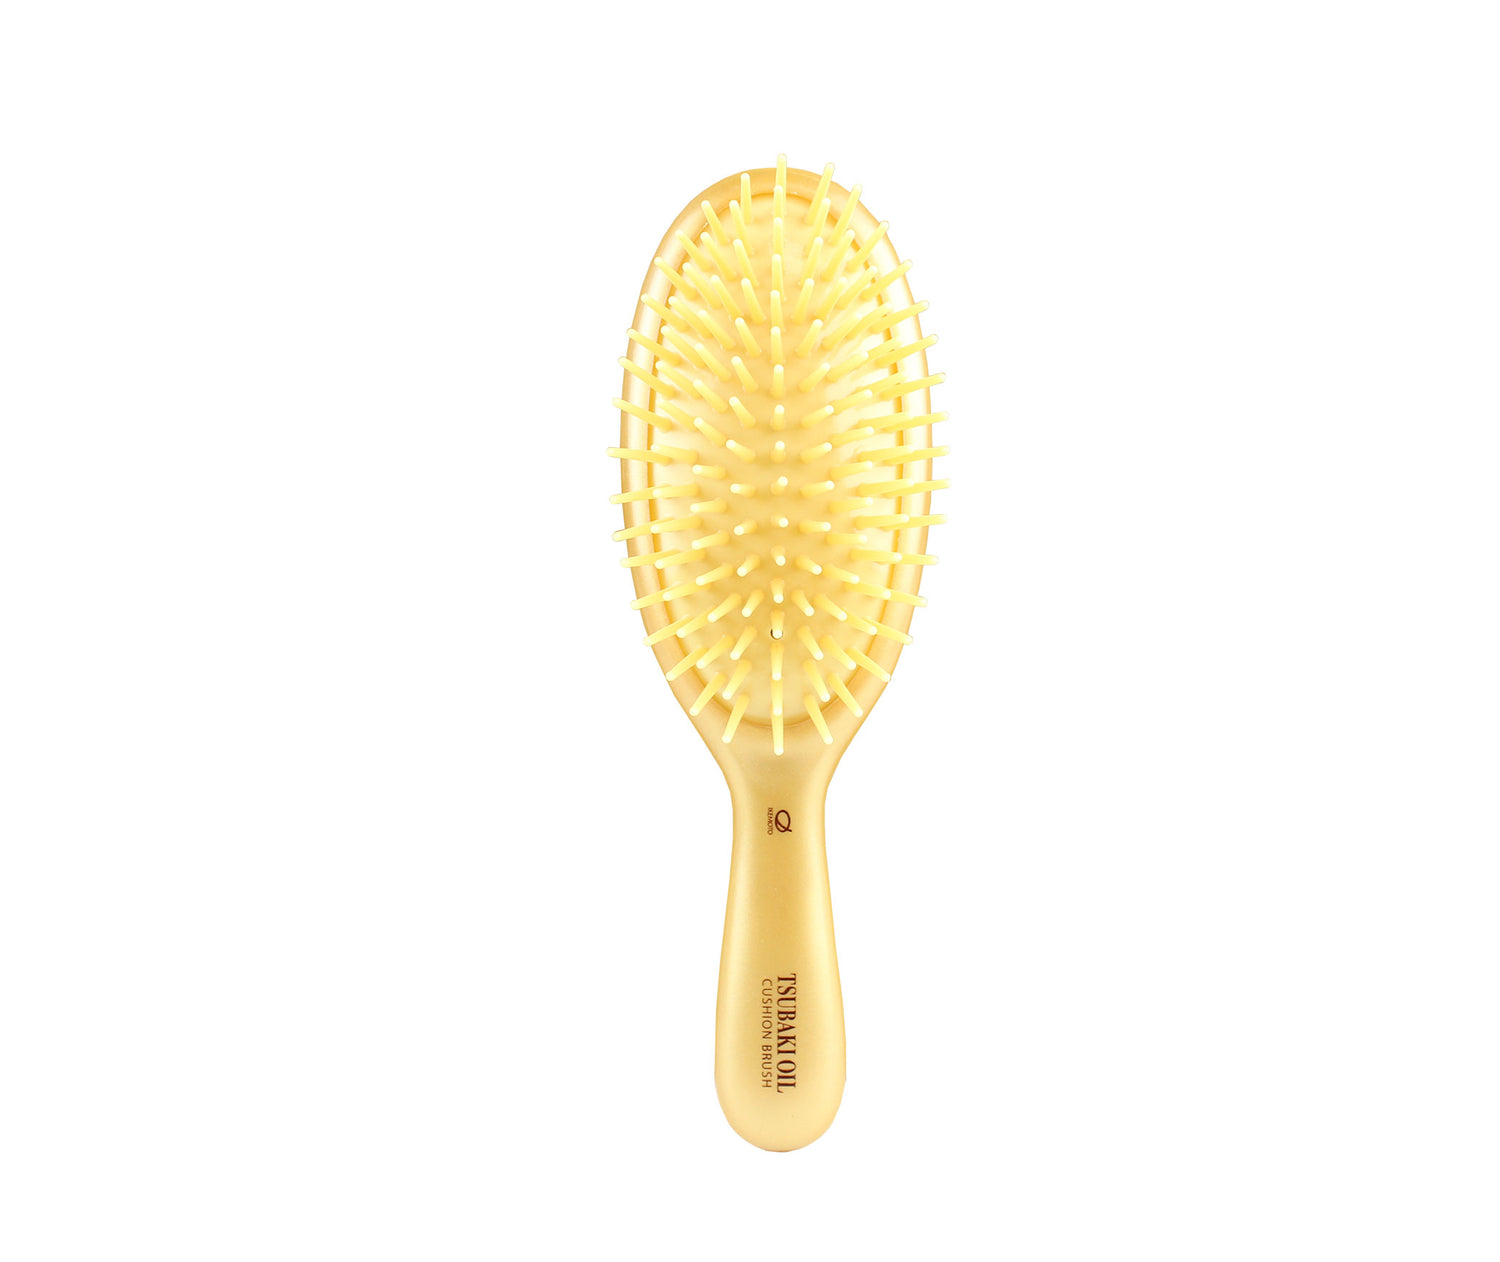

Ikemoto Tsubaki Oil Cushion Brush
$7.00
Unit price perIkemoto Tsubaki Oil Cushion Brush
$7.00
Unit price per- Contains Tsubaki oil (camellia oil) to maintain skin moisture and deliver phytonutrients to the scalp
- Use before shampooing to remove dirt from hair and scalp making it easier to remove when shampooing
- Use after shampooing to gently brush hair and loosen tangled hair
- Improves scalp health, relieves hair stress and leaves beautiful glossy hair
- Small size is ideal for travel
- Can be used to apply conditioners and treatments to the entire hair
- Heat resistant up to 80°C/176°F
- Made in Japan


Du-Boa Facial Brush
$15.00
Unit price perDu-Boa Facial Brush
$15.00
Unit price per- Cleans and exfoliates skin to keep pores clear of dirt and oil
- Nylon bristles stimulate skin circulation for healthy glowing skin
- Gentle for all skin types
- Rubber handle for easy gripping and control
- Made in Japan
RELATED ARTICLES

New Hair Brushes for a New Year

How to Flat Wrap Hair with a Blow Dryer and Brush for Perfectly Straight Hair
Product comparison
"One of my very first graduating gifts from cosmetology was a Feather Razor"