
Bro Flow Haircut Tutorial
by JATAI Academy,
16 Jul 2026
The bro flow haircut is a hairstyle that men gravitate toward when they want to grow their hair out. The bro flow hairstyle is named due to the characteristic back flow of the hair and has roots in the athletic space which gives a surfer or hockey vibe. That's where the 'bro' comes in. Watch this men’s flow hairstyle tutorial and follow along with the transcript below.
Bro Flow Haircut Tutorial:
Welcome back to Jatai Academy. I'm Russell Mayes, Director of Content. Today we're going to be doing the bro flow. The bro low is basically someone who's had a fade. They're sick of it. They want to grow it out into something longer but still look cool.
So, we're going to show you how to apply the right amount of texture to add some flow, to add some fullness without it getting big so we can still get that separation and still most importantly keep it looking cool. So, let's get started.
Creating the ‘Flow’ on the Sides

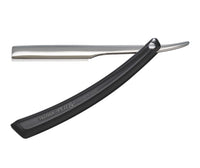
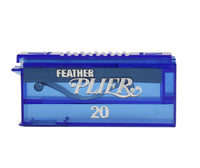
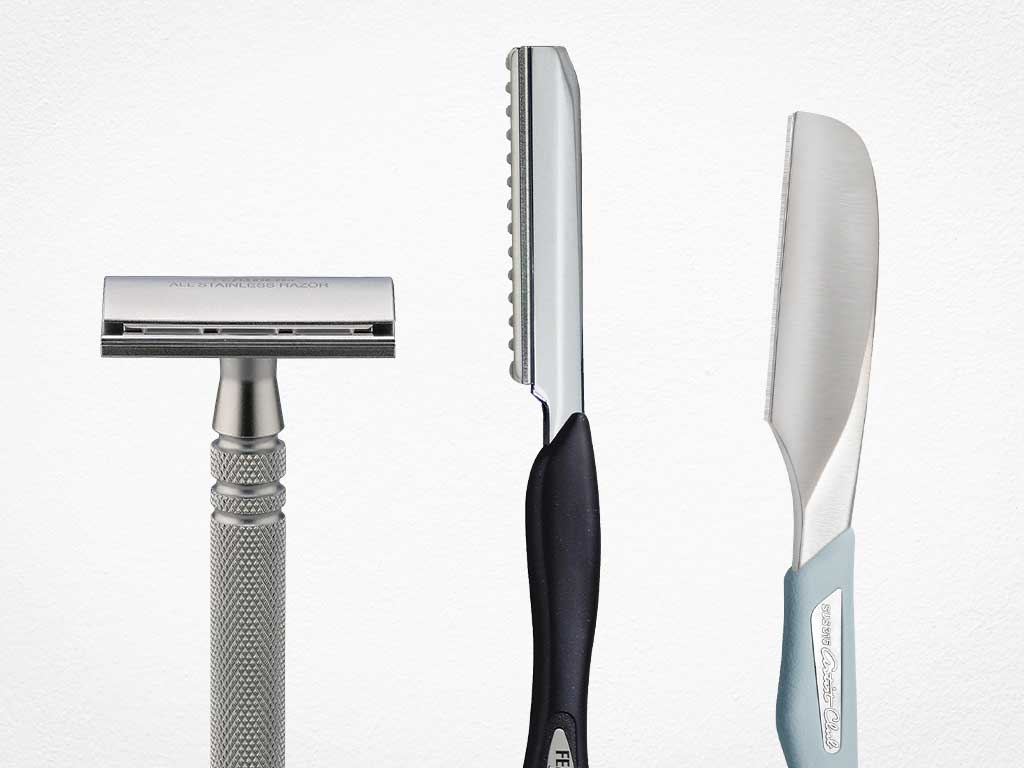
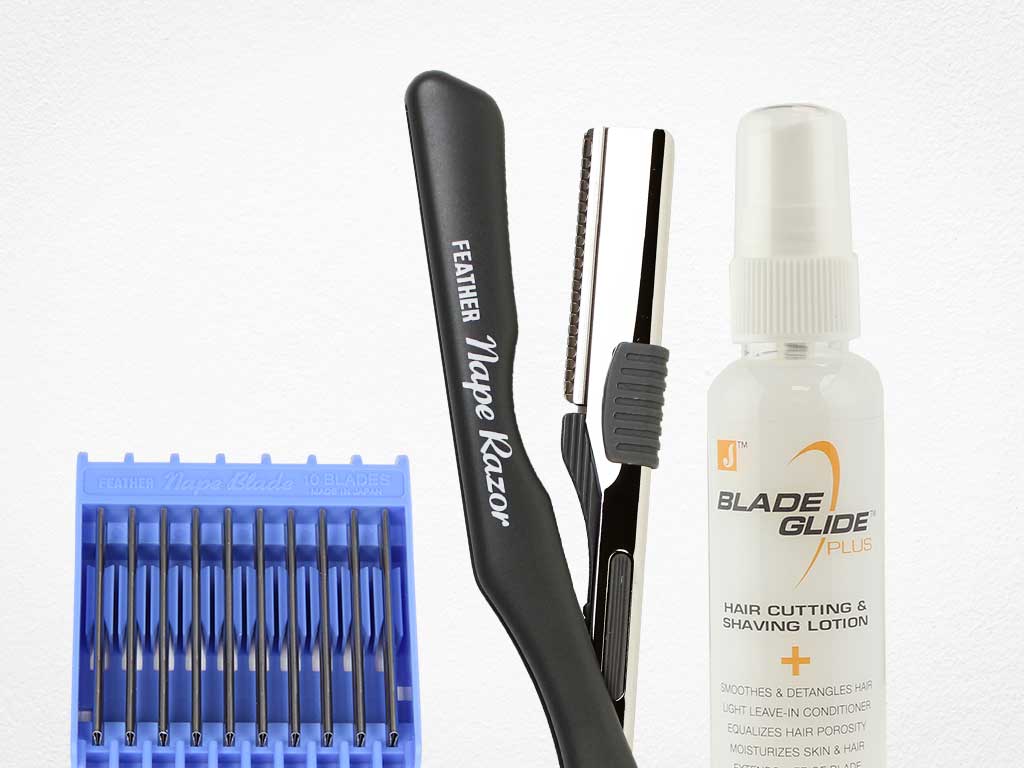
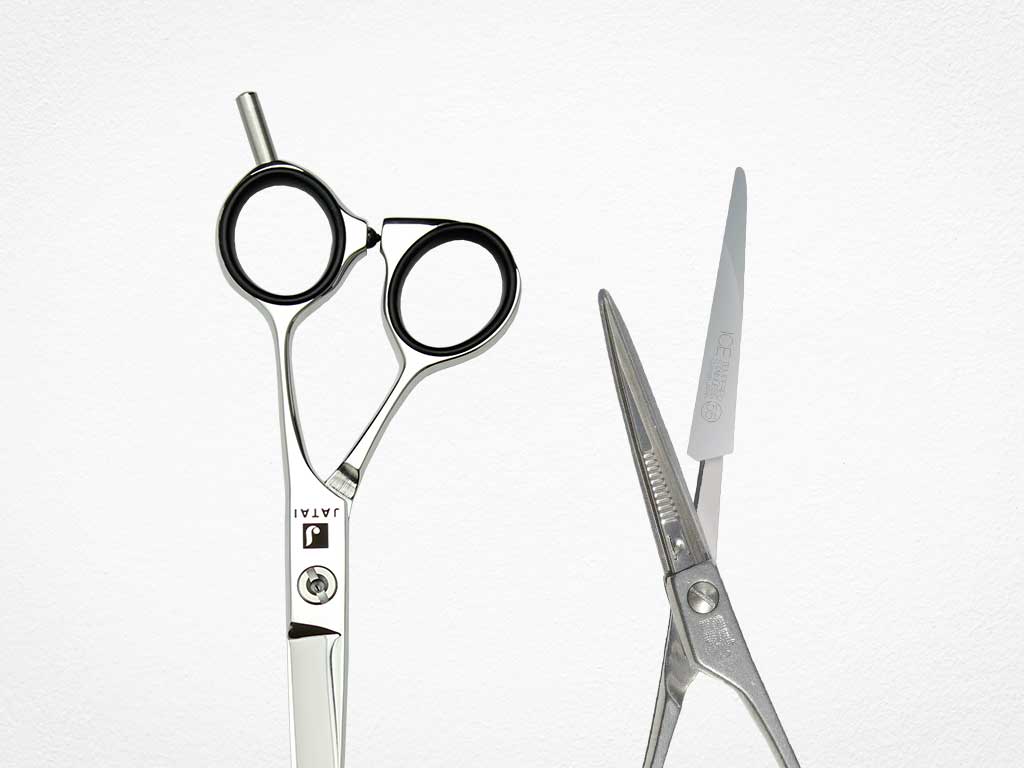
So, the first section we're going to do is we're going to take a section on the side of the head, the center of the recession, straight back to the quarter part, quarter part down to the occipital bone. Now, I'm going to take an angle right at the front and use my Feather Plier Razor. This is a guardless razor, so it gives me the cleanest cut and the most control over my cut line.

And I'm going to pull that forward parallel to my parting or perpendicular to my parting. Pull that forward using the face as my guide to kind of determine what length I want. Cut that down and through. And then I'll take the second section and hold it into the first section right at the front of that first section.
So at the very front of that section, I'm going to hold it straight out from the head. And then I'm going to hold everything from section two into section one. I'll remove section one. You'll see me place my finger. That's exactly where I'm going to hold the hair straight out from the head from. And hold that out. Use that as my guide and cut that down and through. The angle in this is a little awkward, but I am holding it at 90 from the head, right at the front of those two combined sections.
Now, a lot of times when I walk my guide, I'll hold it to the center of both sections. But this one, I'm holding to the front of the section to increase my length as I go from the front to the back. I'll comb that through. See how we're getting our flow?
Because whenever you're cutting hair shorter on one side than the other, that's going to make the hair move or flow to where the longest part is. And I'll just continue to work this same methodology all the way into the back center of the head.
So each section I take, I combine it with the previously cut section and hold it straight out at the front of that previously cut sections parting, pulling everything into that and making it longer in the back. There we go.
We're going to continue to work that down. You'll see me remove my previously cut straight out 90° from the front of those two sections partings using a pretty broad stroke with my razor so I keep everything nice and soft.
Now, if you have someone who has had really short hair and they're growing it out, this is an excellent way to grow it out. Now, obviously, my mannequin head has a lot longer hair and I'm cutting it down, but if they have shorter hair, you're going to follow the same pattern and the same methodology so that I can start to increase the length.
And I think a lot of times when someone has really, really clean short hair, you've got to keep it out of the face. So, having it shorter around the front and longer in the back enables them to have that kind of fuller, longer type of hair without it driving them so crazy around the front.
Checking out the shape. And that's looking pretty good. We're not looking at the length in the back. We'll deal with that later. Now, we're going to go through and blend the top into the bottom. I'll take a horizontal section, hold that out using the length on the sides as my guide, and I'll cut that from front to back. And I'll continue to use a pretty broad stroke so I can keep everything really soft and highly textured.
Follow us on your favorite social media @jataifeather
Blending the Top with the Sides

Now, we're going to continue on with my sections to blend the top into the sides. I'll take my next section and my previously cut guide, previously cut hair as my guide. Holding that out straight across out to the side, using a broad stroke, using my guide from underneath to make sure nothing hangs over on the sides.
Now, if you do have someone who is growing their hair out, usually the top is going to be longer than the sides. So, you can continue to let that overhang and, you know, have an undercut shape until the hair on the top gets long enough or until the hair on the side gets long enough to balance the shape out.
Now, we've reached the center of the head. This is the last section on the top on the right side, making sure nothing hangs over. And we've got a nice amount of texture in it from our broad stroke of the razor.
And just continuing that all the way back until everything blends through. That's looking pretty good. Now we've got the sides and the back and the top all kind of blended together.
Removing Length in the Back

I'm going to go through and remove some of that length in the back because I think it's just too much. Especially if someone's growing their hair out, they're not going to have this much length. So I'll take a center section, hold that straight down, and then use my razor flat against the section and go through and cut my length off.
I'm still using a broad razor stroke so that I can have a similar texture to the rest of the cut. I don't want necessarily on this haircut to have a variance in weight and texture. So, I try to keep the same broad razor stroke throughout the entirety of the haircut.

Holding everything down and just cutting everything one length-ish. It's not going to be completely one length because I am using a razor and a broad stroke. But this gives me a lot of separation and pieciness. And this works really, really well, especially on somebody that has really thick coarse hair. It keeps it from looking broom-like.
Now, if their hair is really, really thick, I'll go through and channel that a little bit to remove some of that weight so it takes that broomy kind of look away from it. Continuing to comb everything down. Anything that hangs over my previously cut guide, I'll just cut that down and through.
That's looking good through there. And taking as much time as I need to make sure everything blends. This haircut and anytime you're using a razor is as much about the look of it. I'm cutting visually and technically.
There's two schools of thought when it comes to cutting hair. There's the real hardcore technical where you're building a structure and your lines and everything's cut real blunt and you're building this architectural type shape.
And then there's the other school which is kind of an artistic type of cutting where you're just visually cutting whatever doesn't fit. So, a razor demands a little bit of experience in both not only the technicality of applying your shape, but also the artistic eye of applying the right amount of texture to make sure everything blends through.
Cutting the Top

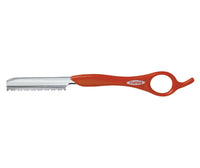
Now, we're going to go through and cut the top. I'm going to take a center section all the way from the front into the center of the back all the way down to the nape. Now, I'm going to use my Feather Styling Razor because if you start cutting hair with a razor, it's easier to do underneath, especially if you're using a Plier Razor with no guard.
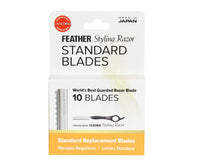
Now, coming up to the top, it's a little scarier. So, I'm going to go ahead and use the Feather Styling Razor is kind of like a little protection so that I don't end up cutting my finger and having to be so delicate.

I'll pull this straight up and anything that hangs out from where my bang section was, I'm just going to round this whole shape out and layer it all the way through. Starting from the front going all the way to the back.
Now, if you're experienced and comfortable using a Plier Razor doing this, I highly encourage you to do that. It will give you a cleaner cut and give you much more control over the broadness of the stroke, the cleanliness of the cut, where the Styling Razor gives me a little bit of protection, but it does take a little bit of control out of the precision that I can apply with the razor.
And I'll cut that all the way from the front all the way through, making sure everything is nice and round in my layering. Now I'm going to take the entire right side of the head, anything that reaches, hold that up into the center, and cut that through.
Now, since there's not a whole lot of hair to cut, I'm just going to lay my thumb gently across the blade, and anything that gets pushed into the blade, that hair will get cut. So, I'm just going through and cleaning that up. And anything that hangs over the center, I'm cutting that off.
That's looking good through there. I like that. And continuing this all the way down through into the nape. Nice round shape through there. I like that. Very good. Now, we're going to go through and do exactly the same thing on the other side.
I'm going to start taking my center section just like I did originally all the way down through the nape. Use that as my guide and pull everything straight up into the center. And anything that hangs over, I'm going to cut off.
Now, there's not a whole lot of layering through here, but this does add a nice amount of airiness to it and increase the amount of movement and flow that we have. Anytime hair is one length, it doesn't move as much. Anytime it's lighter and airier and later, it moves more.
Following our previously cut guide in the center, and anything that hangs over, just cutting that all off. Now, let's go through and since we pulled everything to the sides, we're going to have a little point right in the front. I want to take some of that point off so it doesn't become so predominant and force the hair to flow towards the face.
Removing the Point

So, I'm going to take that point off, that tip off, and then just go through and bevel that and blend it into the sides as much as I can. I'm not trying to make sure that everything is perfectly blended into the sides because you can see it gets a little shorter, but I definitely want to take that point off from the very, very front. Take a little bit of weight out through there to make sure it doesn't hang separate from the rest of the haircut. And then that's looking pretty good.
Removing Weight on the Sideburns

Now, we're going to move into the sides. And I feel on this mannequin head, which on some people, the sideburn gets real thick and it forces the hair to kind of stick out from the head. So, I'm going to take some of that hair and thin it out and just soften that edge and soften that line so it doesn't become so strong so that when I push it, it becomes a little bit softer. Just like that. There we go. I like that better. That doesn't stick out and become as pokey.

Bro Flow Haircut Final Look

Here's our end result. And I think that we're looking pretty good. We got a nice amount of texture to it, a nice shape, and it's very, very easy to style. Here's our end result. And I think that this looks really good. I like the texture to it. The texture is what keeps this shape looking effortlessly cool, you know, because if you have some guy who's had short hair and it's always looking groomed, it's going to take a little transition for them to go from being super short and really clean to longer and a little messy. So, it's going to take a little time.
And I think this is the perfect transition and a perfect goal for someone that wants a little bit more hair and a lot more movement to it because the texture really lends itself to that. And this is just air dried. I just put some grease in it and just let it go. So you don't require a lot of styling when it comes to this hair flow shape, which is perfect for a lot of men that are trying to grow their hair out. This looks pretty good.
Please check out the Jatai Academy. There's all kinds of fantastic information and tools on there that will make you a better hair stylist and barber. Let us know what you'd like to see in the future and thank you so much for watching. We'll see you next time.
SHARE