-
SHOP BY
-
 HAIRSTYLIST
-
 BARBER
-
 NAIL TECH
-
 ESTHETICIAN
-
 CONSUMER
SHOP BY
ProfessionBrands -
-
HAIRCARE & SHAVING
HAIRCARE & SHAVING
 RAZOR HANDLES
 RAZOR KITS
 RAZOR BLADES
 SHEARS & SCISSORS
 END PAPER
 COMBS & BRUSHES
 LOTIONS & CREAMS
 ACCESSORIES

-
PERSONAL CARE
PERSONAL CARE
 NAIL CARE
 TWEEZERS
 EYELASH
 HAIRCARE & SHAVING
 SKINCARE
 KITS & SETS
 SPECIALTY
COMBS & BRUSHES
LOTIONS & CREAMS
ACCESSORIES
SPECIALTY
COMBS & BRUSHES
LOTIONS & CREAMS
ACCESSORIES


59 products
59 products
Sort by:
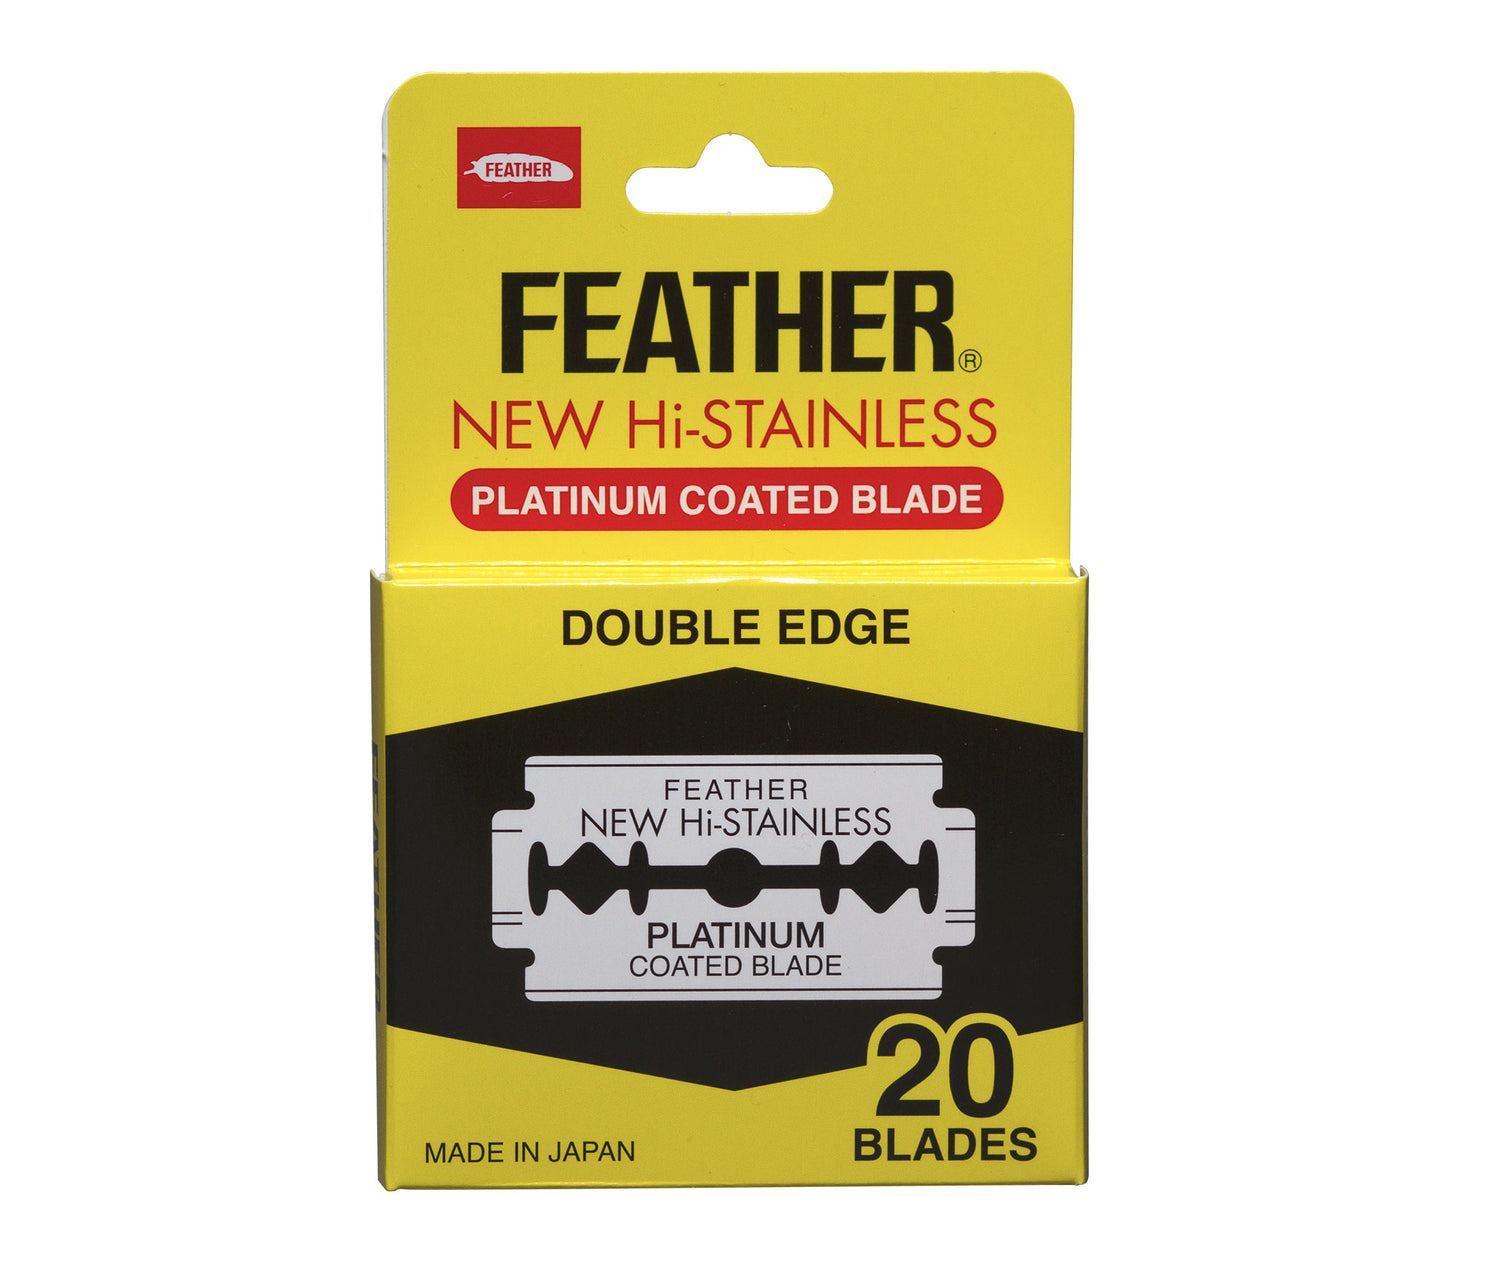

Feather Hi-Stainless Double Edge Blades (20pk)
$10.75
Unit price perFeather Hi-Stainless Double Edge Blades (20pk)
$10.75
Unit price per- Includes 20 Feather Hi-Stainless Double Edge Blades
- Gives a closer shave than multi-blade cartridges
- Saves money in the long term
- Environmentally friendly. Reduce your footprint
- Made in Japan
To learn more about Feather Safety Razor Blades, click here.

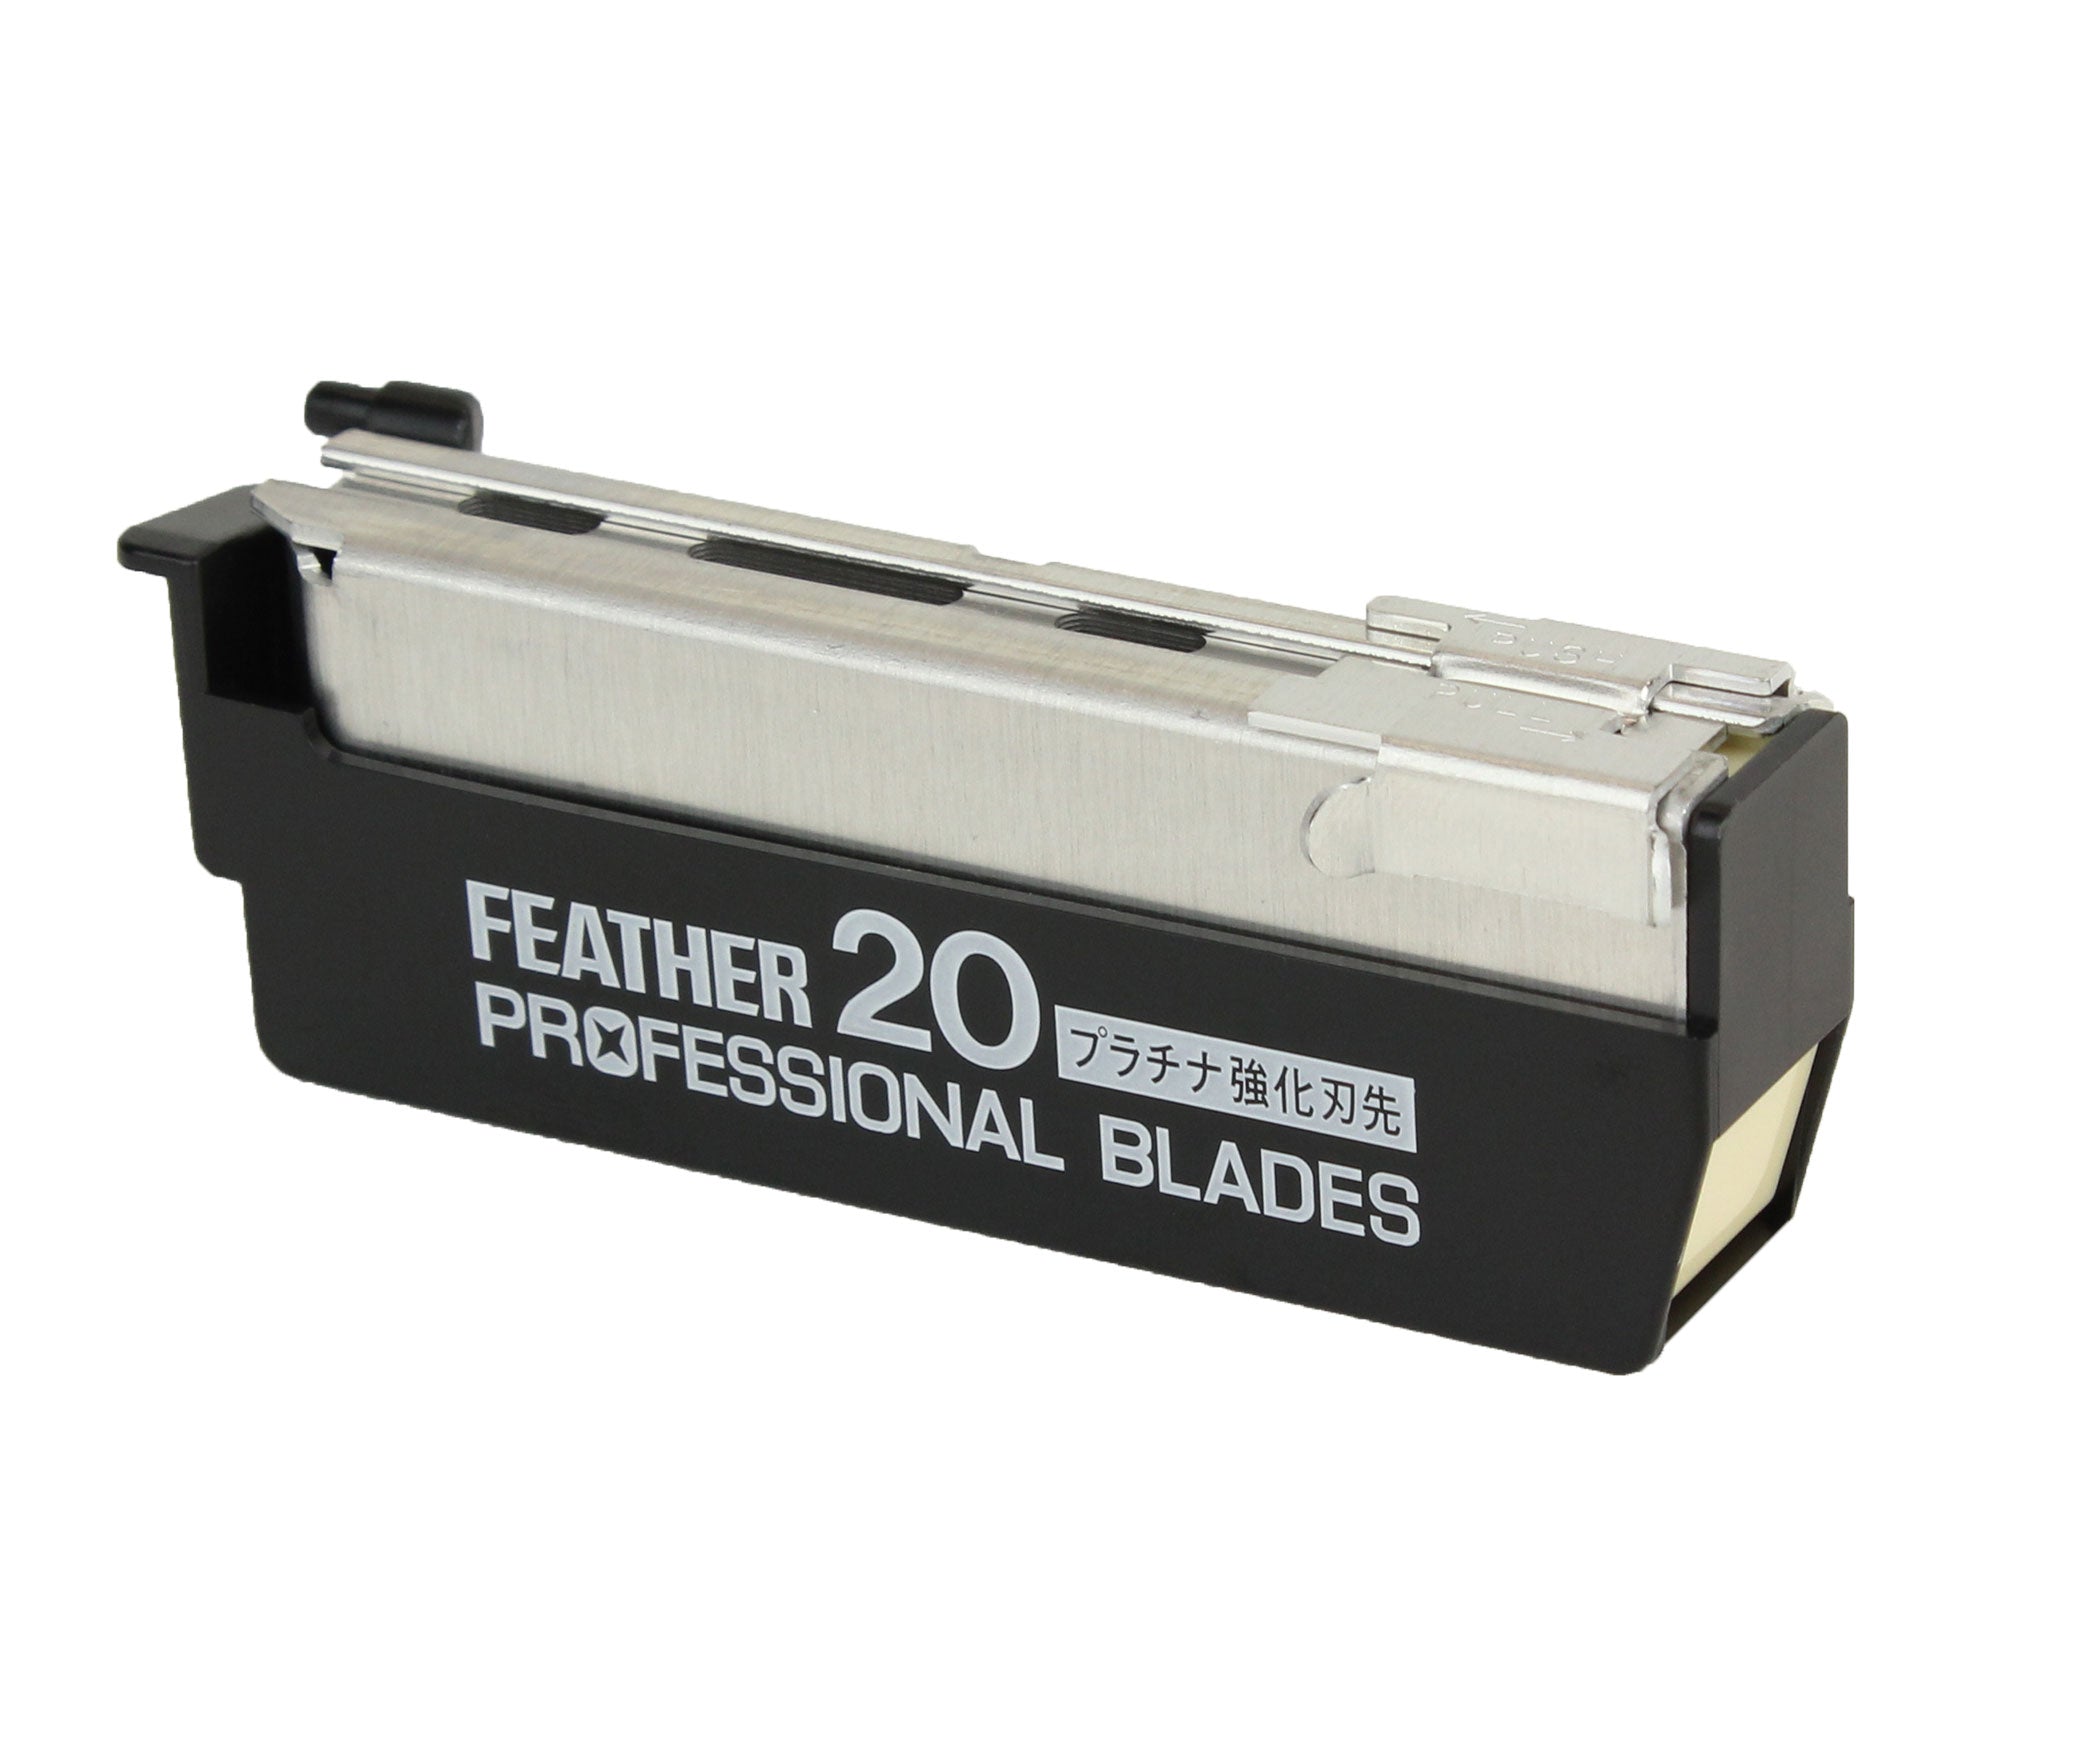
Feather Artist Club Professional Blades
From $14.00
Unit price perFeather Artist Club Professional Blades
From $14.00
Unit price per- The most versatile and economical Artist Club razor blade
- Used for full face shaving, outlining, line-ups
- Triple grinding for superior sharpness, quality and consistency
- One-touch mechanism enables easy, sanitary and safe insertion of new blades
- Fits any Artist Club razor handle
- 20 blades per cartridge
- Subscribe & Save up to 30% on blades!
- Made in Japan
Click here to learn more about Artist Club Razors and Blades.


Feather Switch Blade Shear Blades 4.5"-7.5"
$15.25
Unit price perFeather Switch Blade Shear Blades 4.5"-7.5"
$15.25
Unit price per- Never sharpen shears again! When blades get dull, switch them out with sharp new ones
- Twice tempered stainless steel frames and blades for long lasting strength and durability
- Switch Blade Shear blades come in a variety of sizes (4.5"-7.5")
- Exclusive "No-Nip" tips are designed to eliminate accidental nipping of the fingers
- Made in Japan


Feather Artist Club SS Folding Razor
$109.00
Unit price perFeather Artist Club SS Folding Razor
$109.00
Unit price per- Beautiful folding handle design and SUS317 stainless steel head
- Built-in safety features to remove and replace blades
- Rounded ridge gently pushes the skin down raising the hair follicle and enabling a close shave
- SS head is spring mounted with a one-touch mechanism for dismantling and cleaning
- The ultimate replaceable blade shaving razor uses any of 5 different blades (Professional, ProGuard, Super, Light, SoftGuard)
- Blades sold separately
- Made in Japan
Click to learn more about Artist Club Razors and Blades.
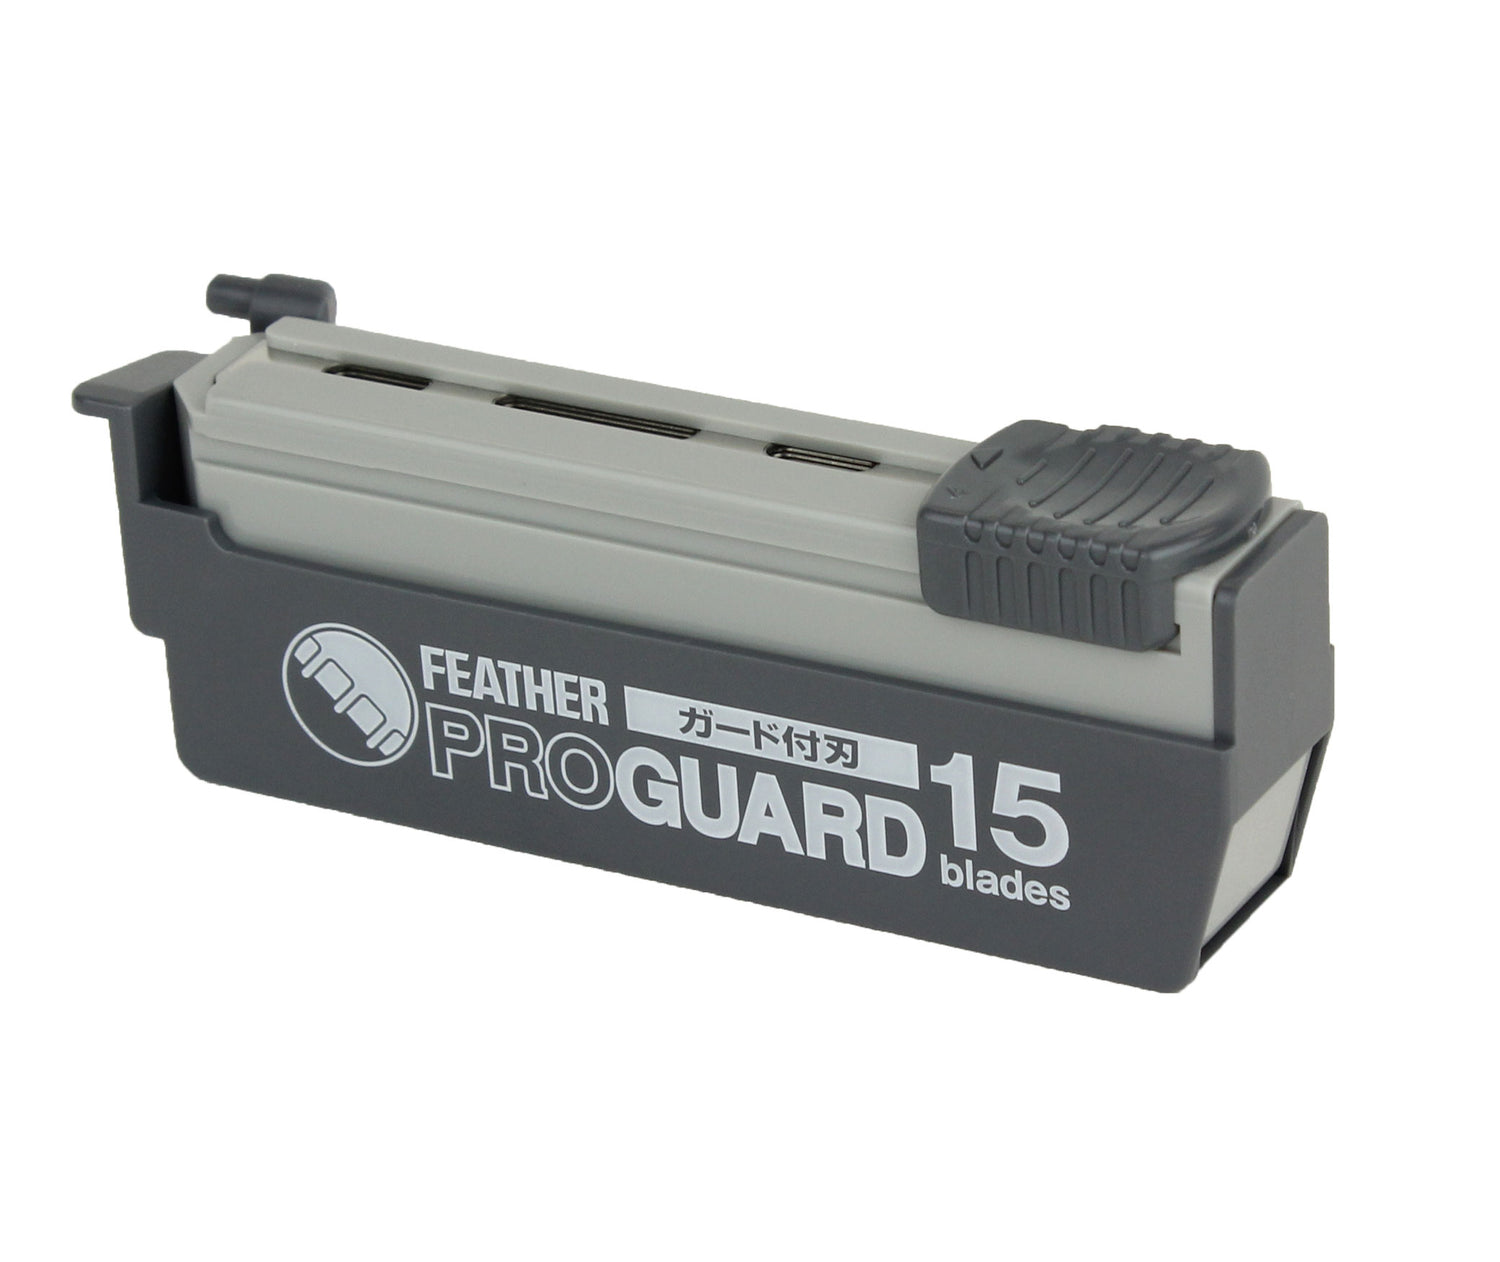
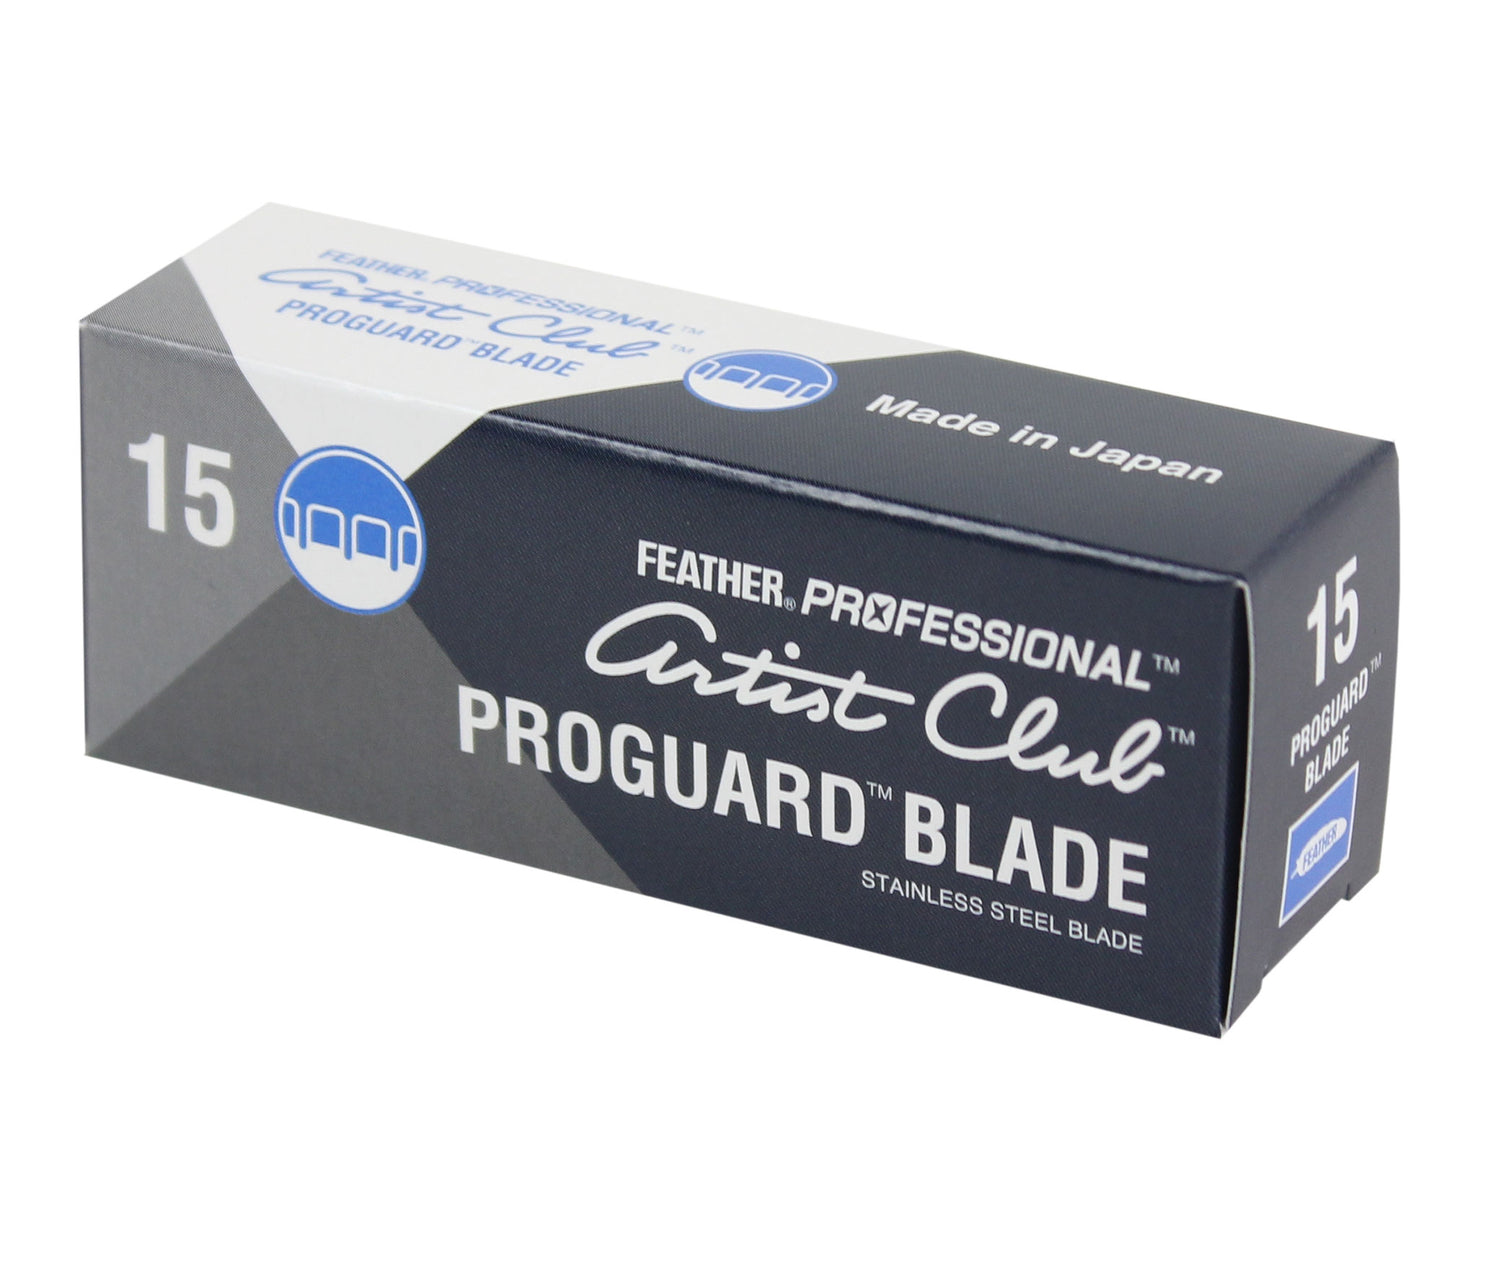
Feather Artist Club Pro Guard Blades
From $16.00
Unit price perFeather Artist Club Pro Guard Blades
From $16.00
Unit price per- Guarded blade provides protection from razor cuts
- Thin guard does not interfere with shaving
- Used for full face shaving, outlining, line-ups
- Triple grinding for superior sharpness, quality and consistency
- One-touch mechanism enables easy, sanitary and safe insertion of new blades
- Fits any Artist Club razor handle
- 15 blades per cartridge
- Subscribe & Save up to 30% on blades!
- Made in Japan
Click here to learn more about Artist Club Razors and Blades.
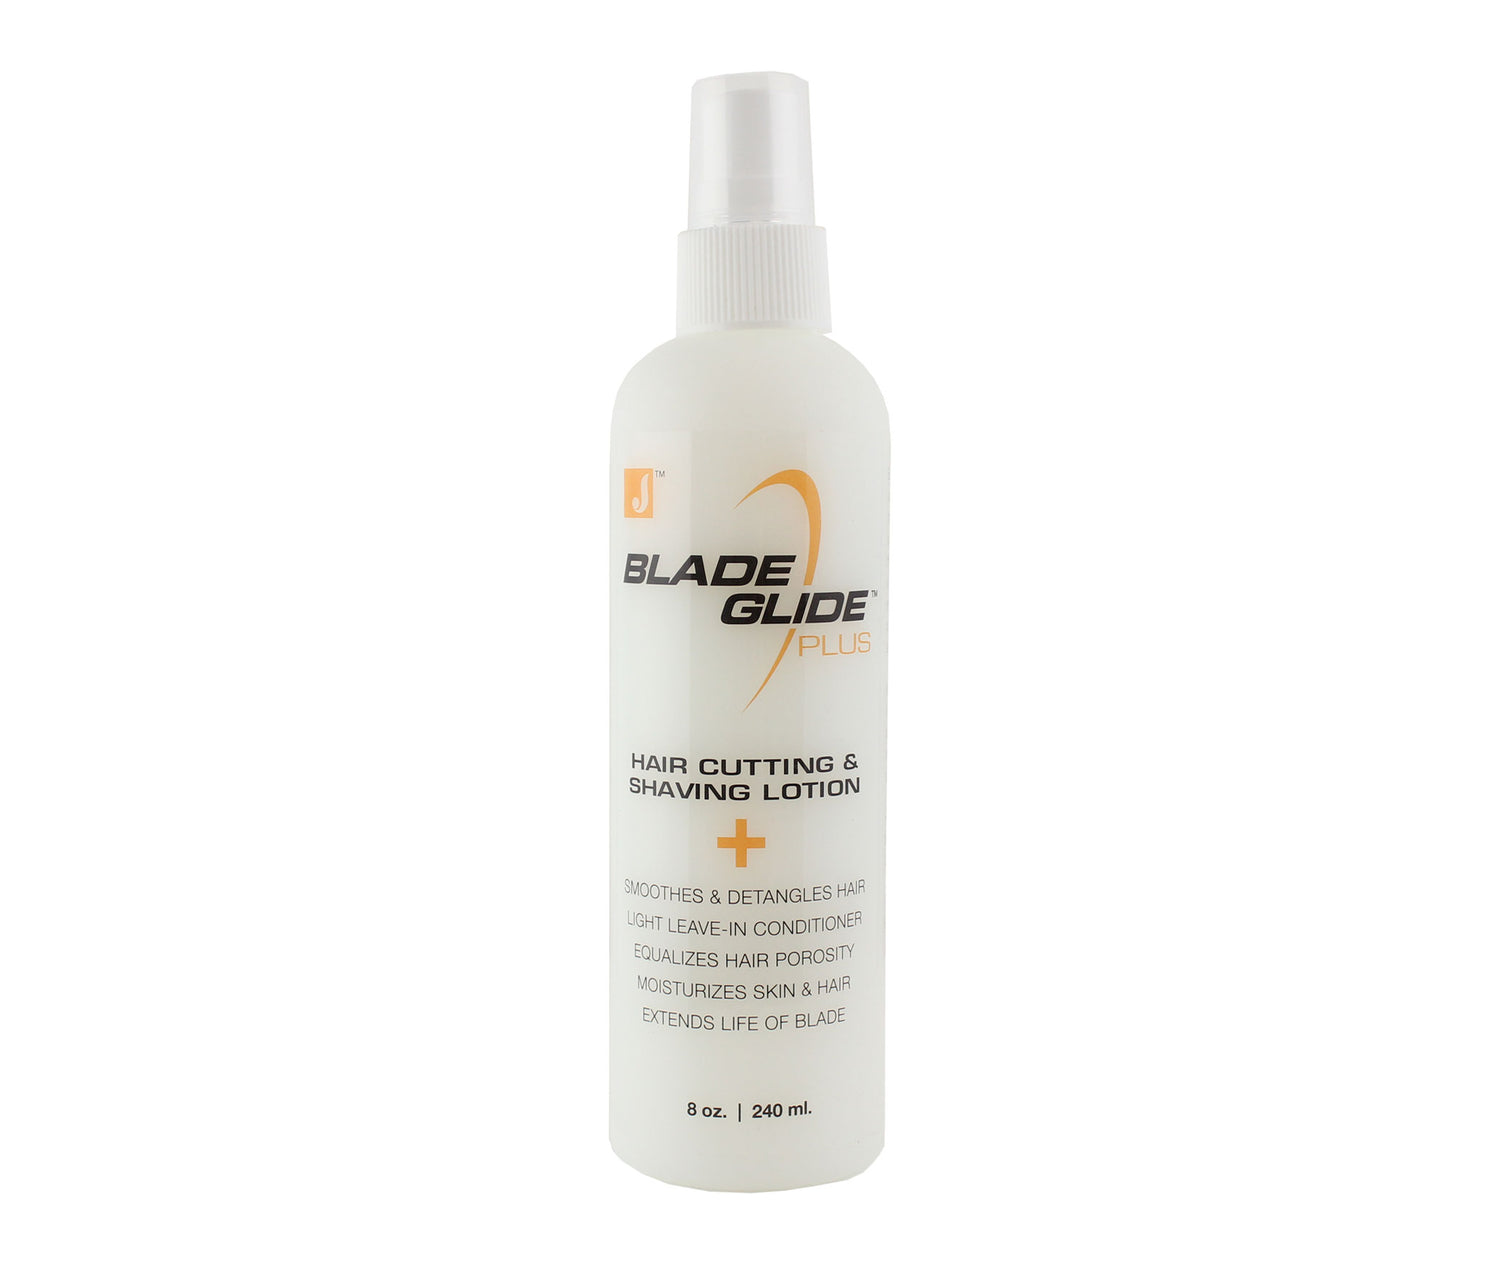
JATAI Blade Glide Plus 8 oz
From $11.95
Unit price perJATAI Blade Glide Plus 8 oz
From $11.95
Unit price per- Silky smooth lotion that help shears and razors glide through hair and on the skin
- Smooths, detangles and acts as a leave-in conditioner
- Contains Provitamin B5 , purified water and cationic conditioners
- Equalizes hair porosity for pre-perming and coloring
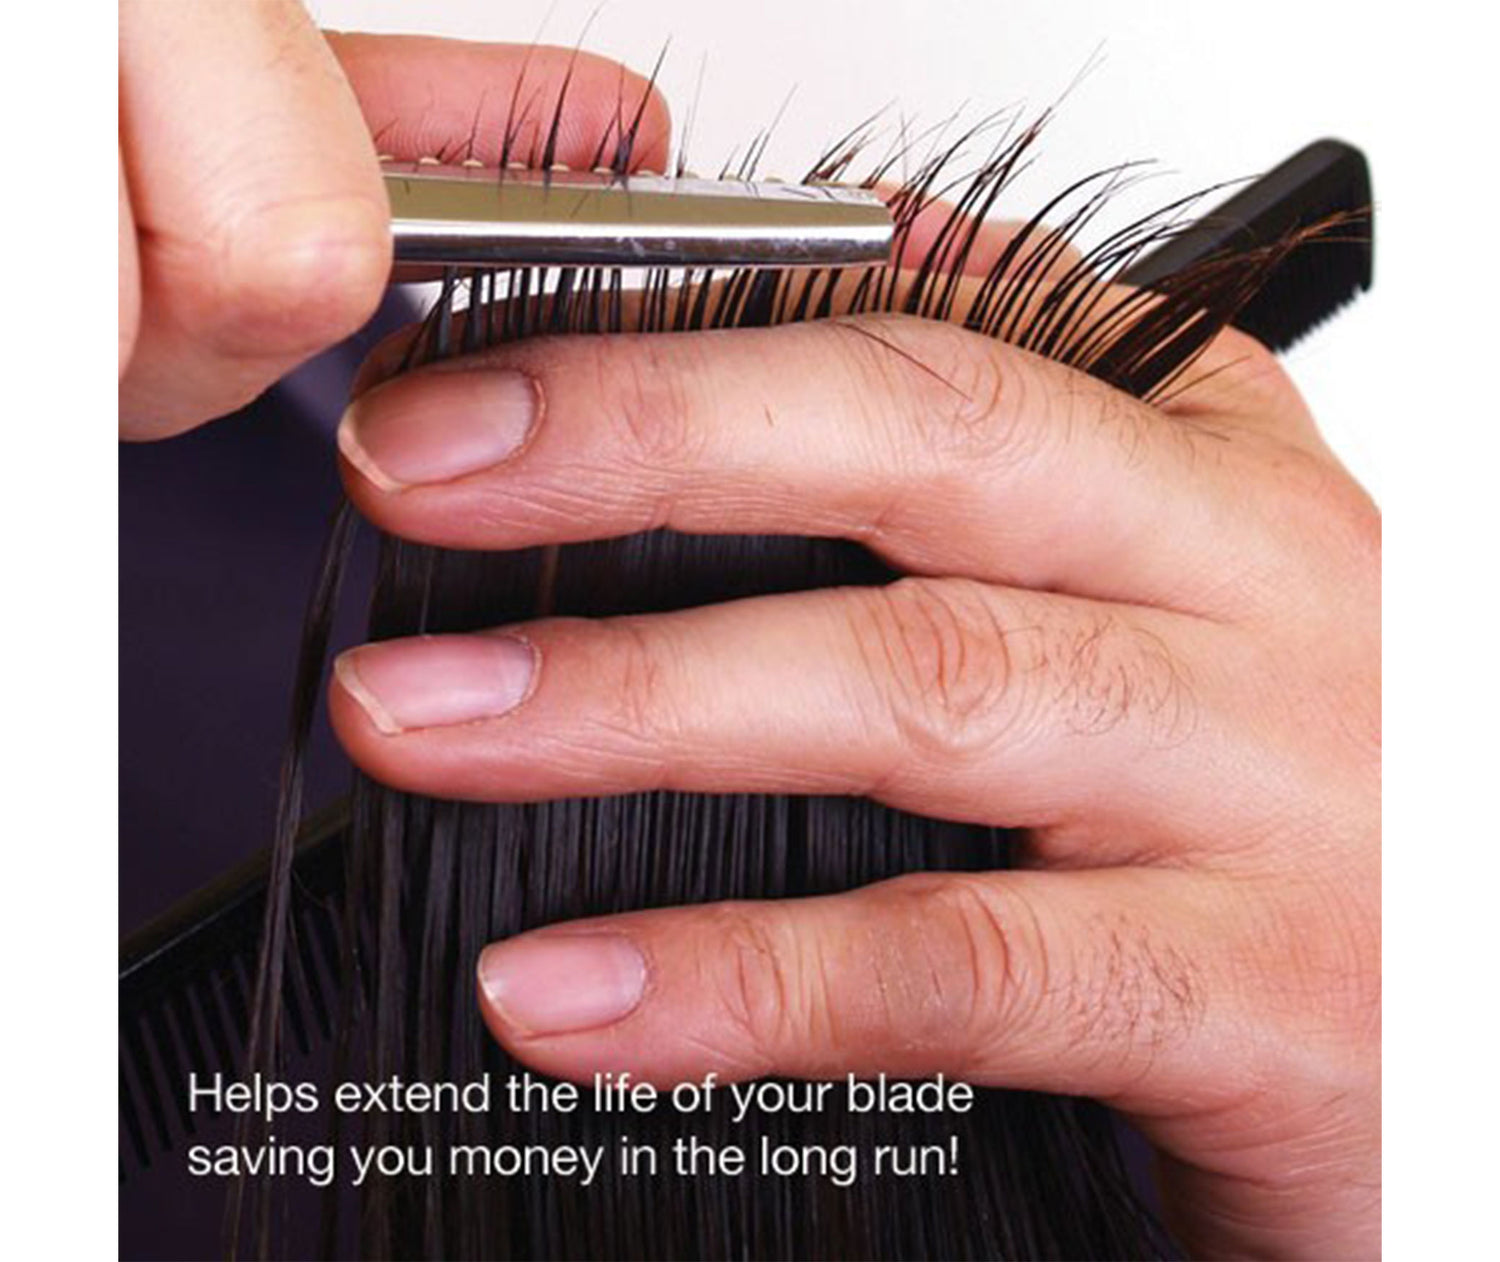
- Extends the life of the blade
- Moisturizes the skin and hair
- Subscribe & Save up to 25% on Blade Glide!
- Made in America


Feather Nape Blades
From $13.49
Unit price perFeather Nape Blades
From $13.49
Unit price per- Nape Blades are perfect for shaving the neckline, sideburns, eyebrows and bikini line. Great for facial outlining
- Replaceable guarded blades maintain sanitation standards between clients
- Guarded blades protect you and your client
- Small blade design makes it easy to shave in small tight areas
- Easy to remove and replace blades
- Use with the Feather Nape & Body Razor only
- Stainless steel blades with a 0.15mm thin wire mesh guard for a close yet safe shave
- 10 blades per pack
- Subscribe & Save up to 18% on blades!
- Made in Japan
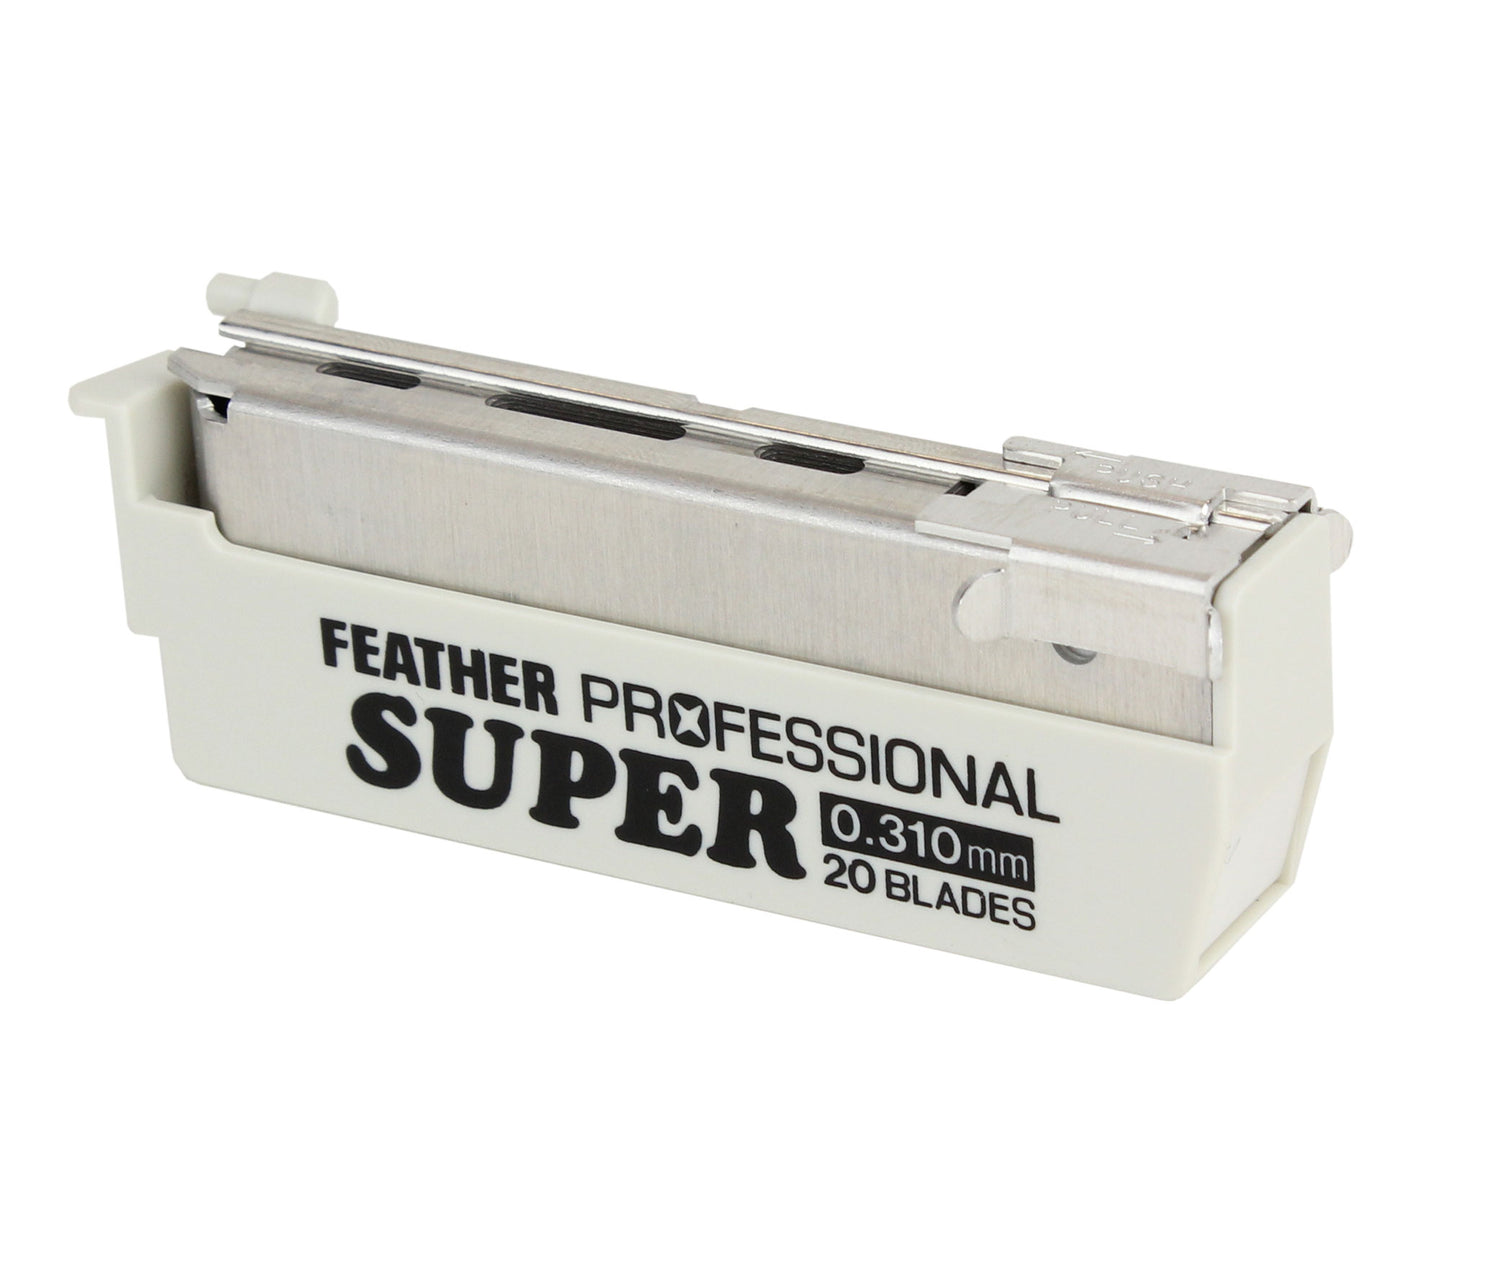
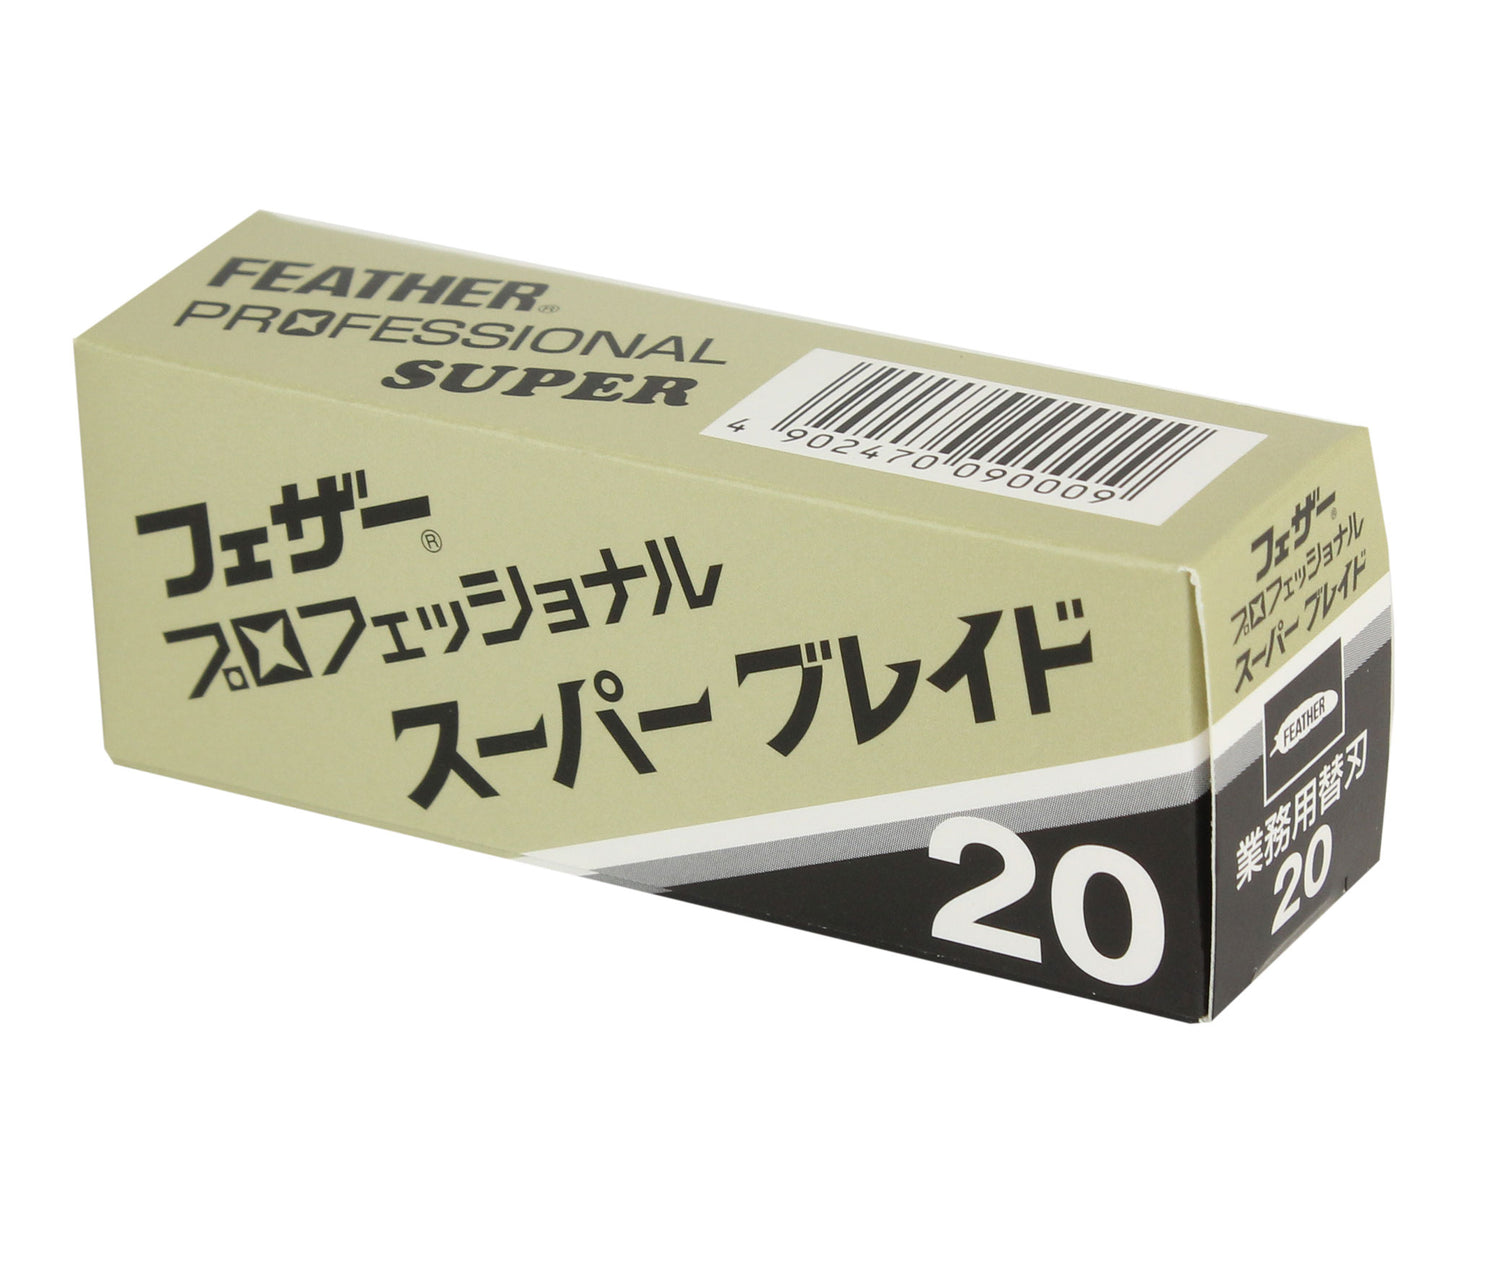
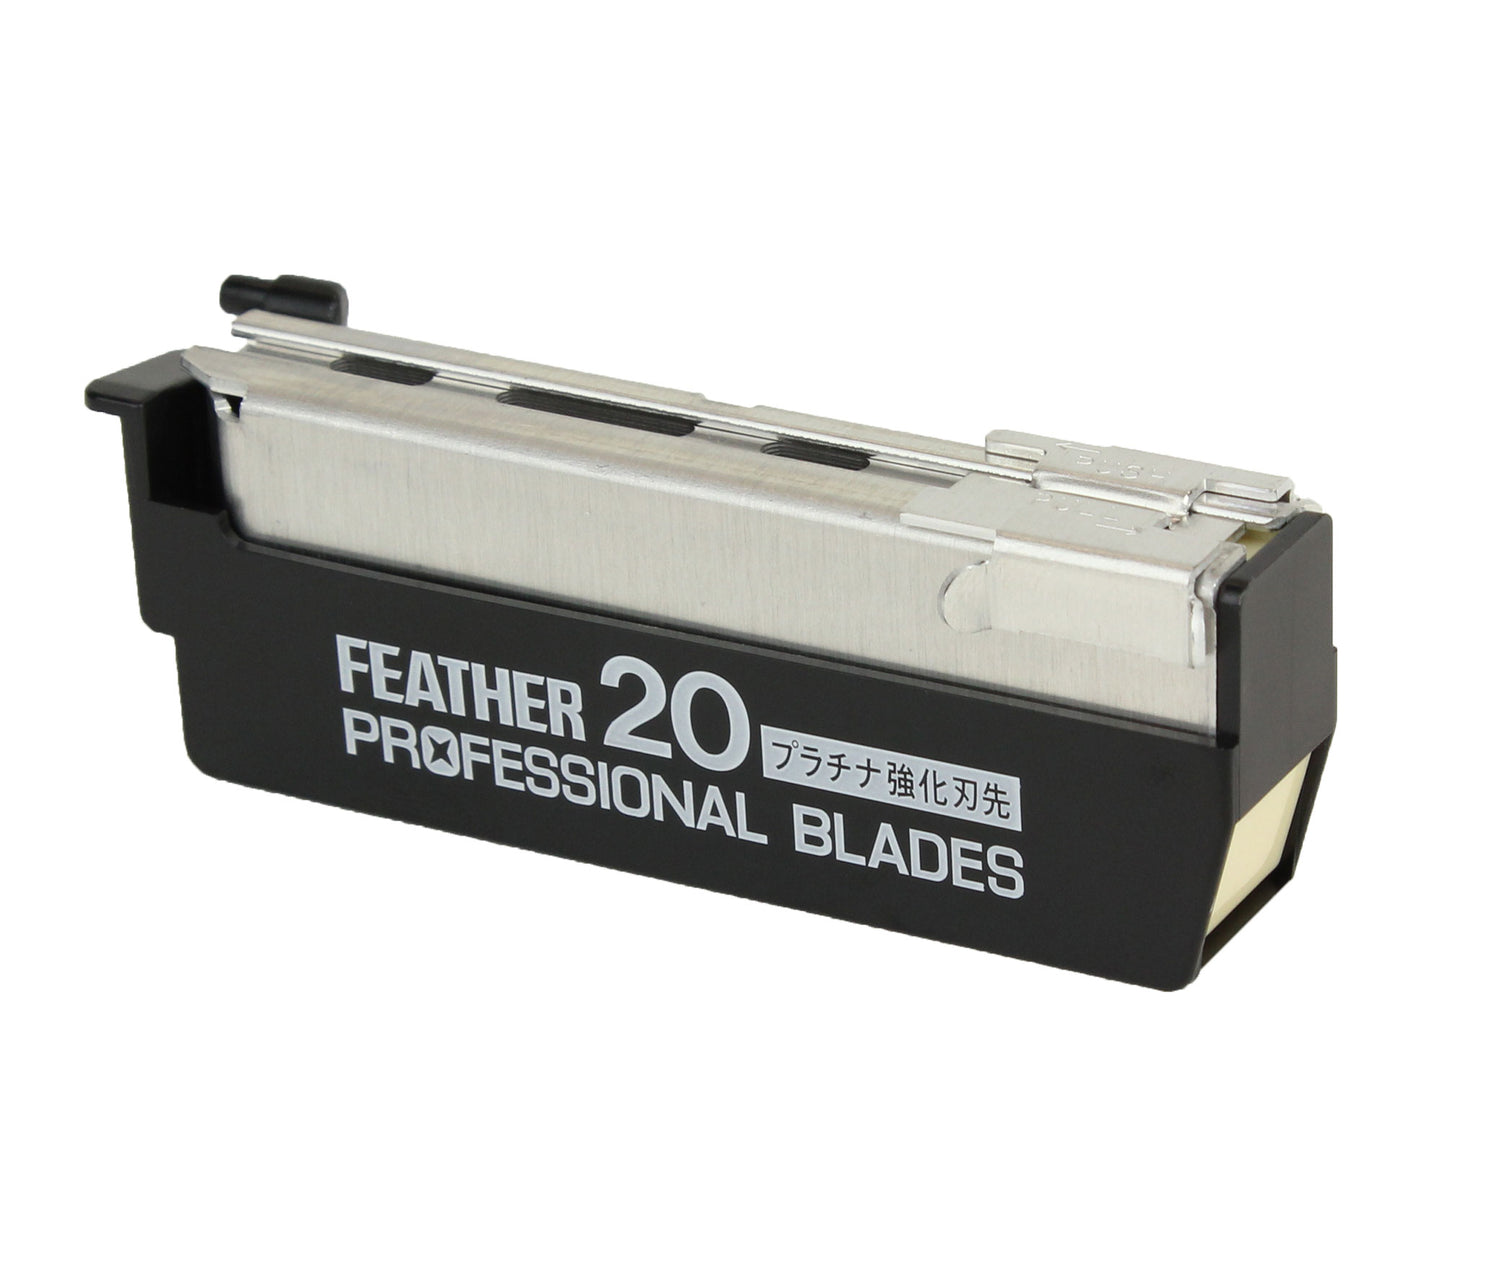
Feather Artist Club Pro Super Blades
From $16.00
Unit price perFeather Artist Club Pro Super Blades
From $16.00
Unit price per- This Artist Club blade gives high blade exposure making it perfect for shaving thick, coarse beard hair
- Triple grinding for superior sharpness, quality and consistency
- One-touch mechanism enables easy, sanitary and safe insertion of new blades
- Fits any Artist Club razor handle
- 20 blades per cartridge
- Subscribe & Save up to 30% on blades!
- Made in Japan
Click here to learn more about Artist Club Razors and Blades.
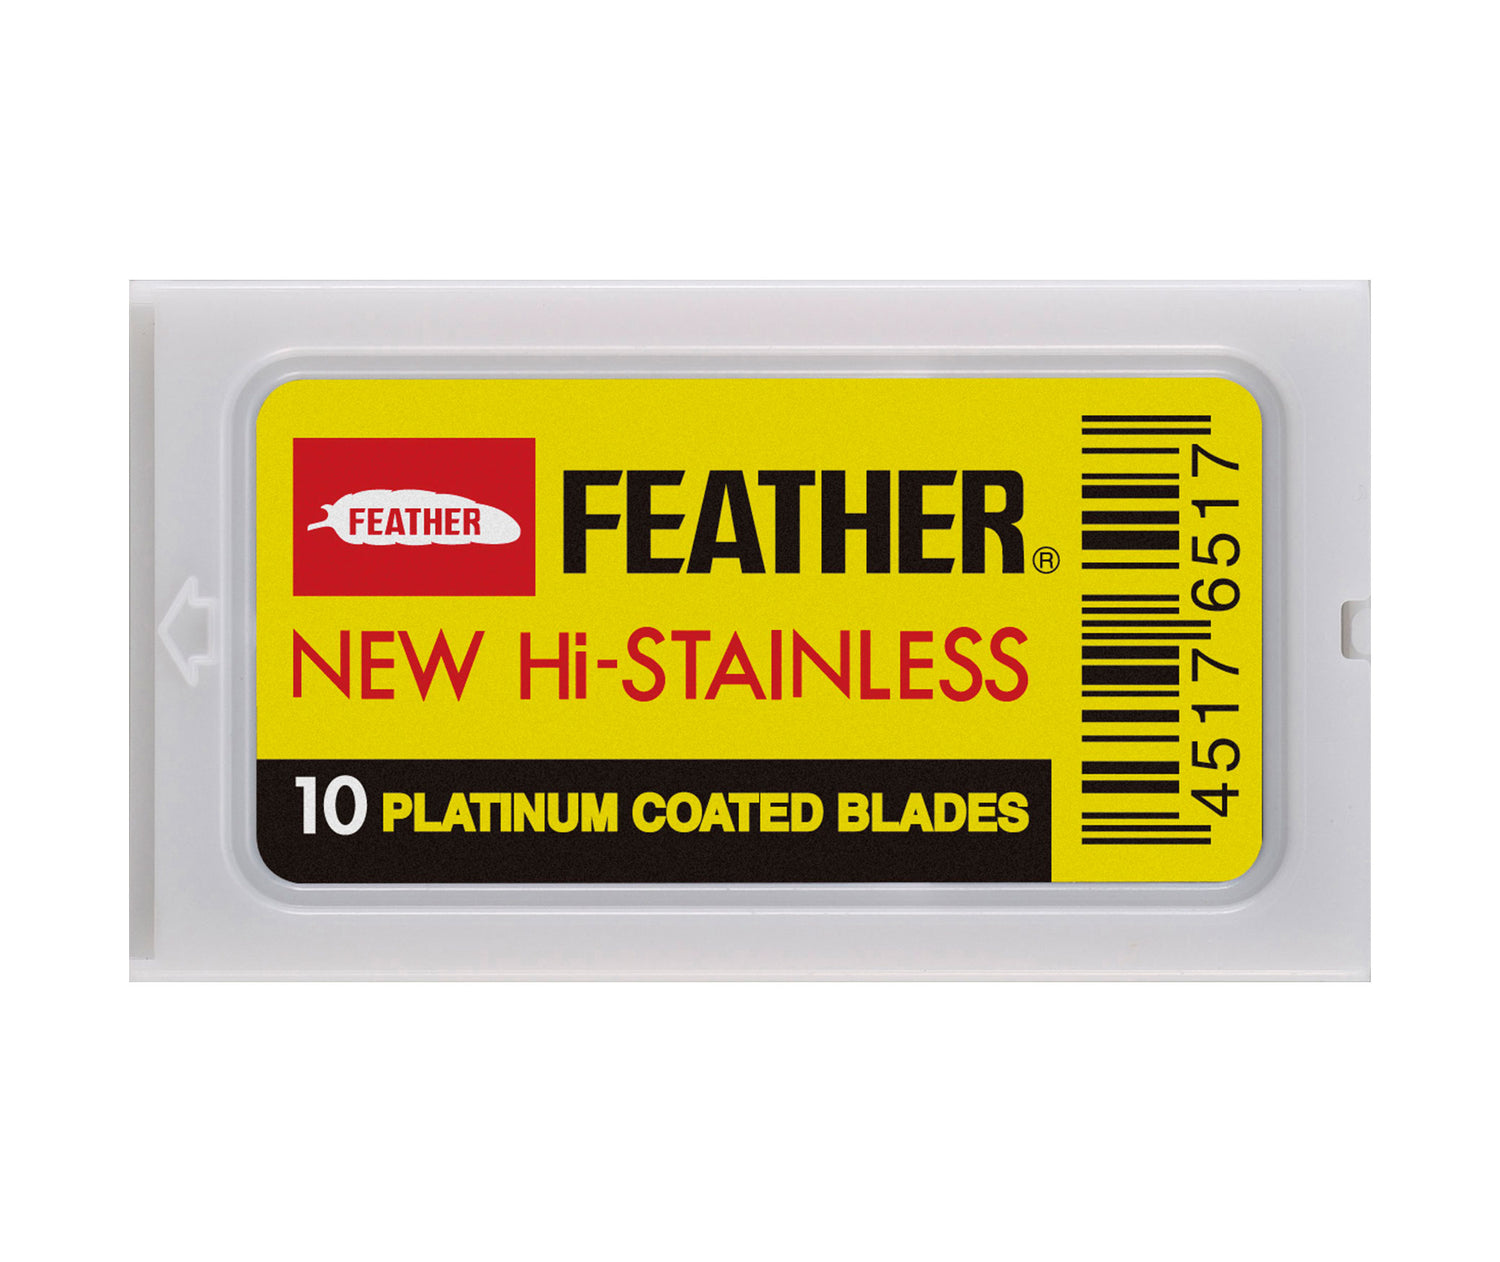

Feather Hi-Stainless Double Edge Razor Blades (10pk)
$5.75
Unit price perFeather Hi-Stainless Double Edge Razor Blades (10pk)
$5.75
Unit price per- Includes 10 Feather Hi-Stainless Double Edge Blades
- Recognized as one of the world's best double edge razor blades
- Platinum coated for a smoother and long lasting shaves
- Gives a closer shave than multi-blade cartridges
- Saves money in the long term
- Environmental friendly. Reduce your footprint
- Made in Japan
To learn more about Feather Double Edge Razors and Blades, click here.


Feather Blade Disposal Case
$4.95
Unit price perFeather Blade Disposal Case
$4.95
Unit price per- Recently updated! Now made of metal which is better for the environment and recyclable.
- Blade Disposal Case allows for easy and safe disposal of used Feather Styling Razor blades
- Simply place the razor head inside the slot and pull the razor toward you
- Never touch the blade again
- Safe disposal means safety for animals and wildlife
- Case cannot be opened
- Made in Japan


Seki Edge Stainless Steel Nostril Scissors (SS-908)
Seki Edge Stainless Steel Nostril Scissors (SS-908)
- Short blades and rounded tips for easy and safe nostril hair cutting
- Cuts hair without pulling
- Rubber inserts provide comfort for fingers while trimming
- Made of twice tempered stainless steel for longevity and durability
- Made in Japan

JATAI Shaving Cream
$7.95
Unit price perJATAI Shaving Cream
$7.95
Unit price per- Inspired by traditional barbering with advanced formulas for healthier skin
- Non-foaming cream allows you to see what you are shaving
- No blade build-up and easy to rinse off
- 2oz. bottles are travel and TSA friendly
- Best if used in conjunction with Jatai Moisturizer
- Made in America


Feather Switch Blade Shears with Tang 5.5"-7.5"
$94.95
Unit price perFeather Switch Blade Shears with Tang 5.5"-7.5"
$94.95
Unit price per- Switch Blade Shears are exactly that...shears where you can switch out the blades
- Never sharpen your shears again! When blades get dull, switch them out with sharp new ones
- Twice tempered stainless steel frames and blades for long lasting strength and durability
- Comes in a variety of sizes. 5.5", 6.5" and 7.5" shears have a tang
- Exclusive "No-Nip" tips are designed to eliminate accidental nipping of the fingers
- Made in Japan
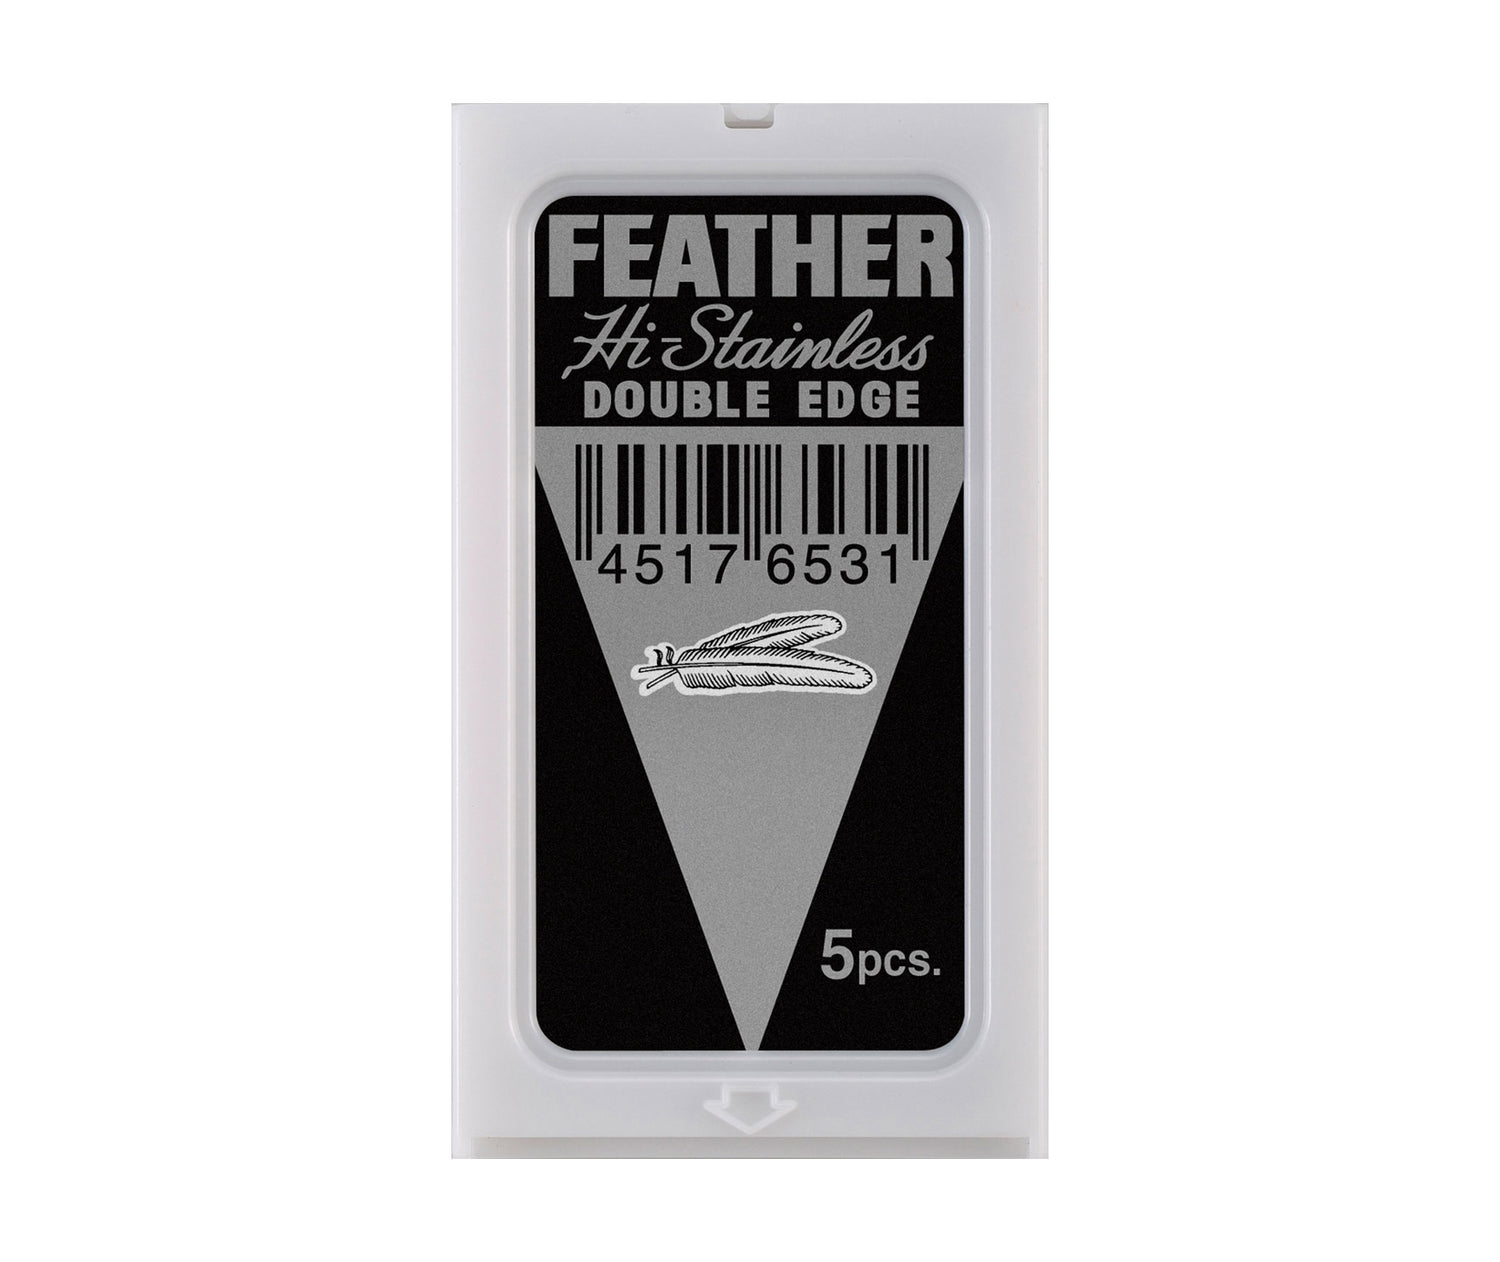

Feather Hi-Stainless Double Edge Razor Blades (5 pk)
$2.90
Unit price perFeather Hi-Stainless Double Edge Razor Blades (5 pk)
$2.90
Unit price per- Includes 5 Feather Hi-Stainless Double Edge Blades
- Recognized as one of the world's best double edge razor blades
- Platinum coated for a smoother and long lasting shaves
- Gives a closer shave than multi-blade cartridges
- Saves money in the long term
- Environmental friendly. Reduce your footprint
- Made in Japan
To learn more about Feather Double Edge Razors and Blades, click here.
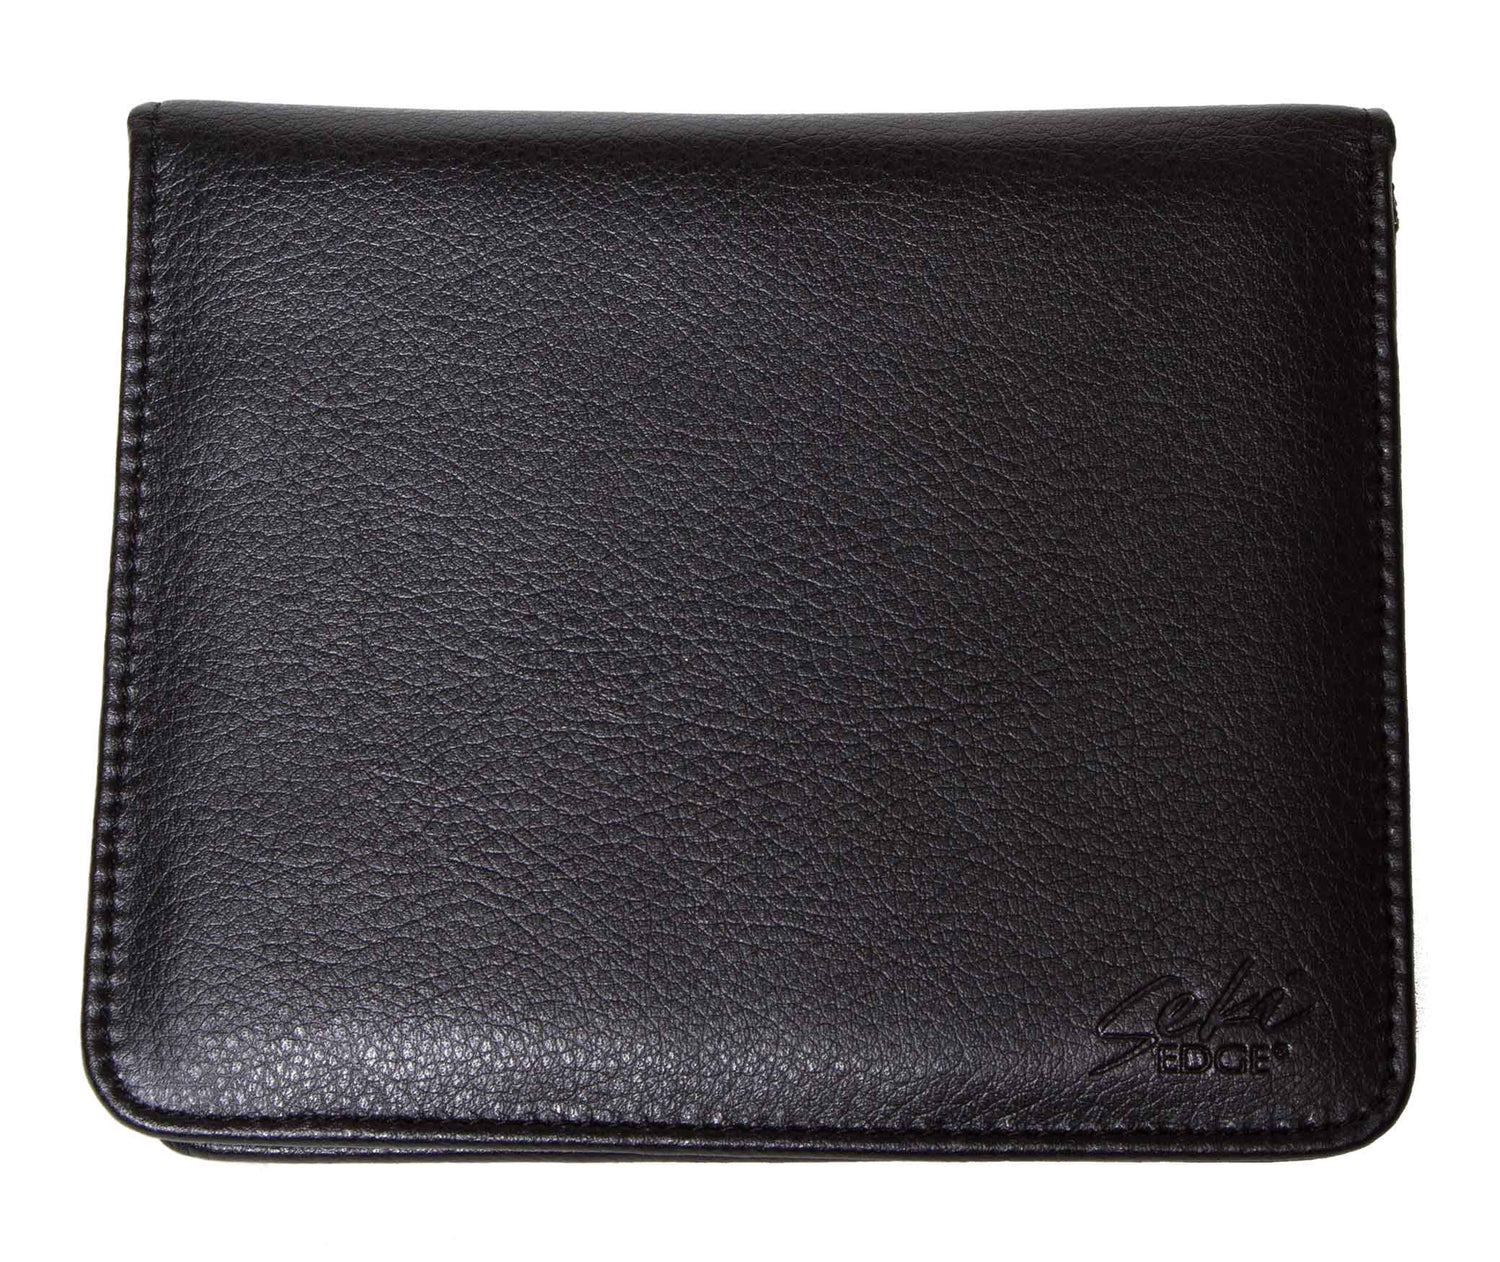
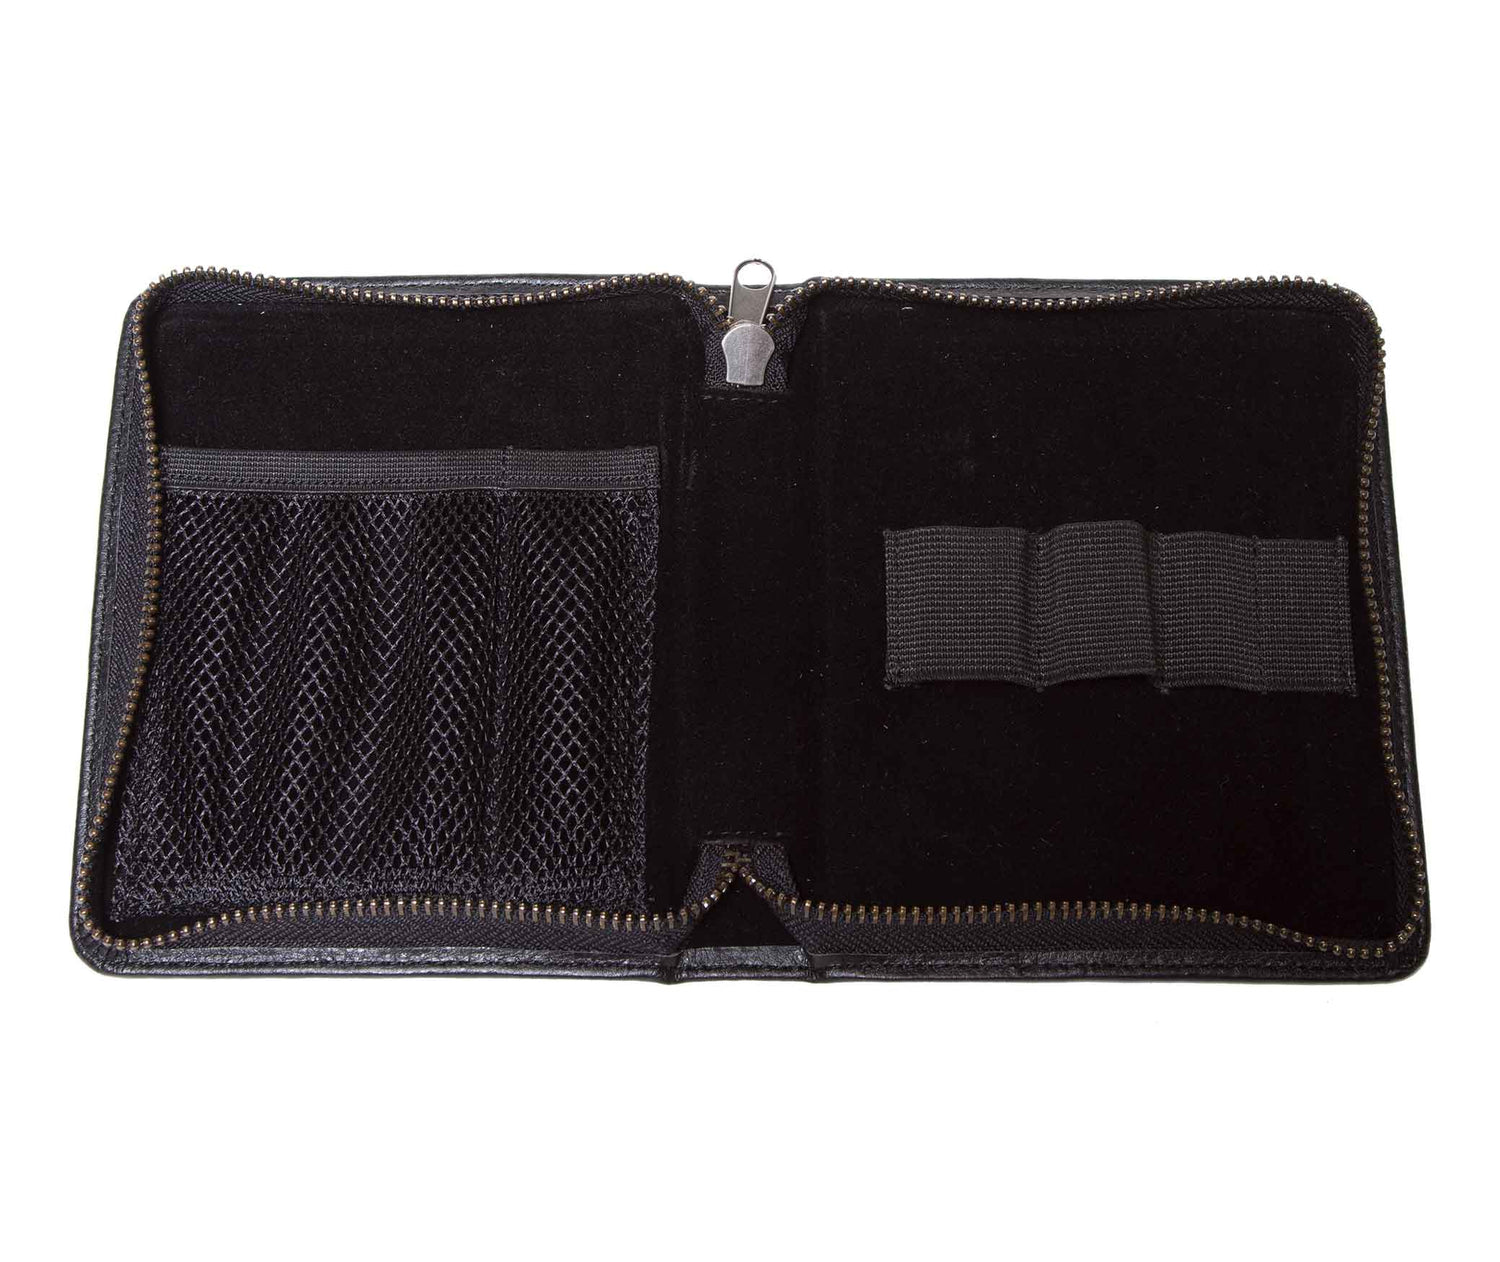
Seki Edge Grooming Kit Case
Seki Edge Grooming Kit Case
- Sleek, sophisticated zip up carrying case
- Customize your own kit and fill with the tools you need
- Versatile mesh pockets to carry odd sized implements
- 4 elastic bands to secure Seki Edge tools (see Product Description for recommendations)
- Great for traveling and keeping tools safe and protected
- Made in Japan


Feather Artist Club Pro Soft Guard Blades
From $16.00
Unit price perFeather Artist Club Pro Soft Guard Blades
From $16.00
Unit price per- Blade is designed for minimal exposure to the skin to prevent irritation to sensitive skin
- Wavy guard protects the skin and allows the blade to glide over the skin with minimum irritation
- Blade is perfect for a mild and soft shave
- Triple grinding for superior sharpness, quality and consistency
- One-touch mechanism enables easy, sanitary and safe insertion of new blades
- Fits any Artist Club razor handles
- 15 blade per cartridge
- Subscribe & Save up to 30% on blades!
- Made in Japan
Click here to learn more about Artist Club Razors and Blades.
Showing 16/59
RELATED ARTICLES

Discover the Difference Between Feather Artist Club Razors

The Difference Between Feather Artist Club Blades

Introducing the JATAI Scissors in Partnership with BMAC
"One of my very first graduating gifts from cosmetology was a Feather Razor"