-
SHOP BY
-
 HAIRSTYLIST
-
 BARBER
-
 NAIL TECH
-
 ESTHETICIAN
-
 CONSUMER
SHOP BY
ProfessionBrands -
-
HAIRCARE & SHAVING
HAIRCARE & SHAVING
 RAZOR HANDLES
 RAZOR KITS
 RAZOR BLADES
 SHEARS & SCISSORS
 END PAPER
 COMBS & BRUSHES
 LOTIONS & CREAMS
 ACCESSORIES

-
PERSONAL CARE
PERSONAL CARE
 NAIL CARE
 TWEEZERS
 EYELASH
 HAIRCARE & SHAVING
 SKINCARE
 KITS & SETS
 SPECIALTY
COMBS & BRUSHES
LOTIONS & CREAMS
ACCESSORIES
SPECIALTY
COMBS & BRUSHES
LOTIONS & CREAMS
ACCESSORIES


6 products
6 products
Sort by:
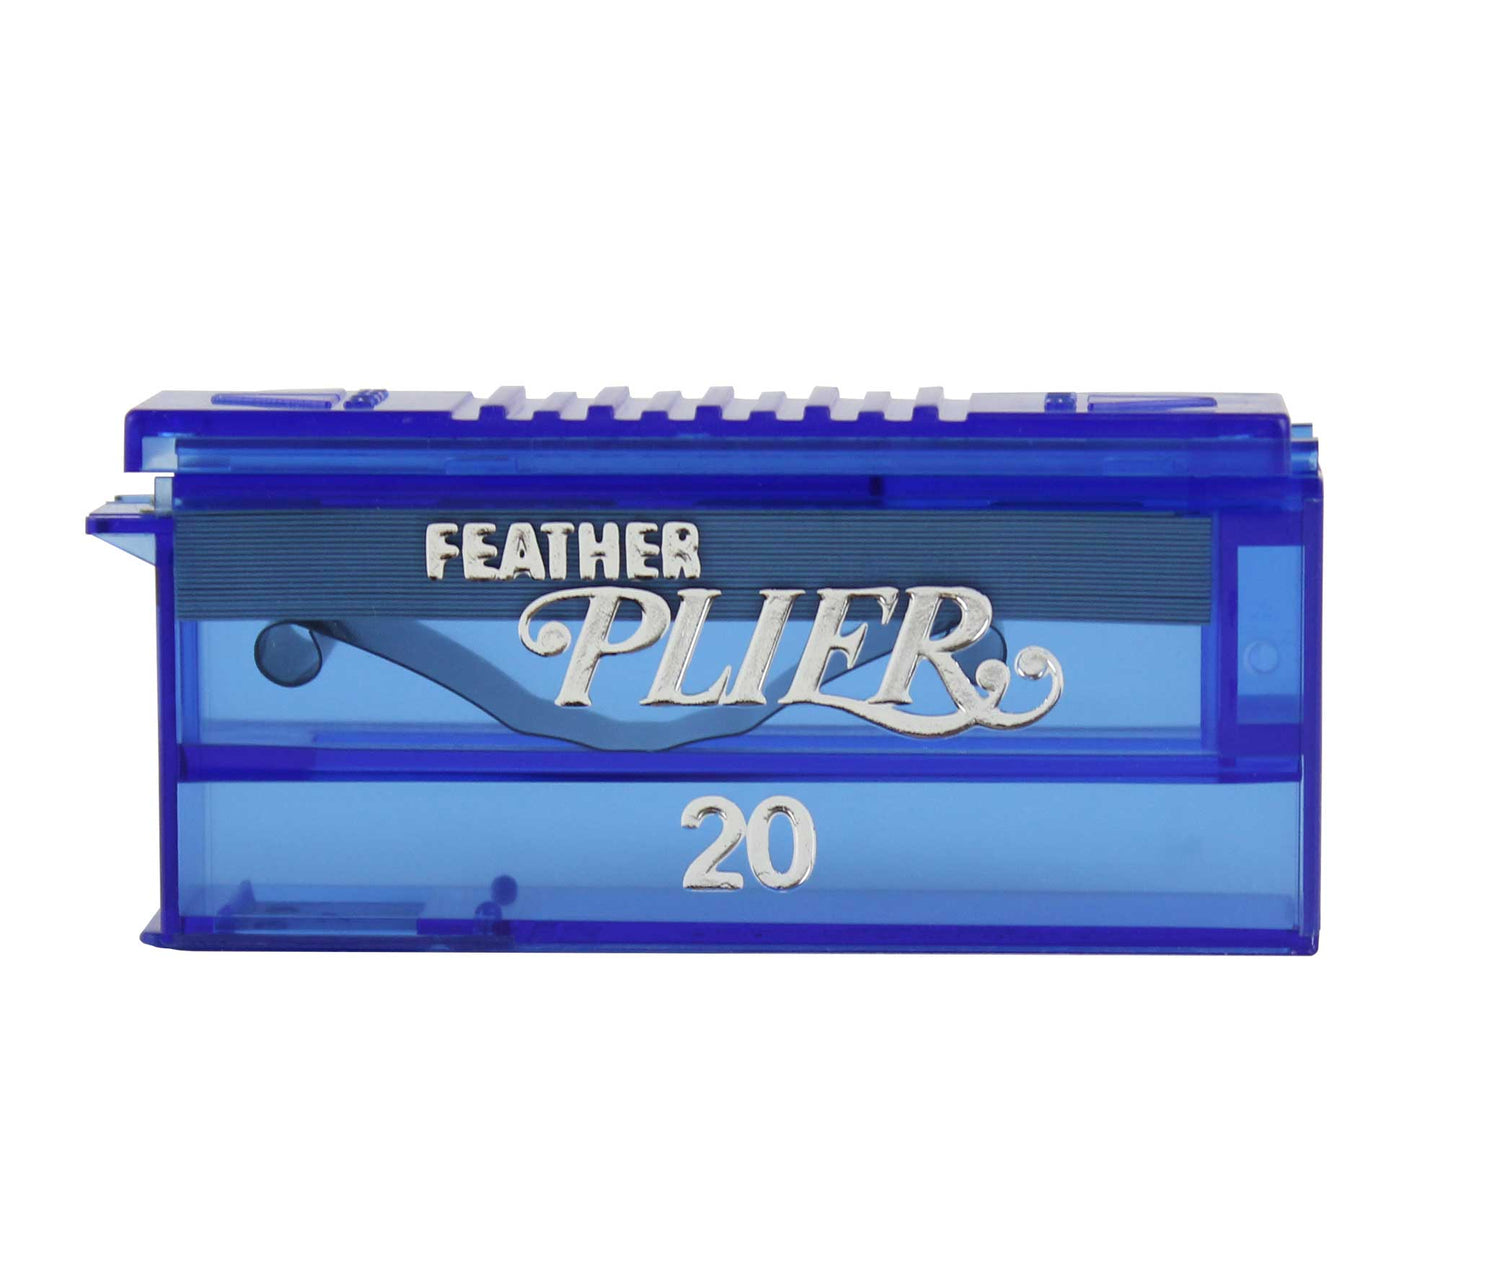
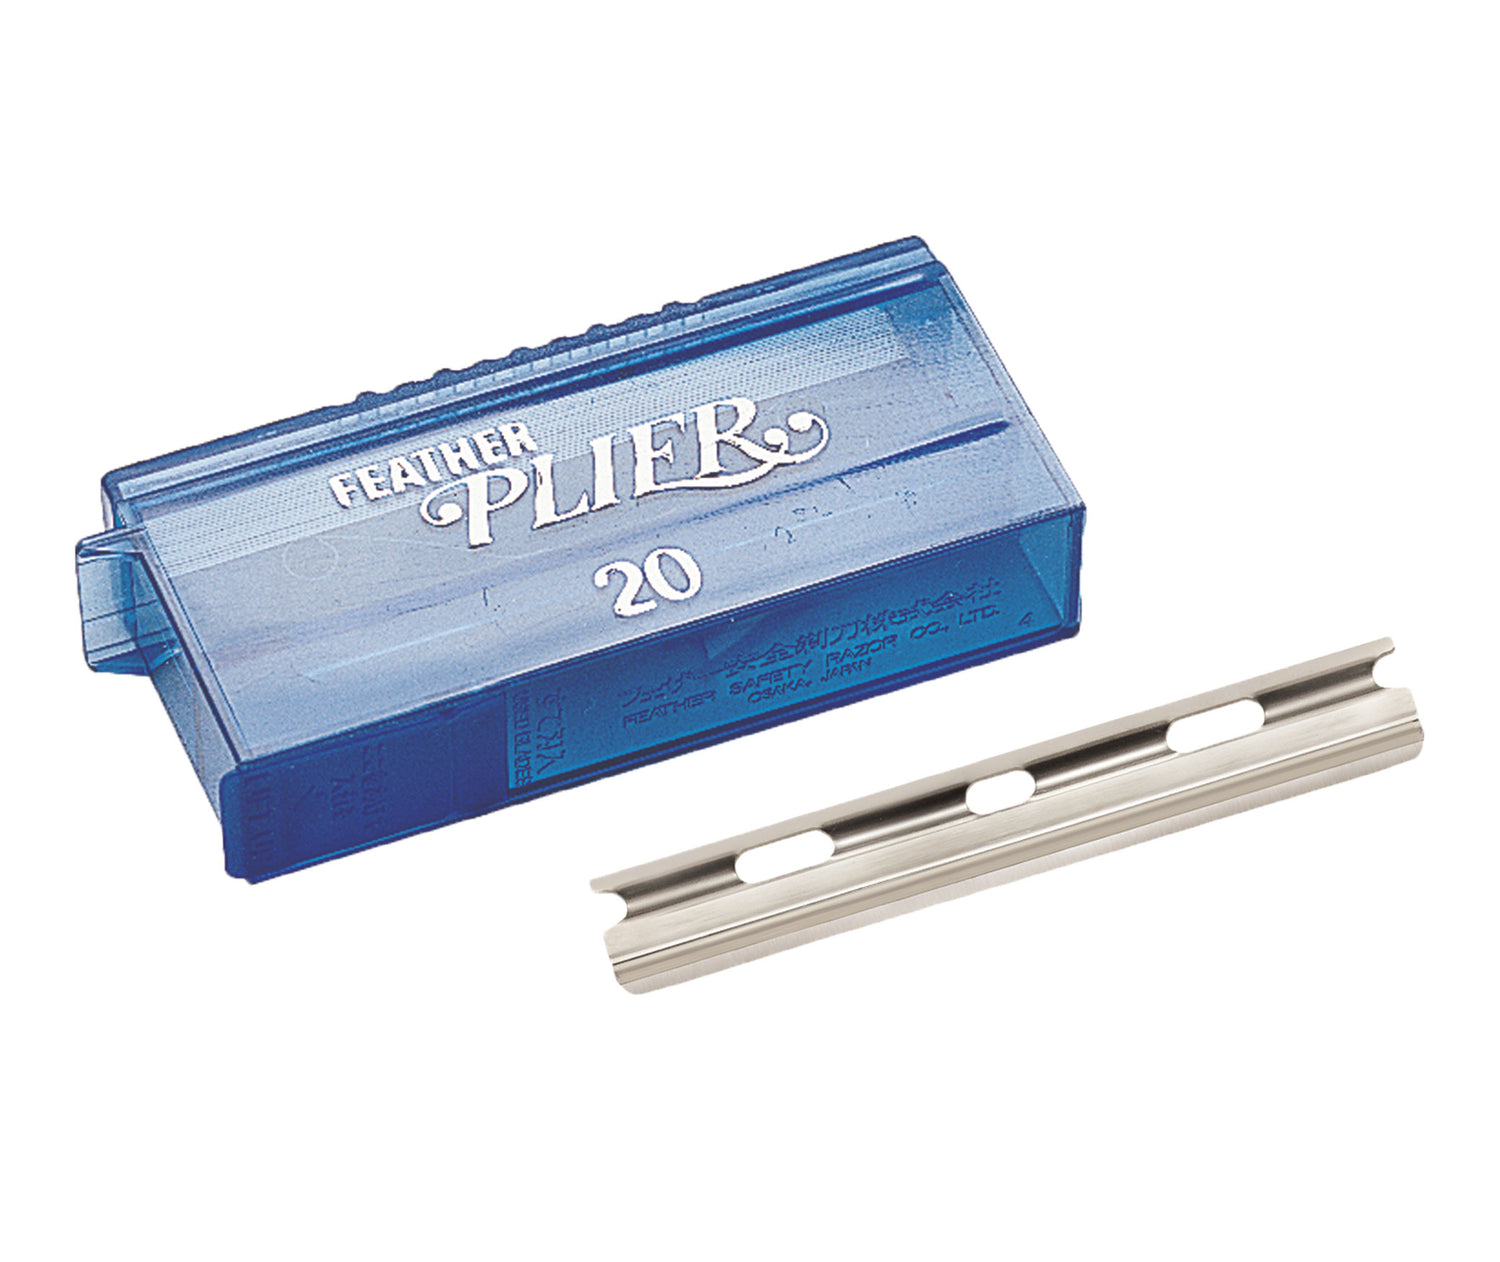
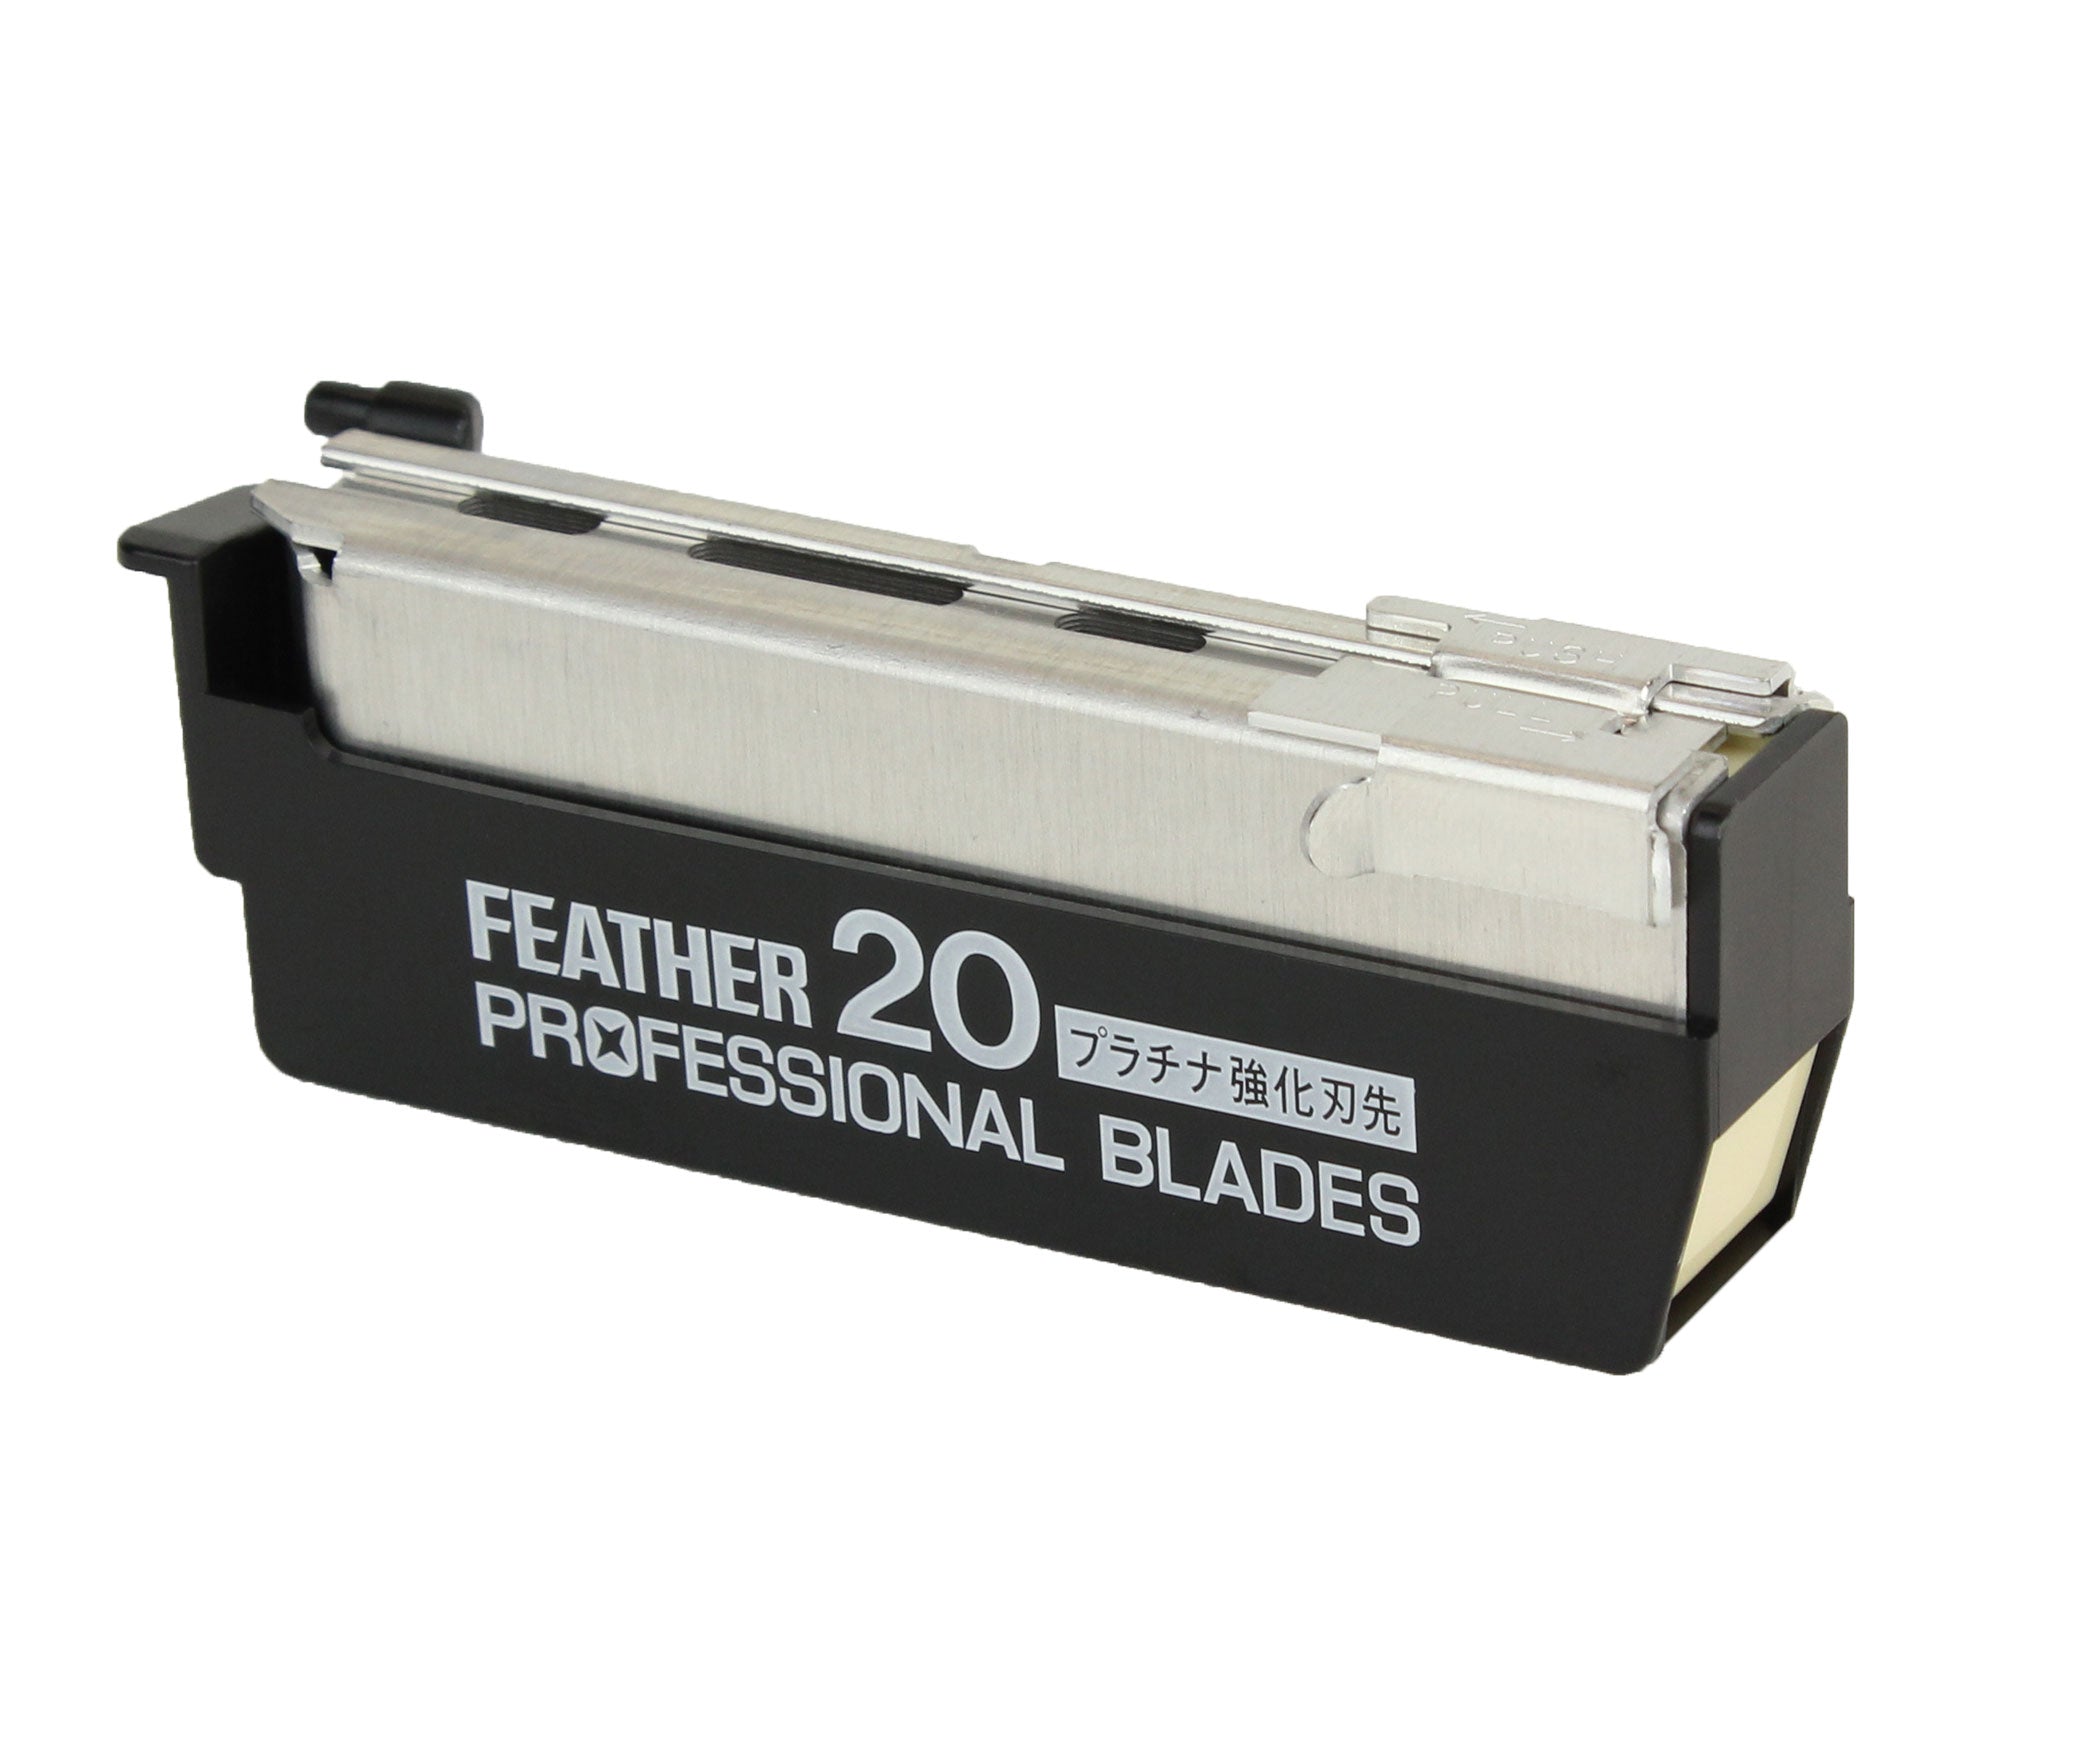
Feather Plier Razor Blades
From $16.75
Unit price perFeather Plier Razor Blades
From $16.75
Unit price per- The most advanced replaceable hair cutting blade on the market
- Used by top hair professionals and advanced stylists
- Unique 'S' blade shape prevents blade from moving while cutting
- Unguarded blade gives pure haircutting freedom
- Use in the Feather Plier Razor handle only
- 20 blades per dispenser
- Built-in blade disposal pocket at the bottom of the dispenser
- Subscribe & Save up to 32% on blades!
- Made in Japan
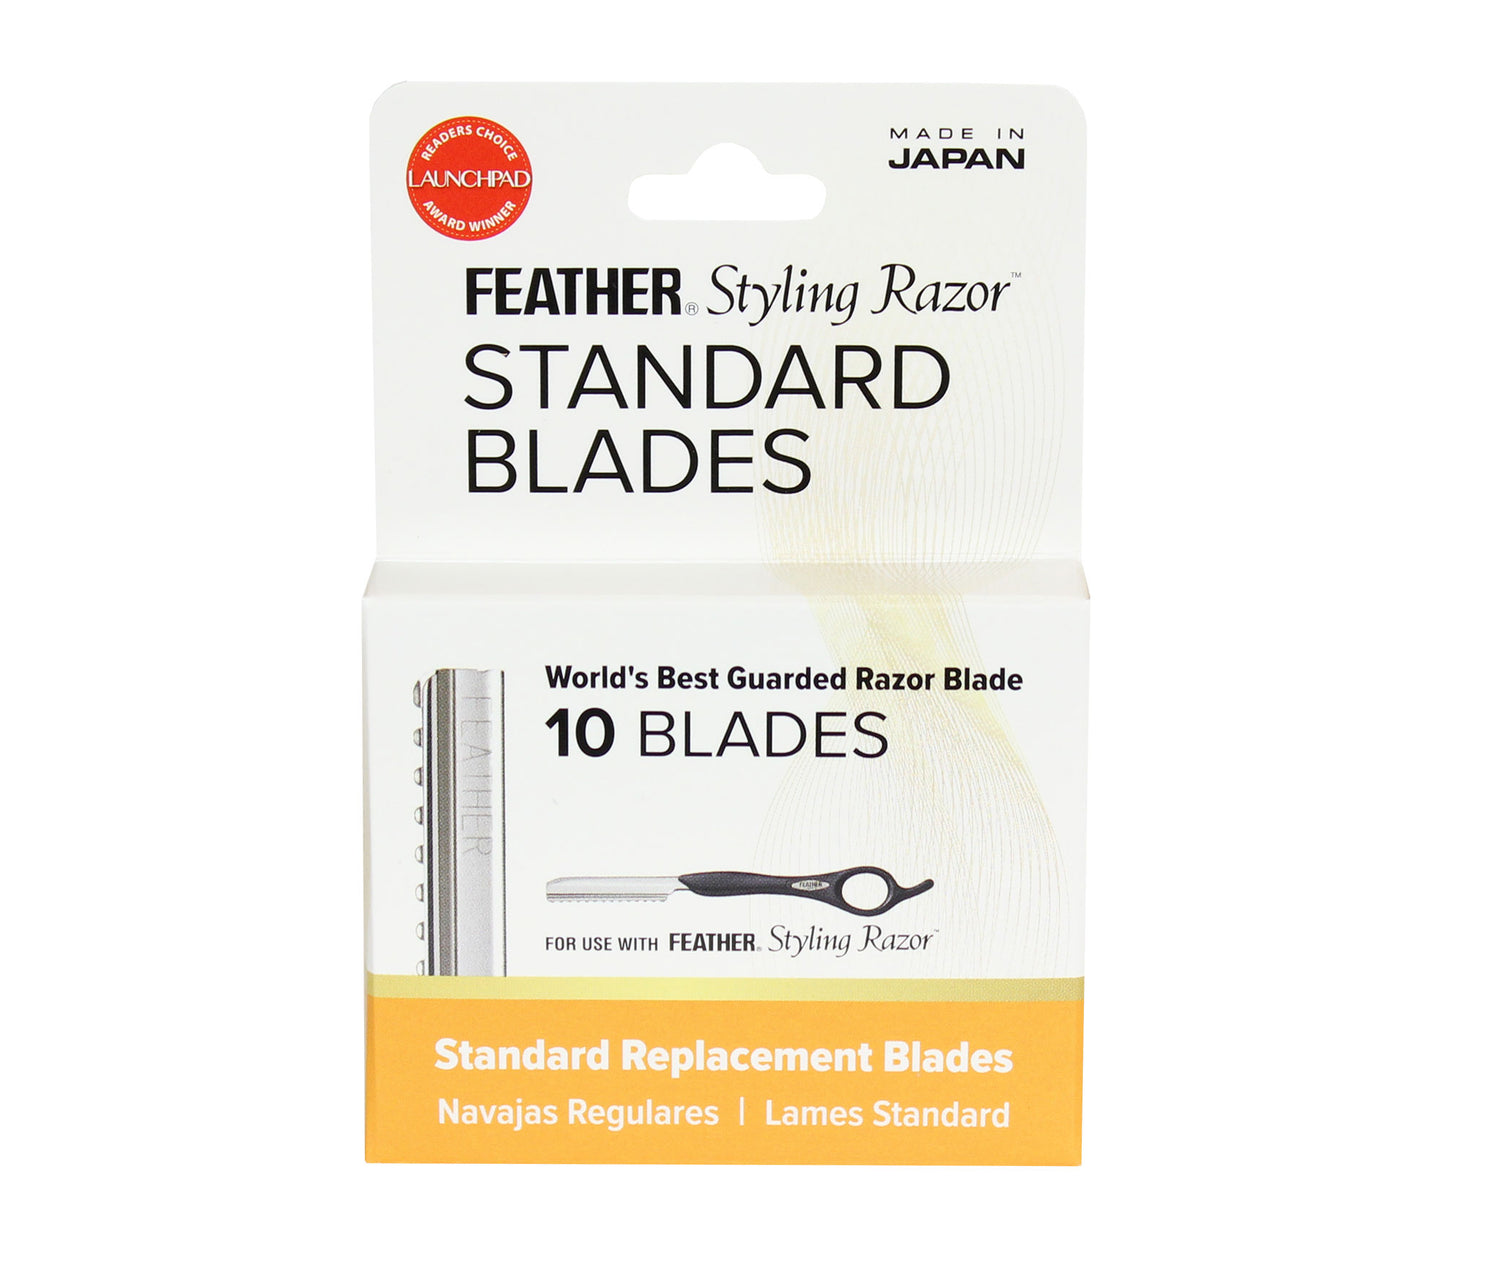
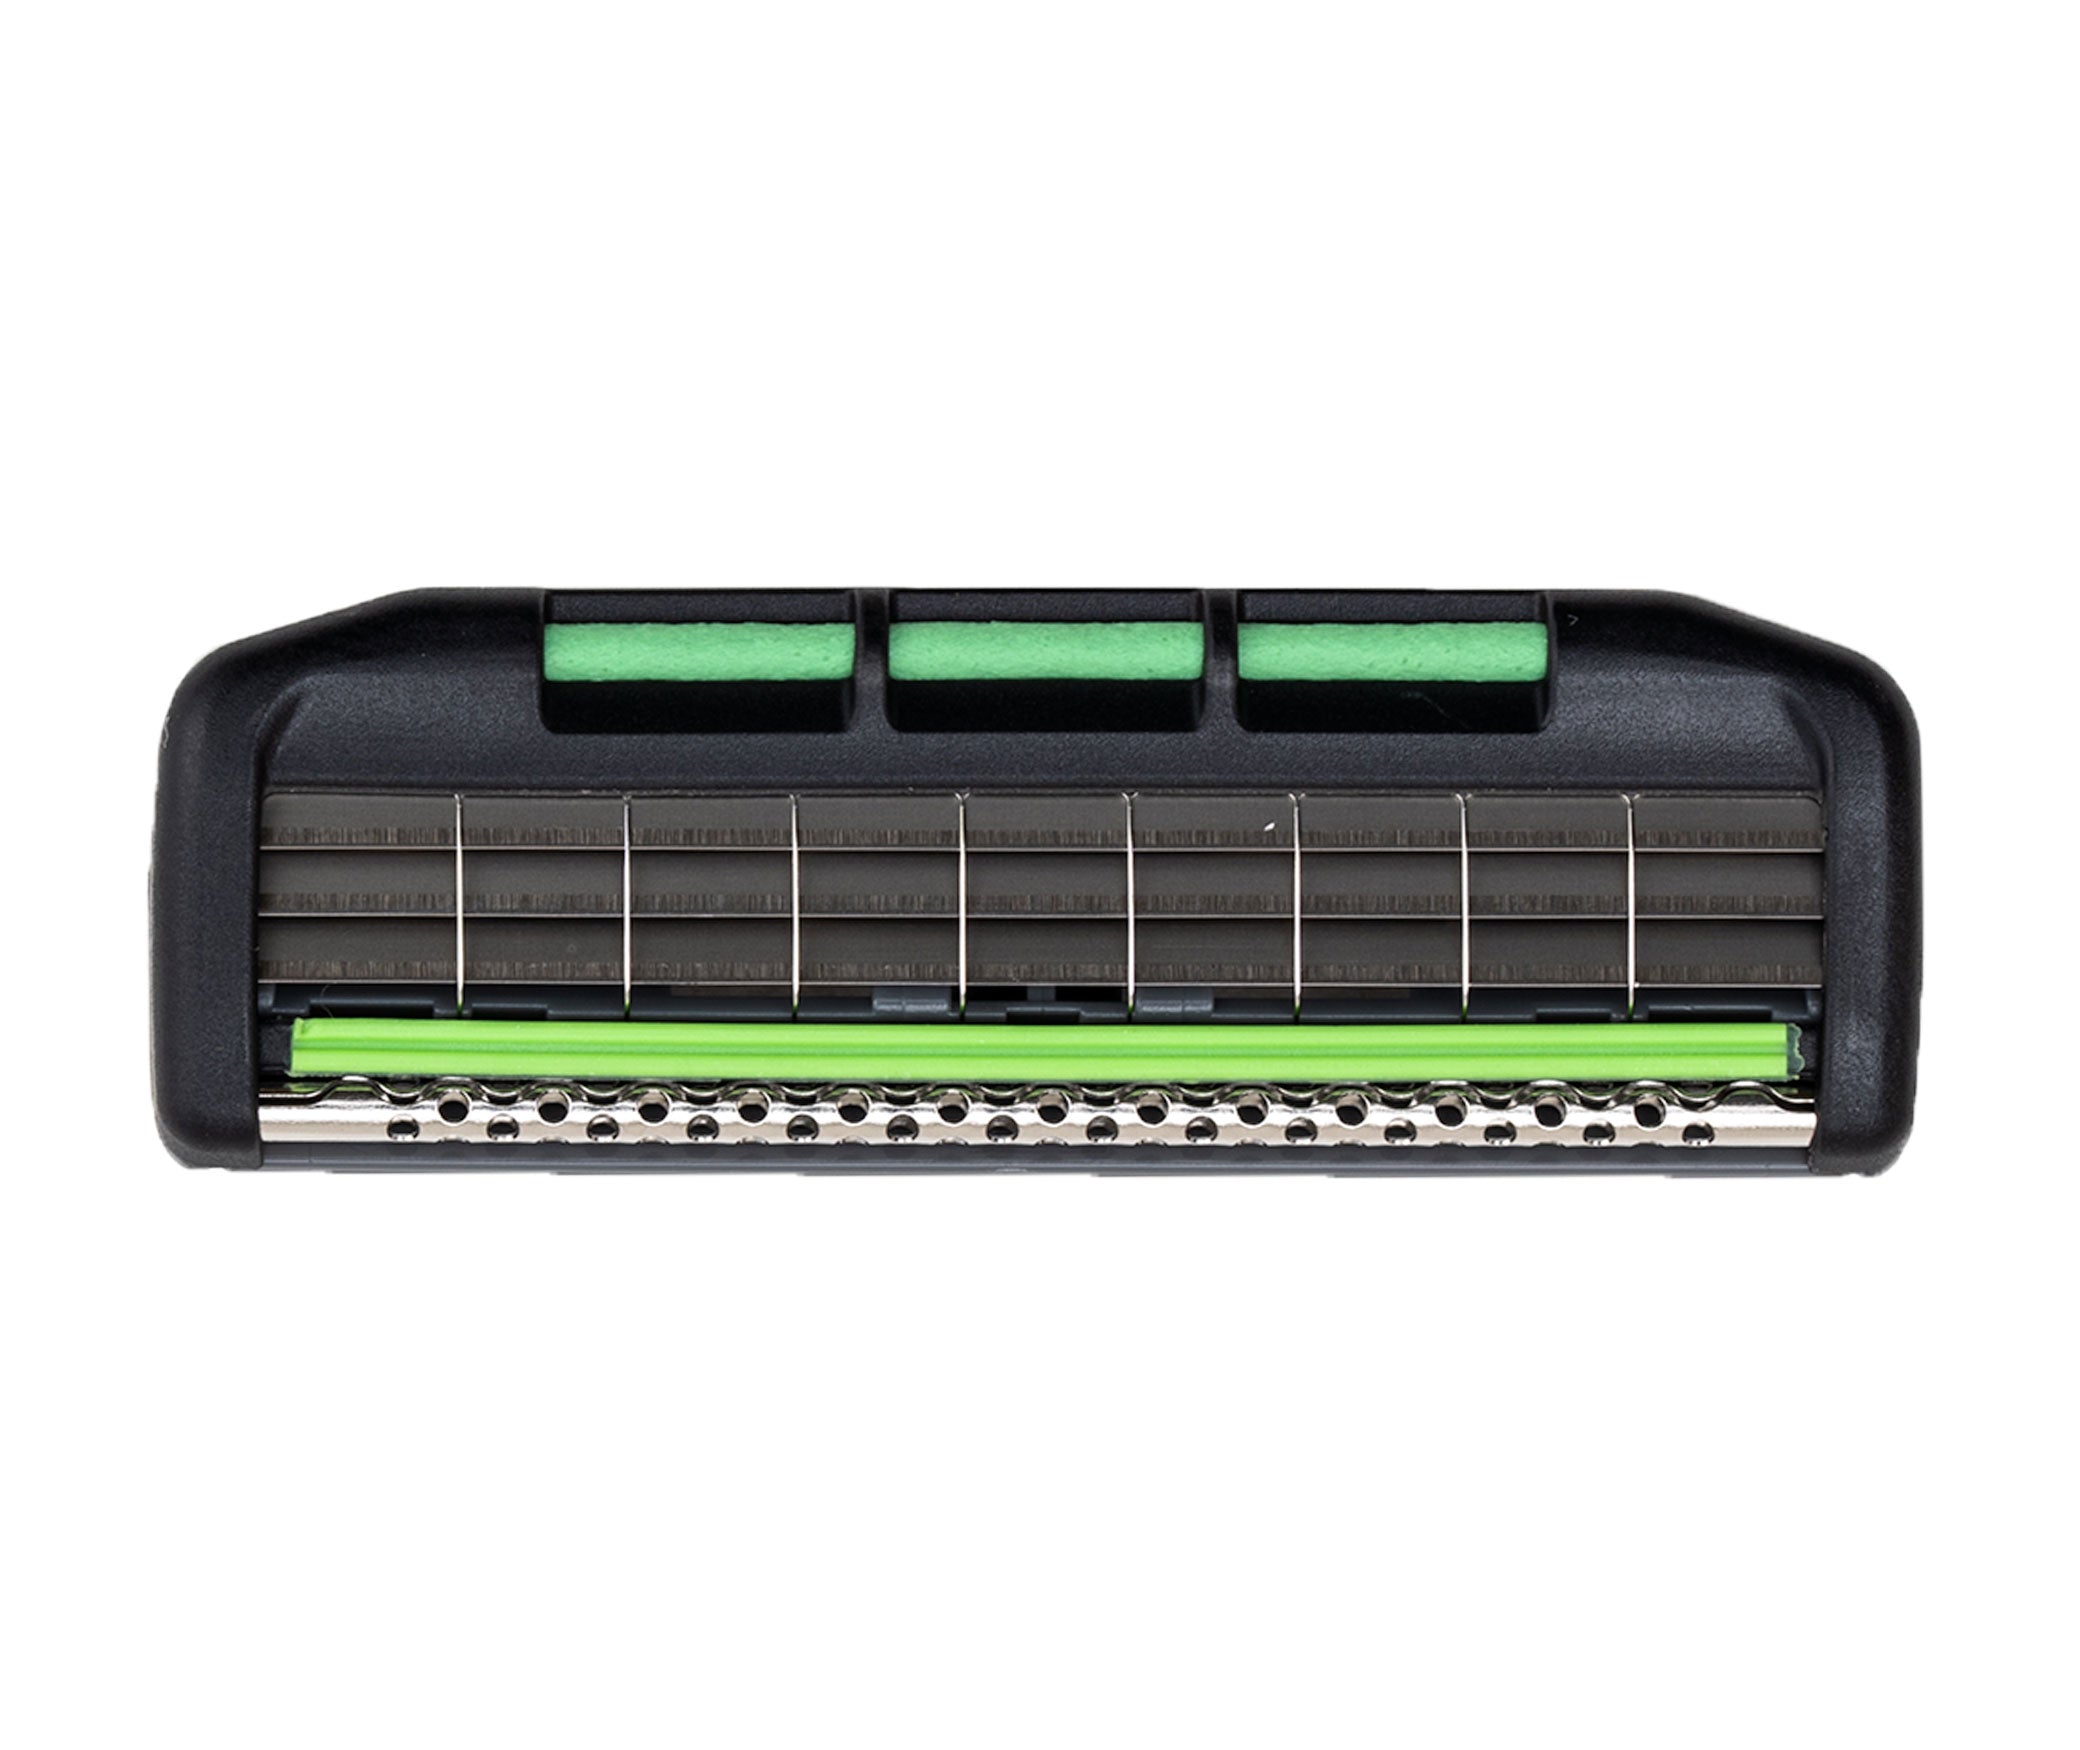
Feather Styling Razor Standard Blades
From $13.49
Unit price perFeather Styling Razor Standard Blades
From $13.49
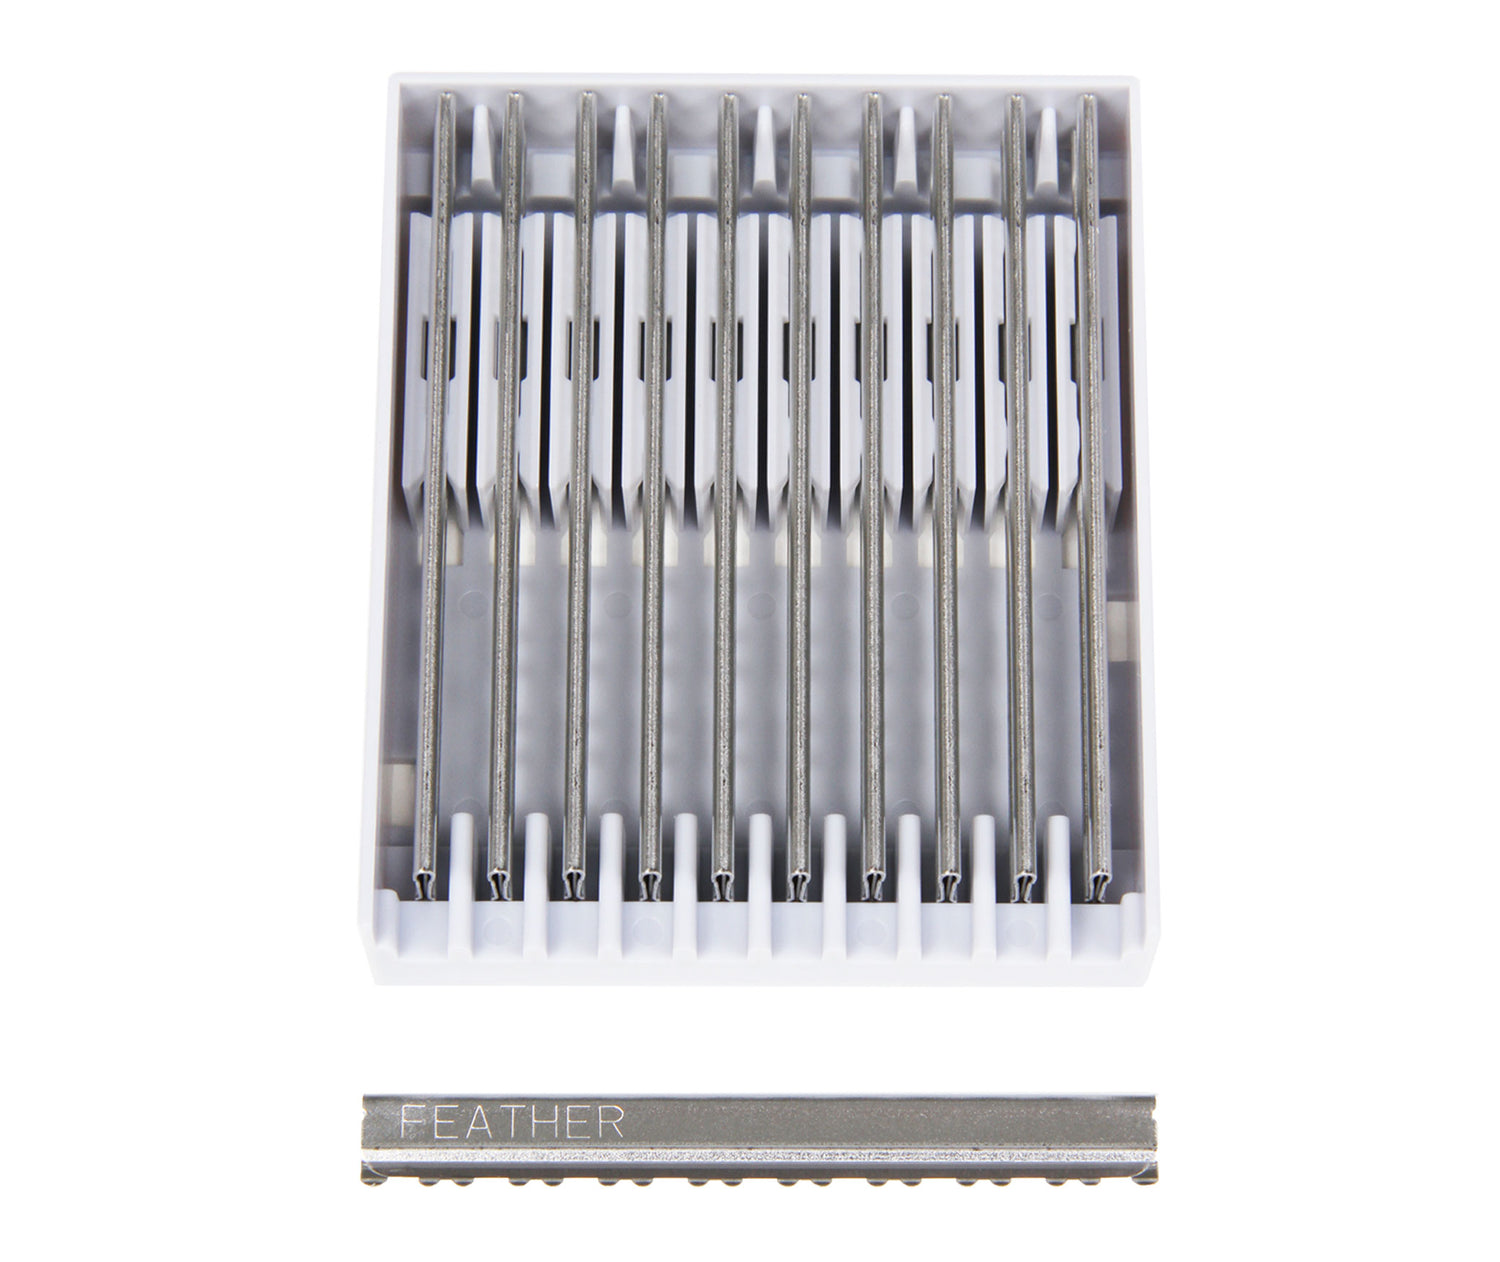
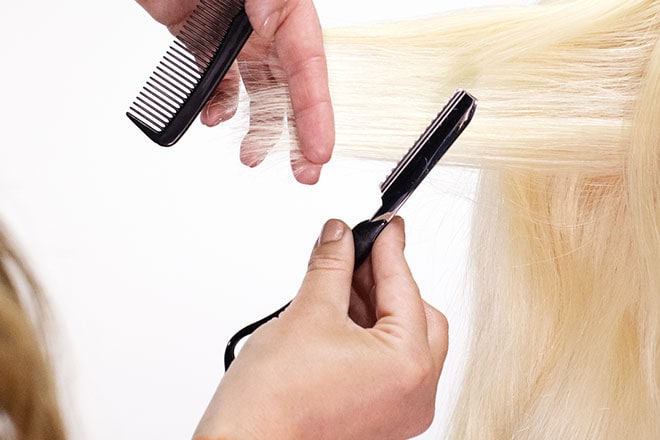
Unit price per- The Standard Blades are the most popular Styling Razor Blade
- The sharpest and safest razor cutting blades in the industry
- Cutting edge is designed to give you the cutting control you need to be creative
- Replaceable guarded blades make it safe for you and your client
- Blade design prevents hair from clogging between the guard and blade
- For use with Feather Styling Razor handles only
- 10 Blades Per Pack
- Subscribe & Save up to 18% on blades!
- Made in Japan
Click to learn more about Feather Styling Razors and Blades.
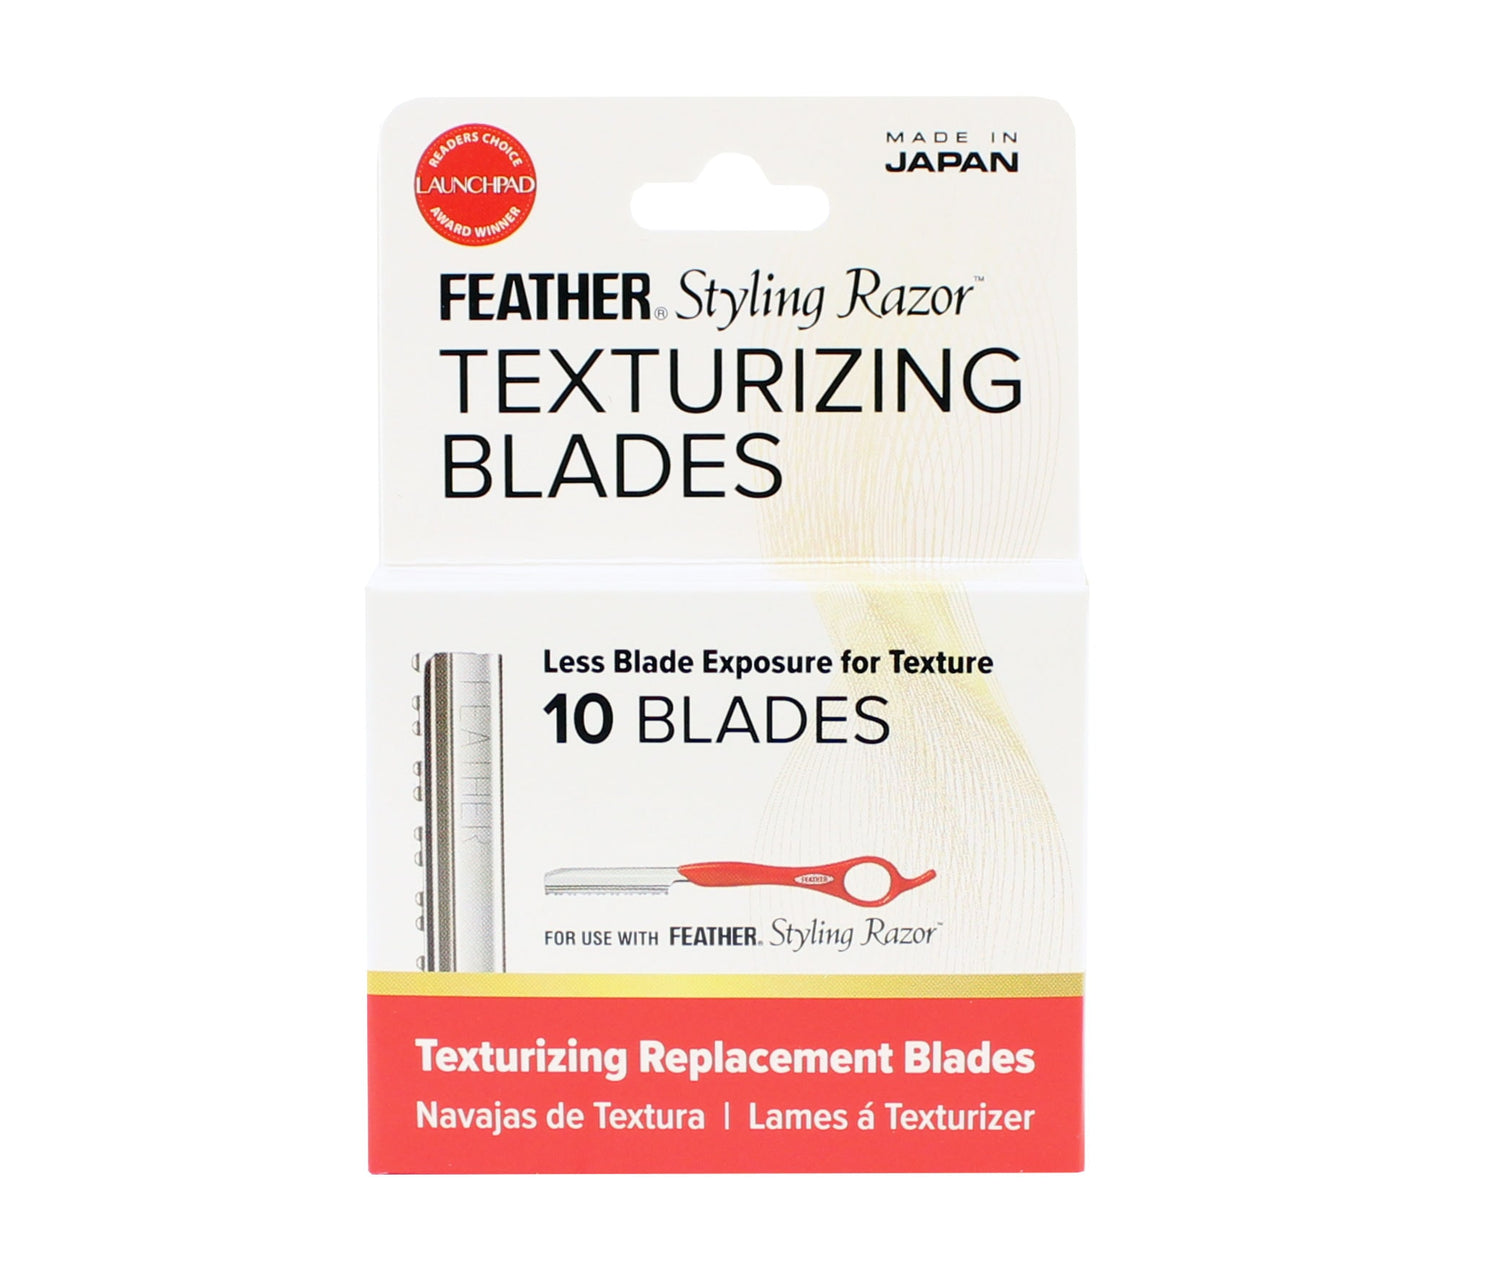
Feather Styling Razor Texturizing Blades
From $13.49
Unit price perFeather Styling Razor Texturizing Blades
From $13.49
Unit price per- Texturizing Blades remove 25% less hair than the Feather Standard Blades
- For texturizing and creating volume
- Cutting edge is designed to give you creative cutting control
- Replaceable guarded blades make it safe for you and your client
- Blade design prevents hair from clogging between the guard and blade
- For use with Feather Styling Razor handles only
- 10 blades per pack
- Subscribe & Save up to 18% on blades!
- Made in Japan
Click to learn more about Feather Styling Razors and Blades.

Feather Styling Razor Standard Blades Bonus Value Pack
$37.95
Unit price perFeather Styling Razor Standard Blades Bonus Value Pack
$37.95
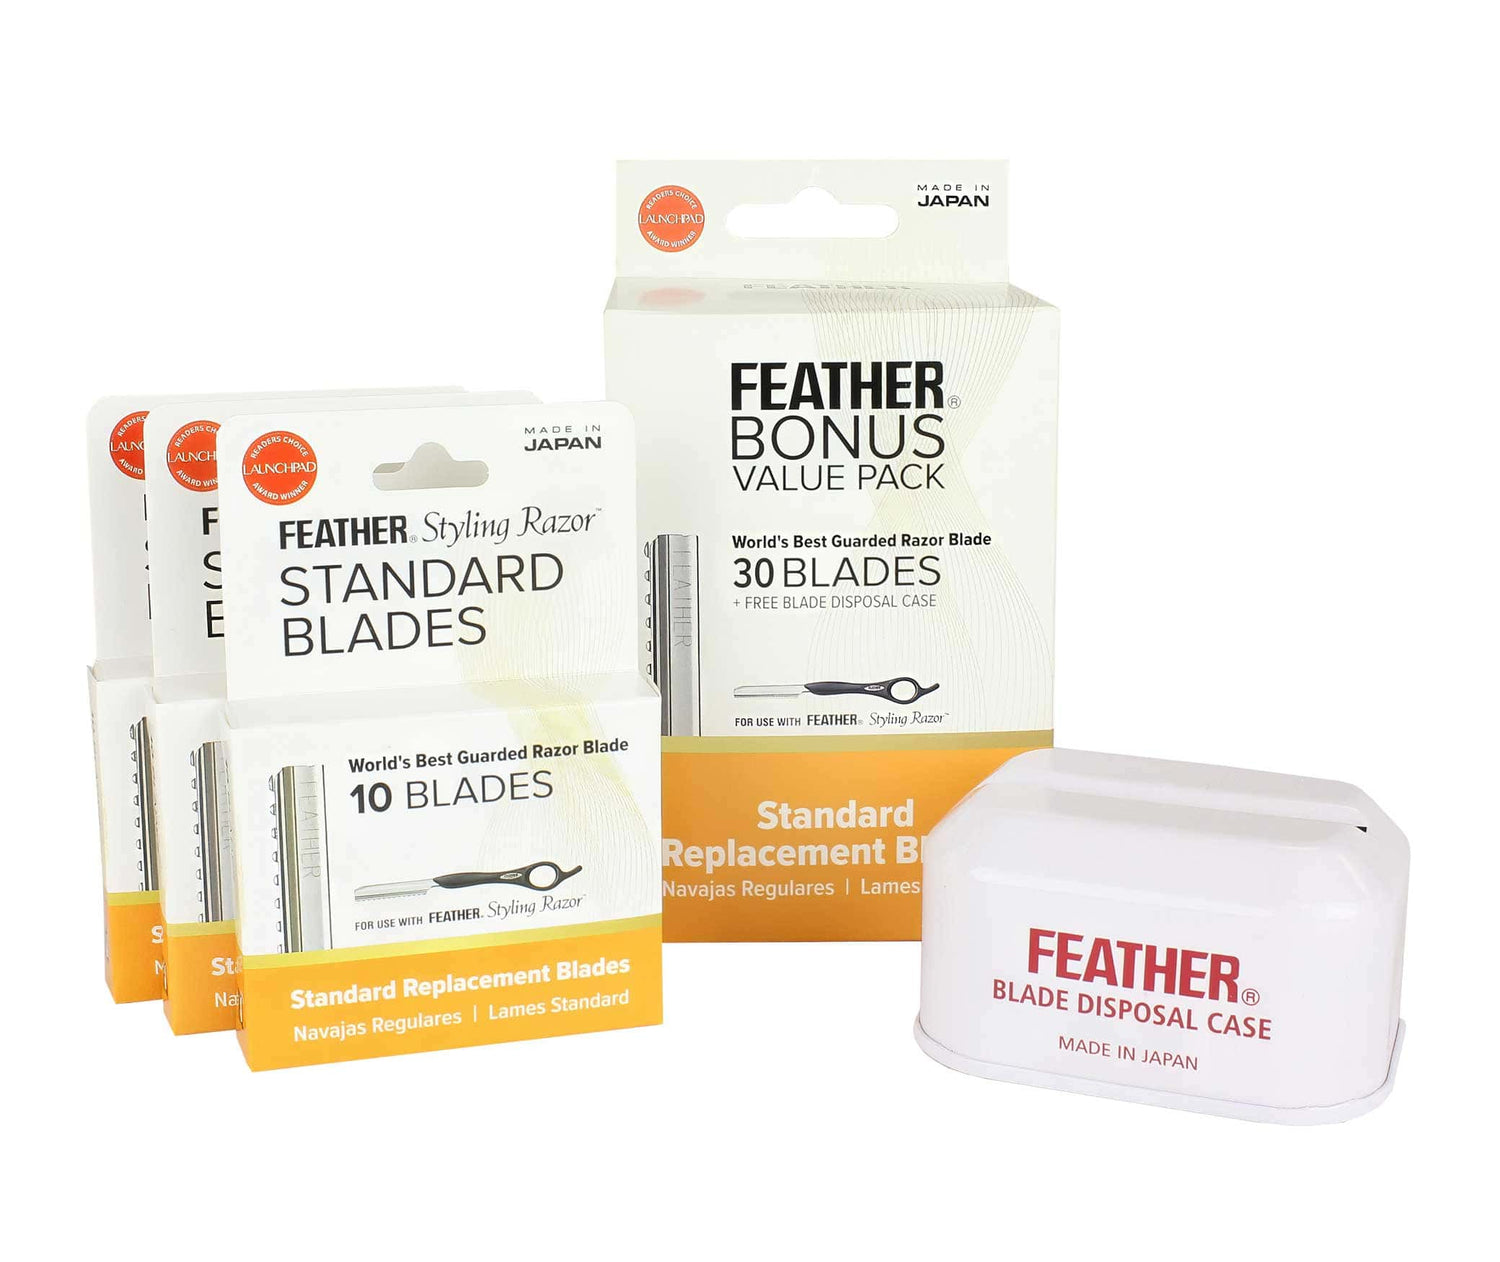
Unit price per- Includes 30 Feather Standard Blades and Metal Blade Disposal Case
- Cutting edge is designed to give you creative cutting control
- Replaceable guarded blades and disposal case make it safe for you and your client
- Blade design prevents hair from clogging between the guard and blade
- For use with Feather Styling Razor handles only
- Made in Japan
Click to learn more about Feather Styling Razors and blades.


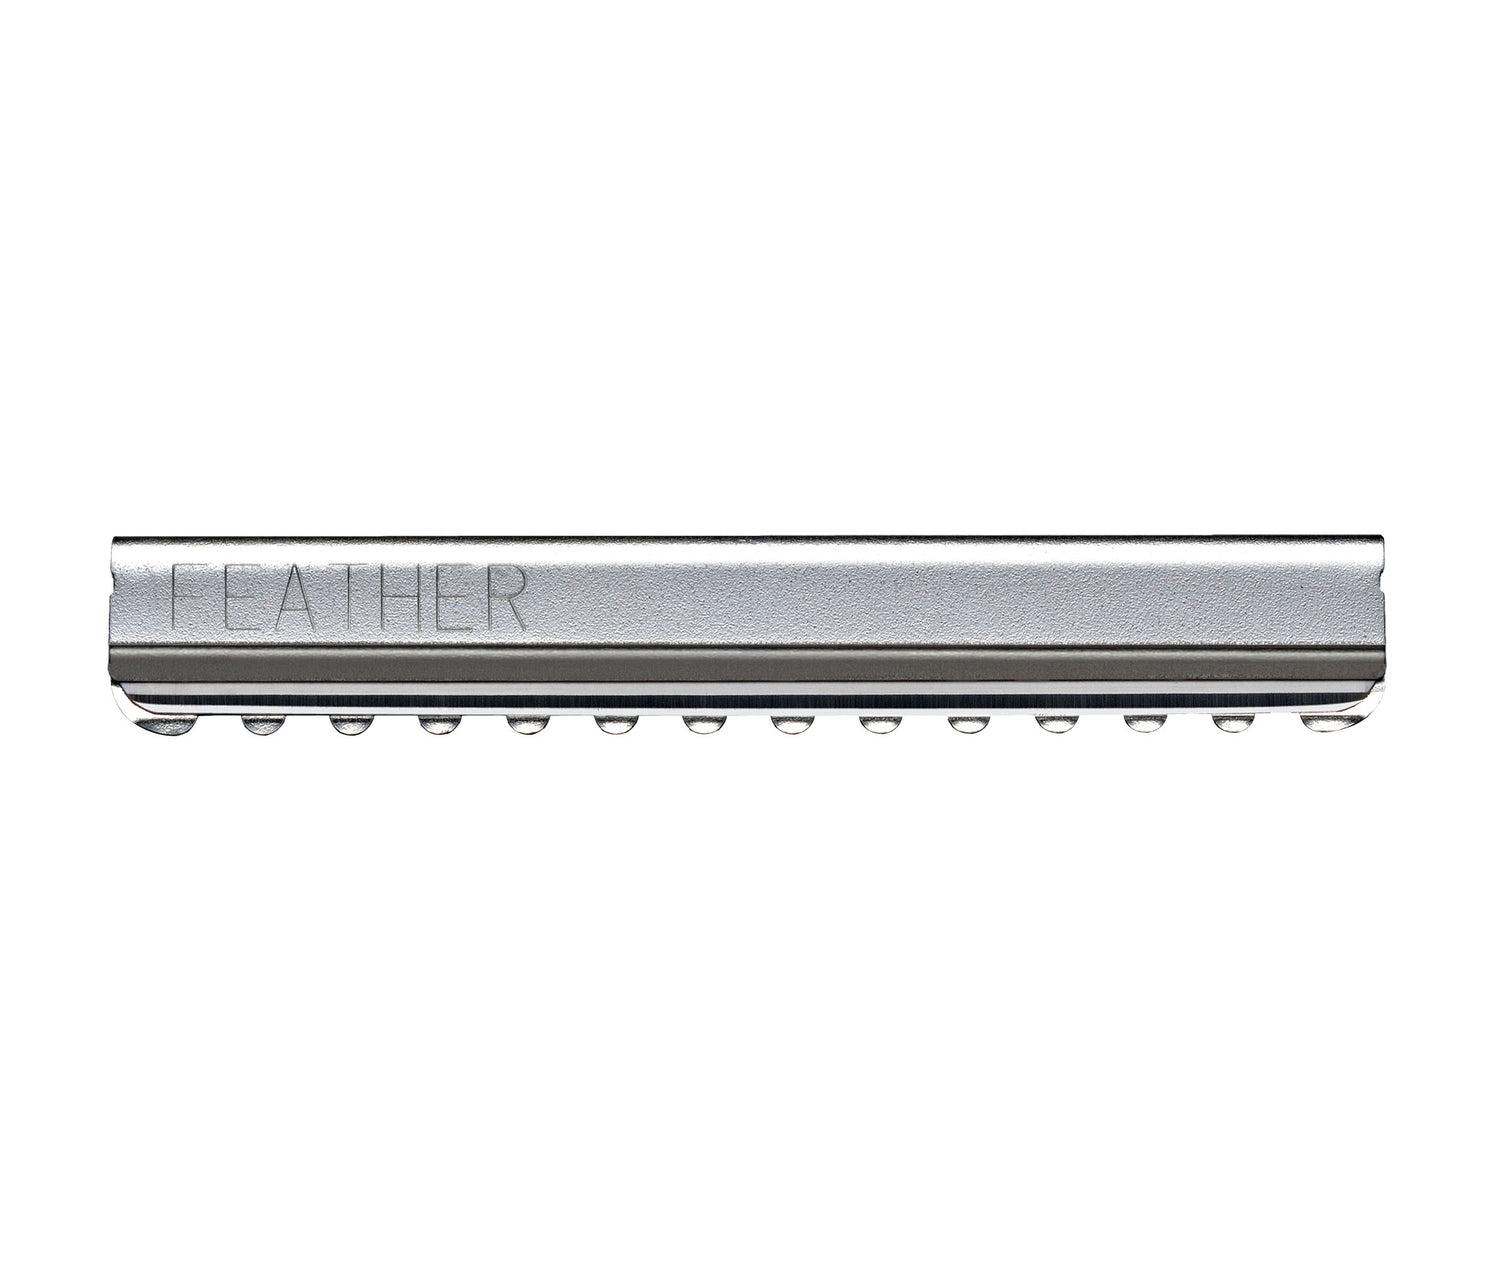
Feather Styling Razor Standard R-Type Blades
From $13.49
Unit price perFeather Styling Razor Standard R-Type Blades
From $13.49
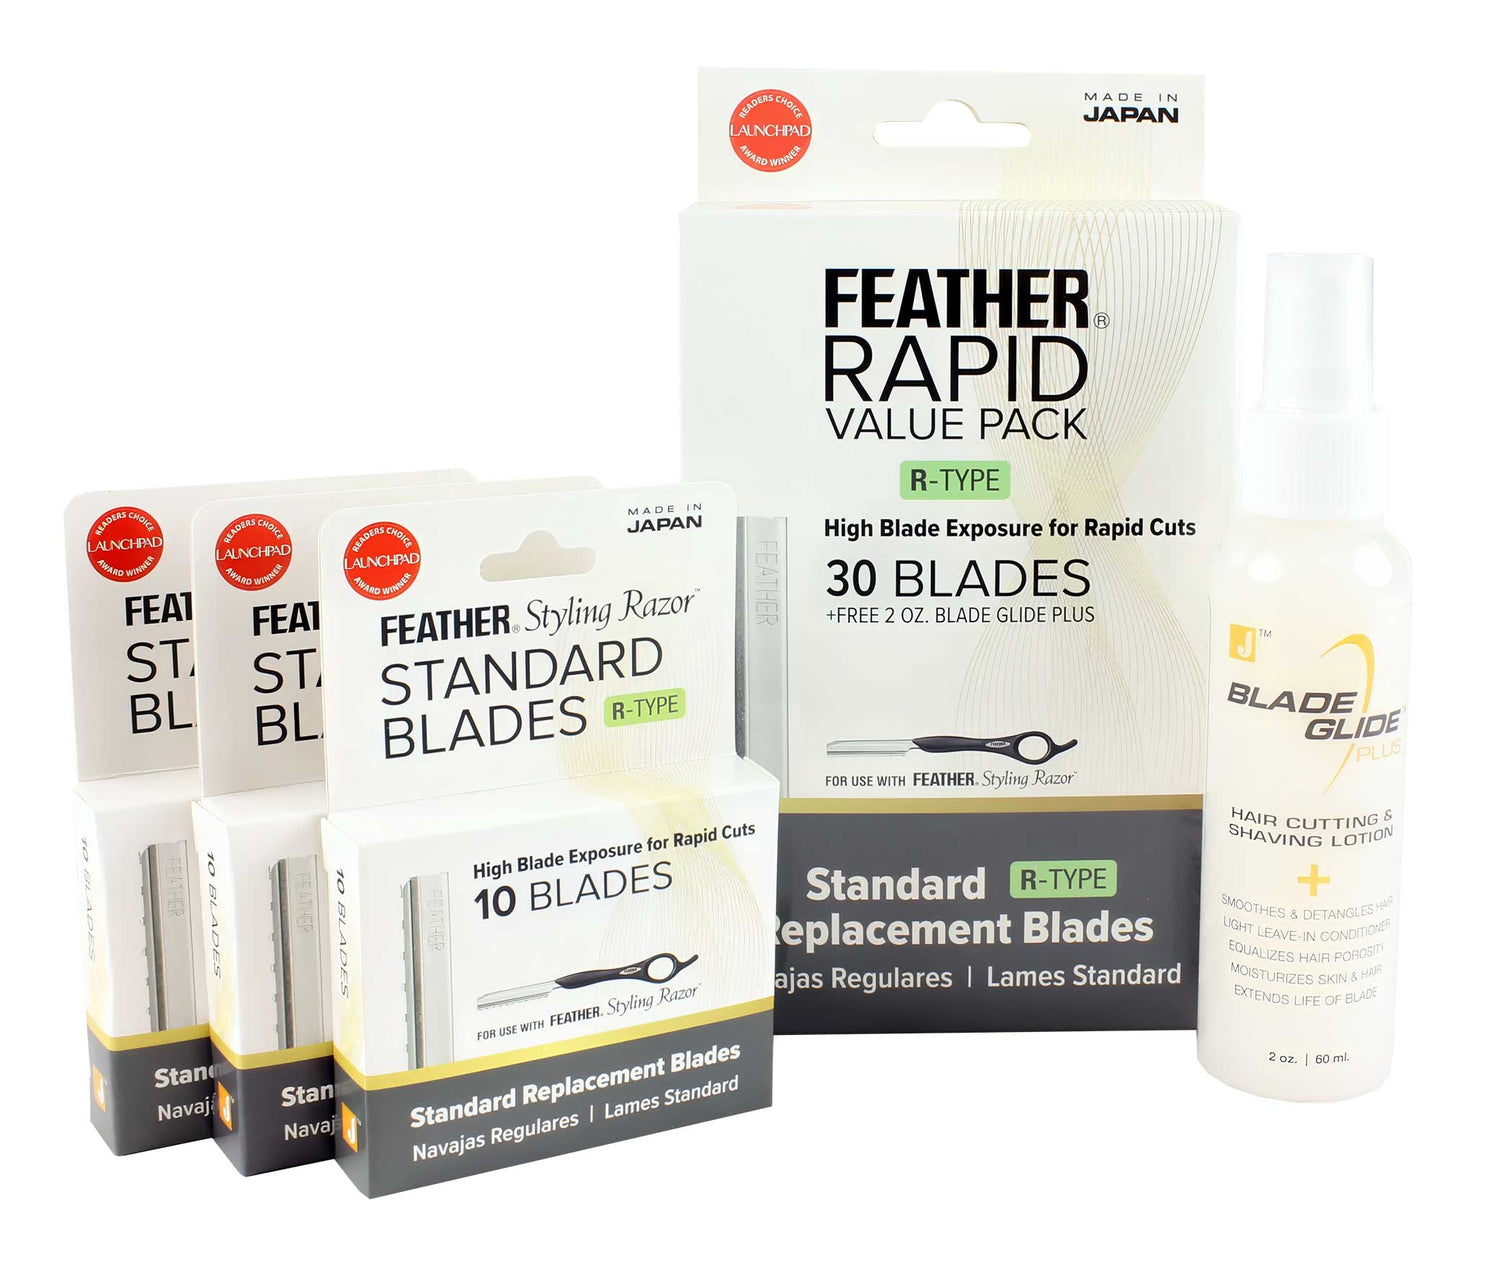
Unit price per- R-Type Blades have 40% more blade exposure for rapid cuts. This means more cutting freedom!
- Cutting edge is designed to give you creative cutting control
- Replaceable patented guarded blades make it safe for you and your client
- Blade design prevents hair from clogging between the guard and blade
- For use with Feather Styling Razor handles only
- 10 blades per pack
- Subscribe & Save up to 18% on blades!
- Made in Japan
Click to learn more about Feather Styling Razors and Blades.
Feather Styling Razor Standard R-Type Blades Rapid Value Pack
$37.95
Unit price perFeather Styling Razor Standard R-Type Blades Rapid Value Pack
$37.95
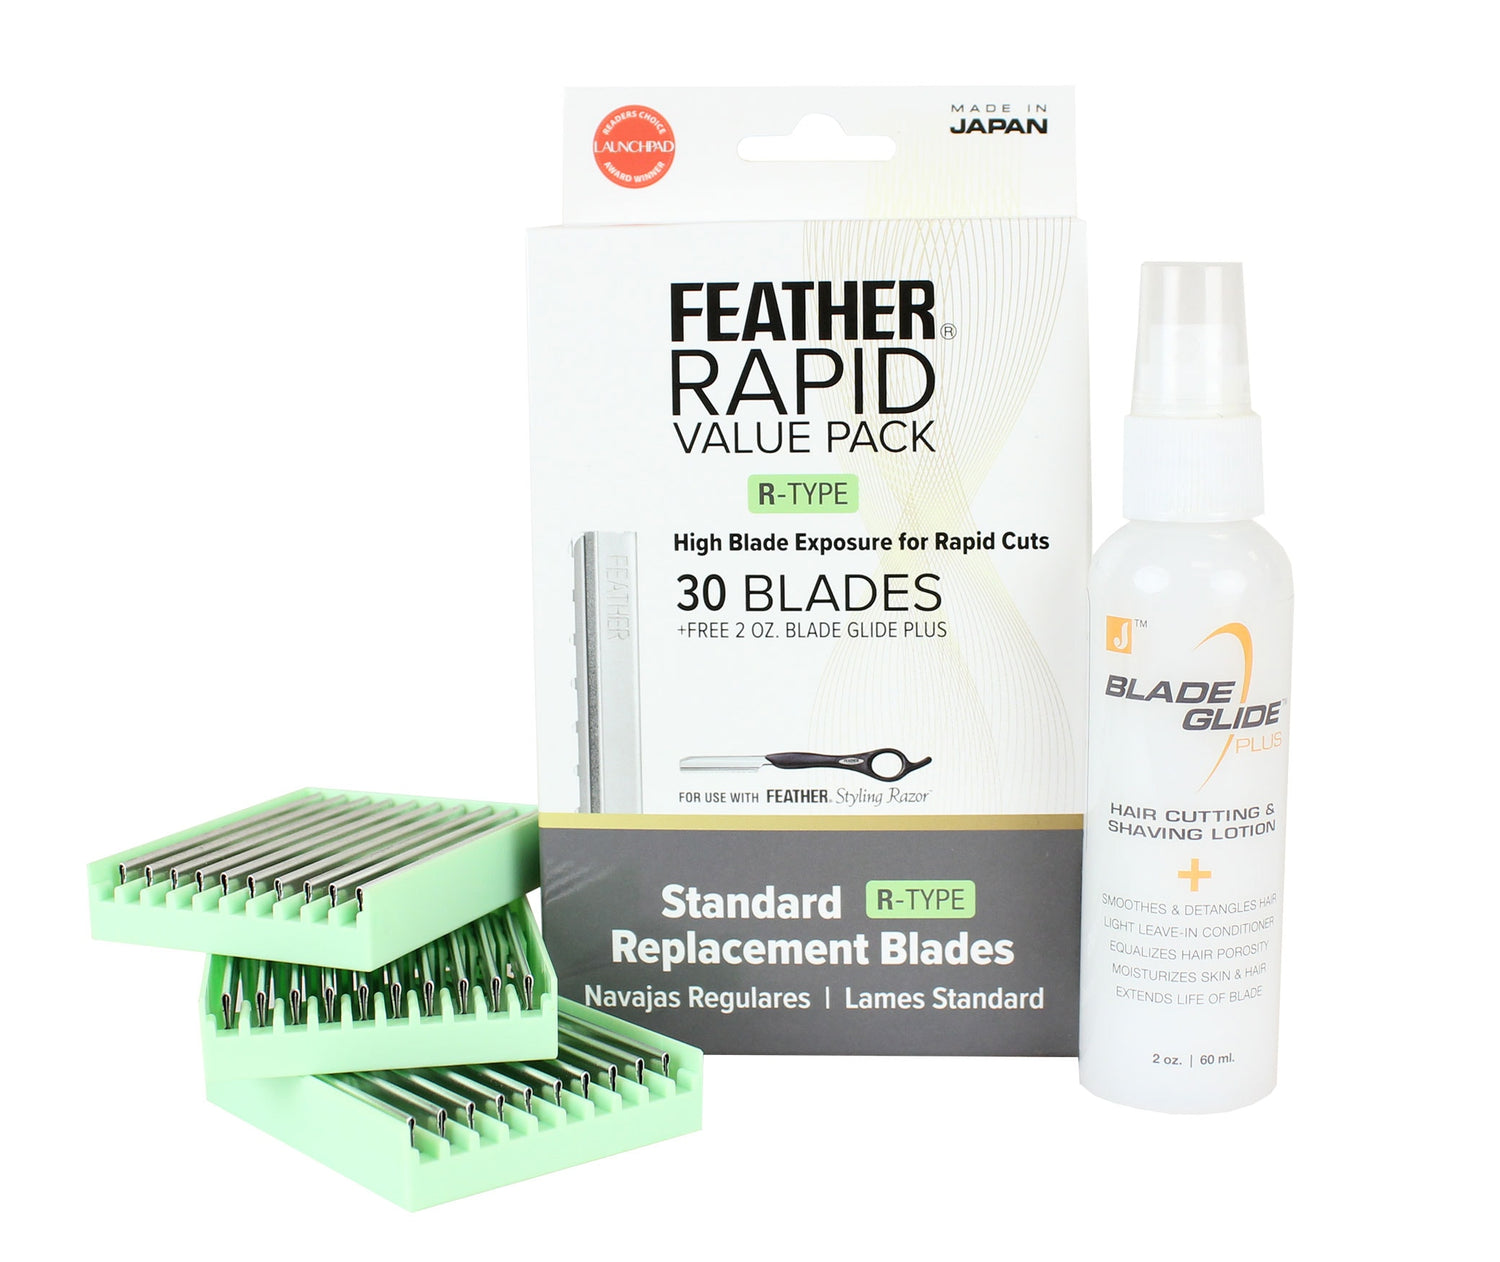
Unit price per- Includes 30 Feather Standard R-Type Blades and 2oz. JATAI Blade Glide
- Cutting edge is designed to give you creative cutting control
- Replaceable guarded blades make it safe for you and your client
- Blade Glide extends the life of the blade and allows the razor to glide across the hair
- For use with Feather Styling Razor handles only
- Made in Japan
Click to learn more about Feather Styling Razors and blades.
RELATED ARTICLES
Getting Started with Feather Styling Razors and Blades

Subscribe and Save on Feather Blades with JATAI

Your Top Five Razor Cutting Questions - and Answers!
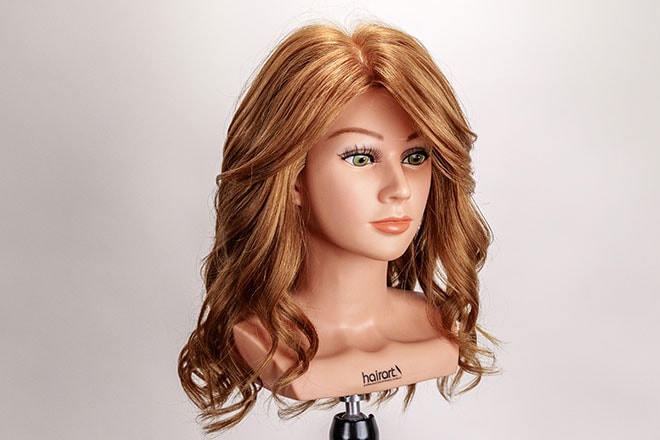
Long Layers Razor Cut Tutorial
Product comparison
"One of my very first graduating gifts from cosmetology was a Feather Razor"