-
SHOP BY
-
 HAIRSTYLIST
-
 BARBER
-
 NAIL TECH
-
 ESTHETICIAN
-
 CONSUMER
SHOP BY
ProfessionBrands -
-
HAIRCARE & SHAVING
HAIRCARE & SHAVING
 RAZOR HANDLES
 RAZOR KITS
 RAZOR BLADES
 SHEARS & SCISSORS
 END PAPER
 COMBS & BRUSHES
 LOTIONS & CREAMS
 ACCESSORIES

-
PERSONAL CARE
PERSONAL CARE
 NAIL CARE
 TWEEZERS
 EYELASH
 HAIRCARE & SHAVING
 SKINCARE
 KITS & SETS
 SPECIALTY
COMBS & BRUSHES
LOTIONS & CREAMS
ACCESSORIES
SPECIALTY
COMBS & BRUSHES
LOTIONS & CREAMS
ACCESSORIES


Skincare


6 products
6 products
Sort by:
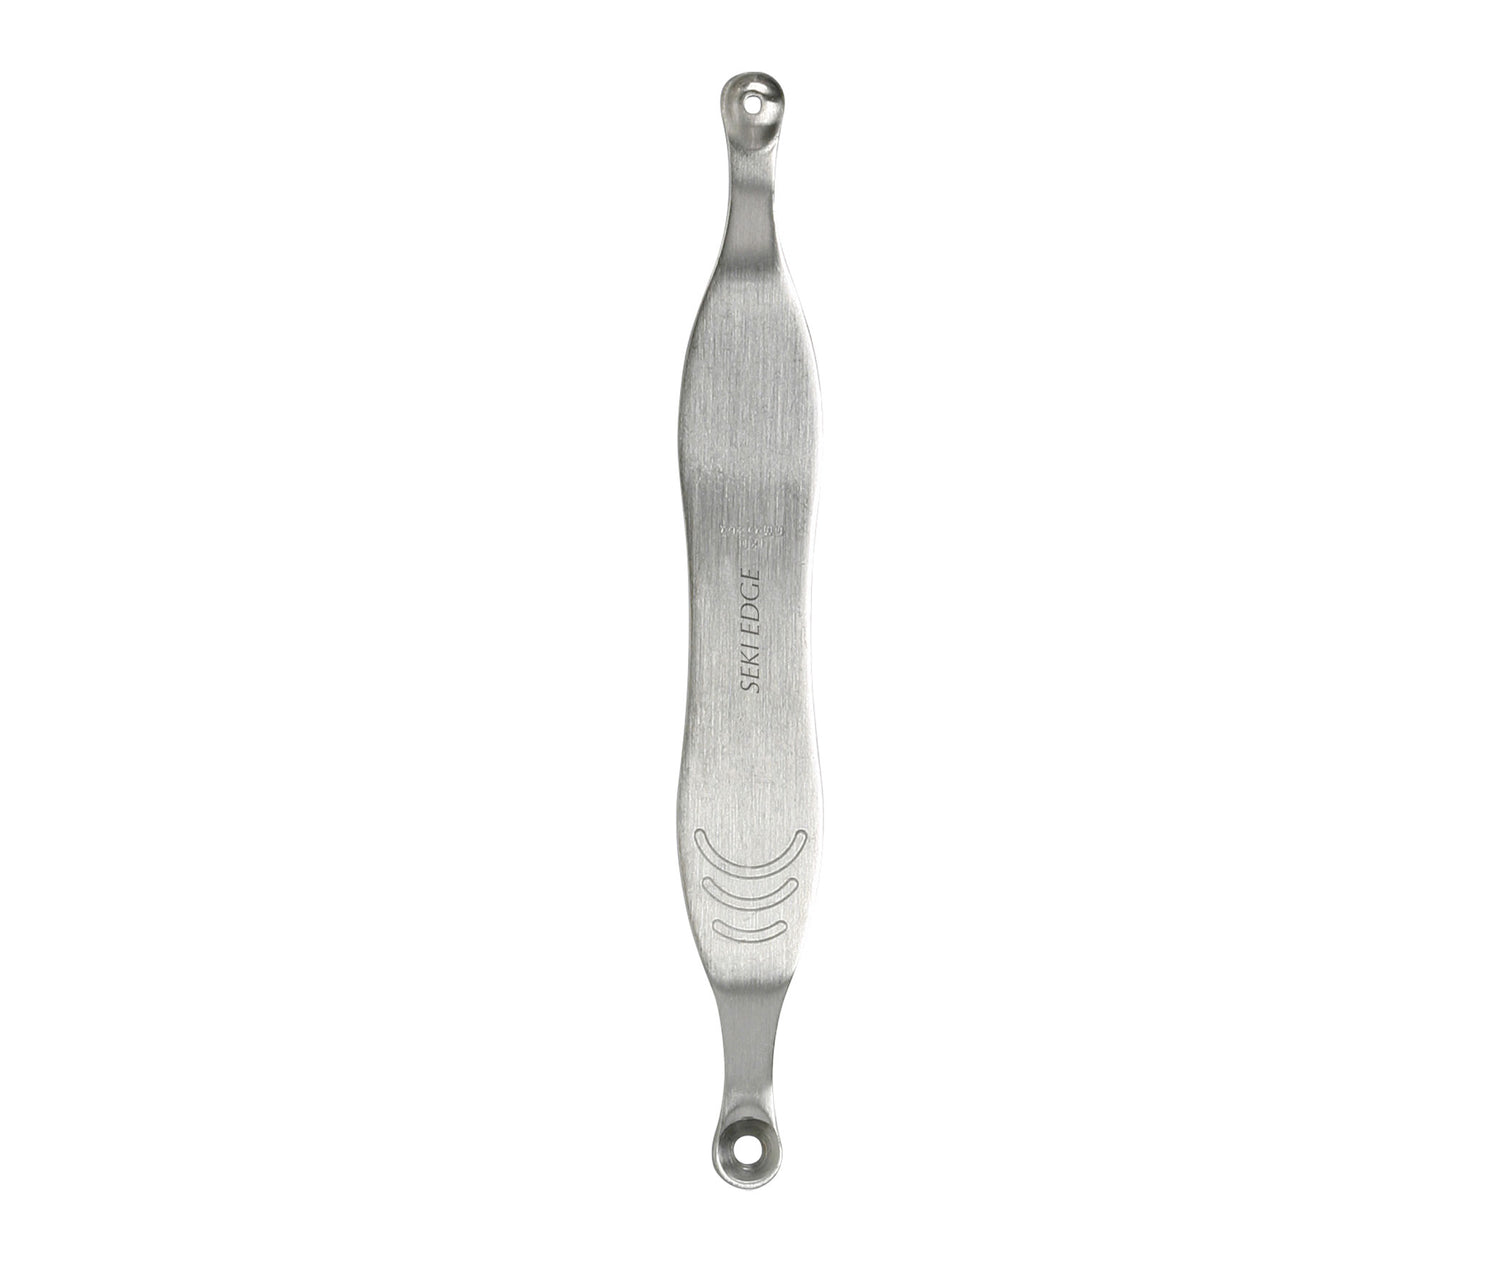
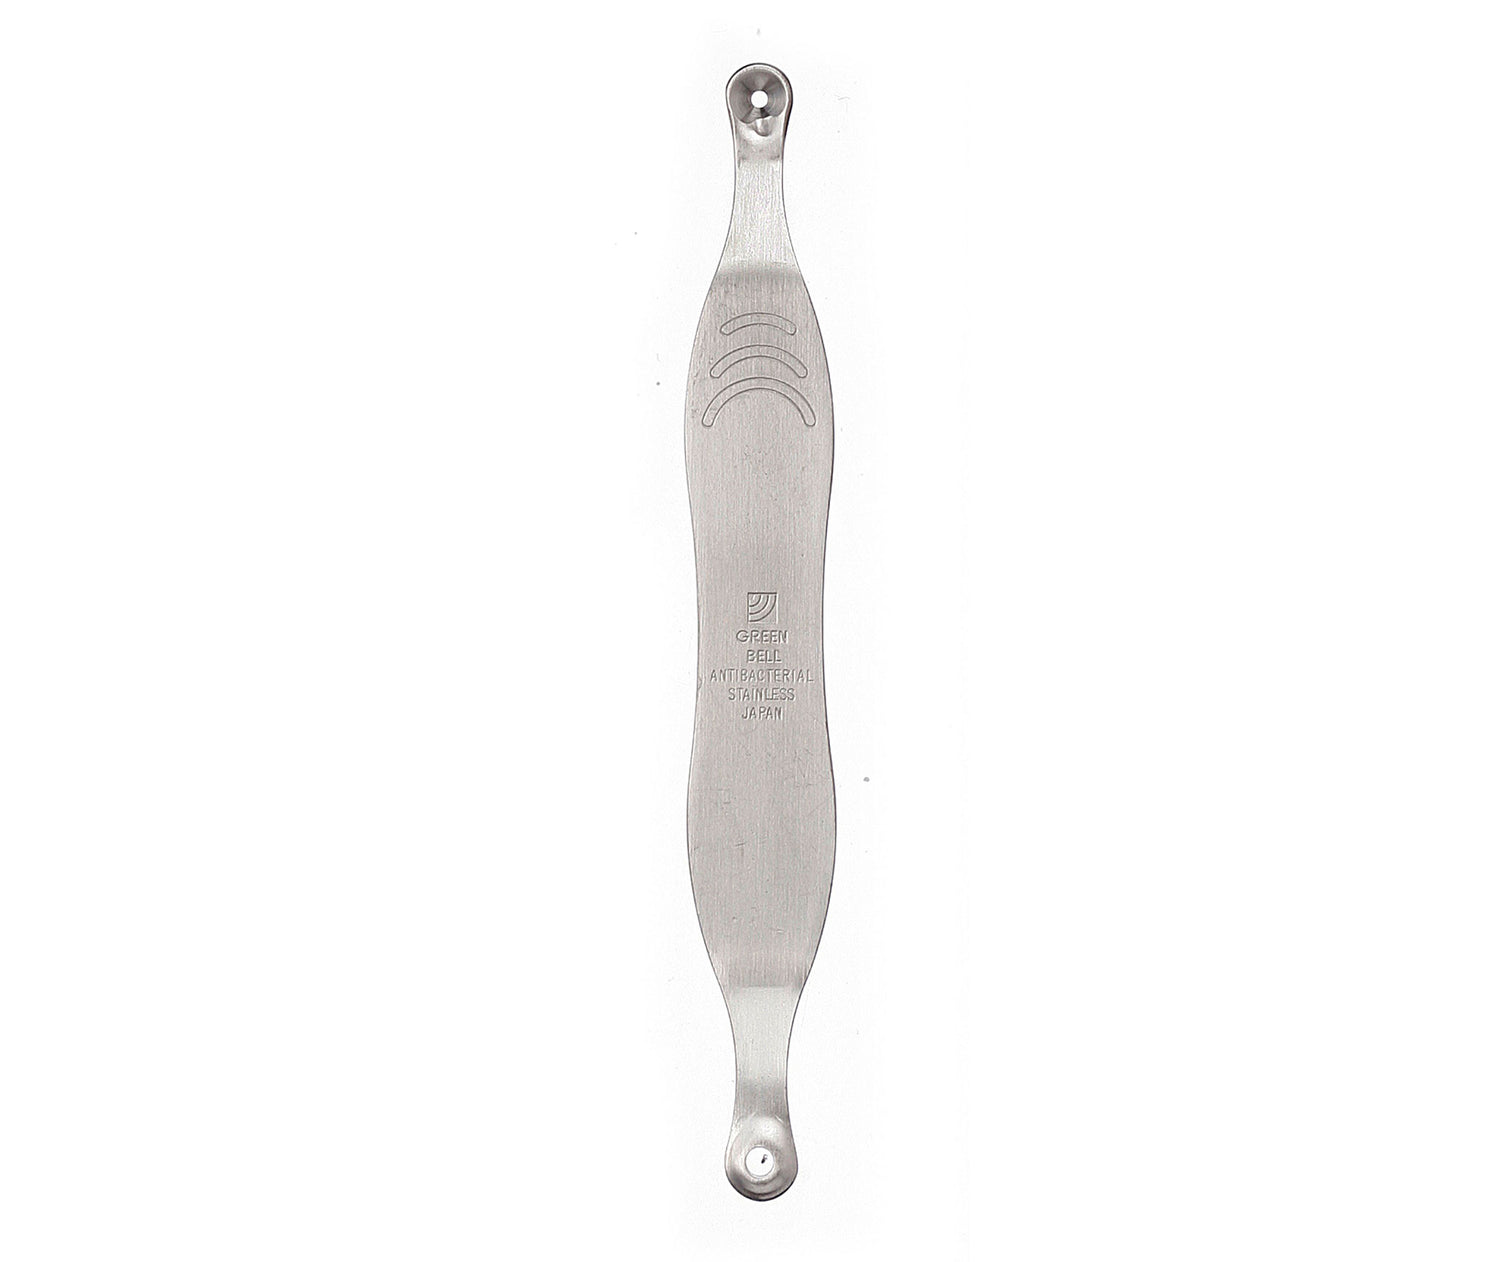
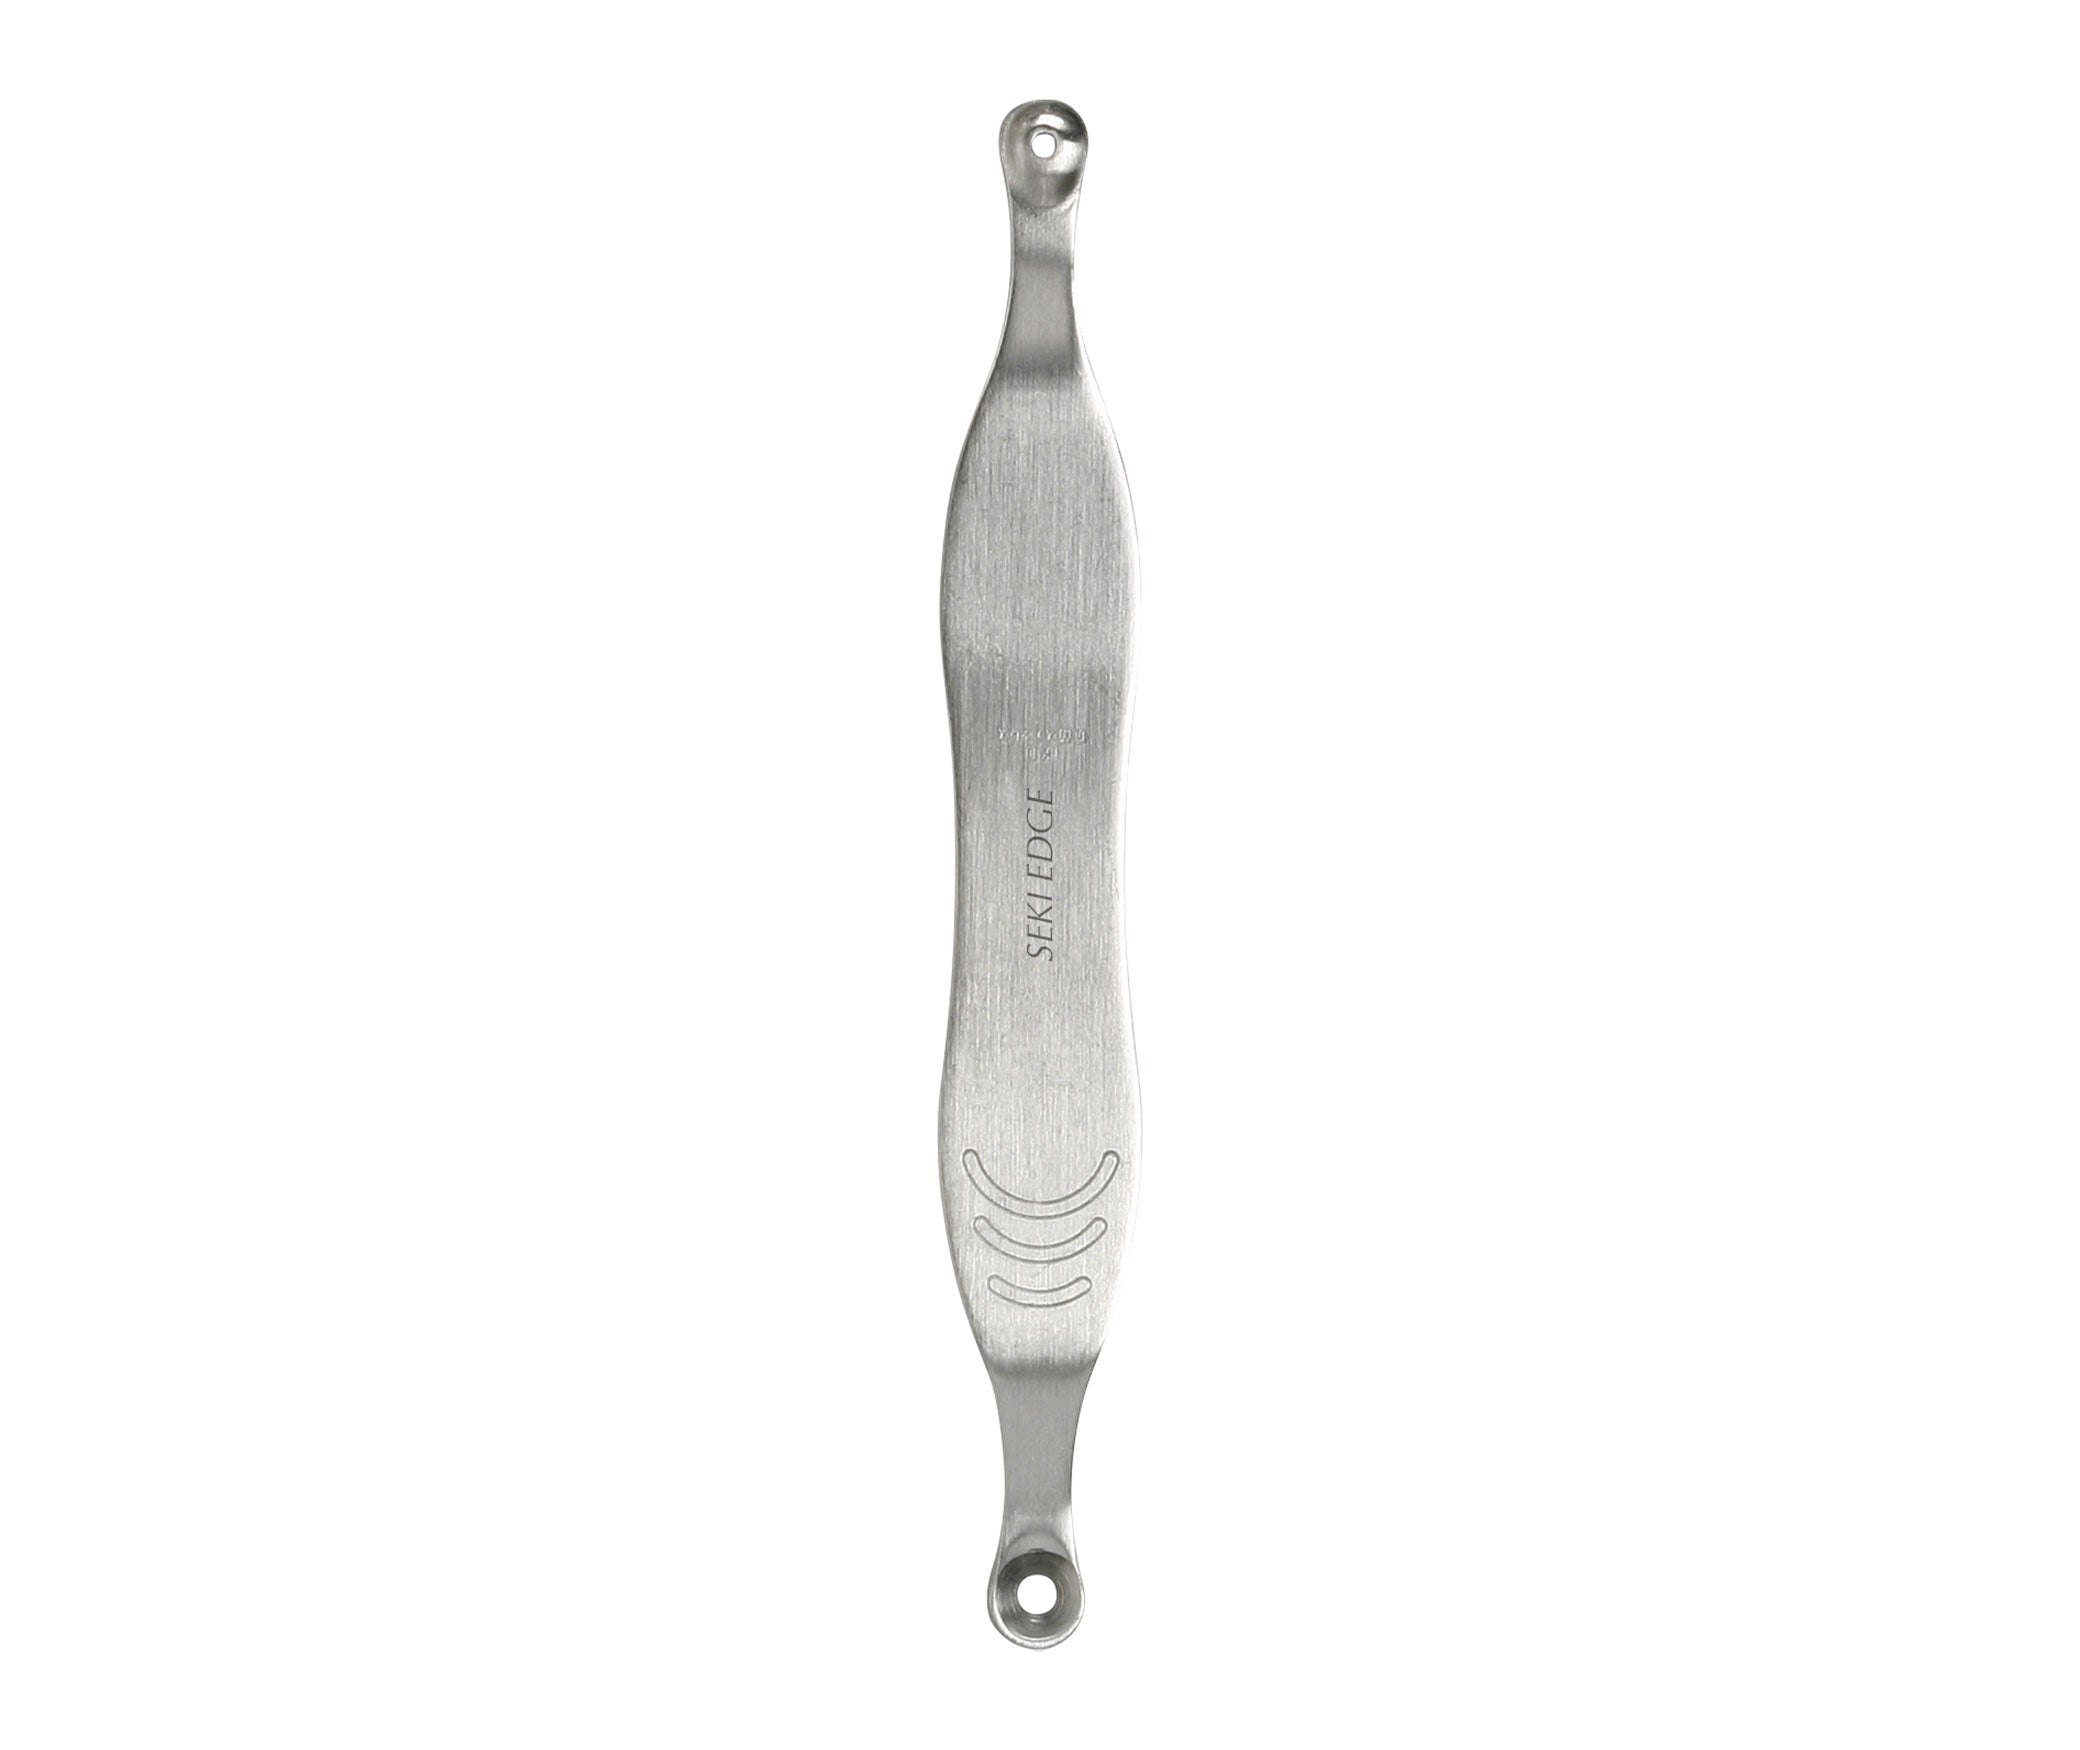
Seki Edge Blackhead Remover (SS-801)
Seki Edge Blackhead Remover (SS-801)
- 2 hole sizes to fit around different size blackheads
- Removes blackheads gently with little effort
- Stainless steel composition
- Leaves skin clear of blackheads
- Made in Japan


Seki Edge Callus Remover (SS-805)
Seki Edge Callus Remover (SS-805)
- Files away rough, dry calloused skin
- Safe metal abrasive for even grinding power
- Ergonomic handle for ease of use
- Easily dismantle for cleaning and removal of debris
- Made in Japan


Seki Edge Callus Reducer (SS-800)
Seki Edge Callus Reducer (SS-800)
- Honey-combed etching reduces and smooths out calluses in any direction
- Coarse abrasive side reduce calluses
- Fine abrasive side smooths out calluses
- Ergonomic handle design for comfort and ease of use
- Made in Japan


Seki Edge Elastomer Ear Pick (SS-806)
Seki Edge Elastomer Ear Pick (SS-806)
- Removes ear wax easily and effectively
- Use the screw head side to gently scrape the sides of the ear canal
- Use the brush end to remove tiny residual earwax for a finishing touch
- Elastomer can be easily cleaned for hygienic cleaning
- Made in Japan


Seki Edge Traditional Bamboo Ear Picks (SS-803)
Seki Edge Traditional Bamboo Ear Picks (SS-803)
- Removes ear wax easily and effectively
- Scooped end scrapes and catches ear wax for easy removal
- Bamboo 'springiness' allow for flexibility and comfort while using
- Two high quality hand-crafted bamboo ear picks
- Made in Taiwan. Inspected, edged, polished and finalized in Japan
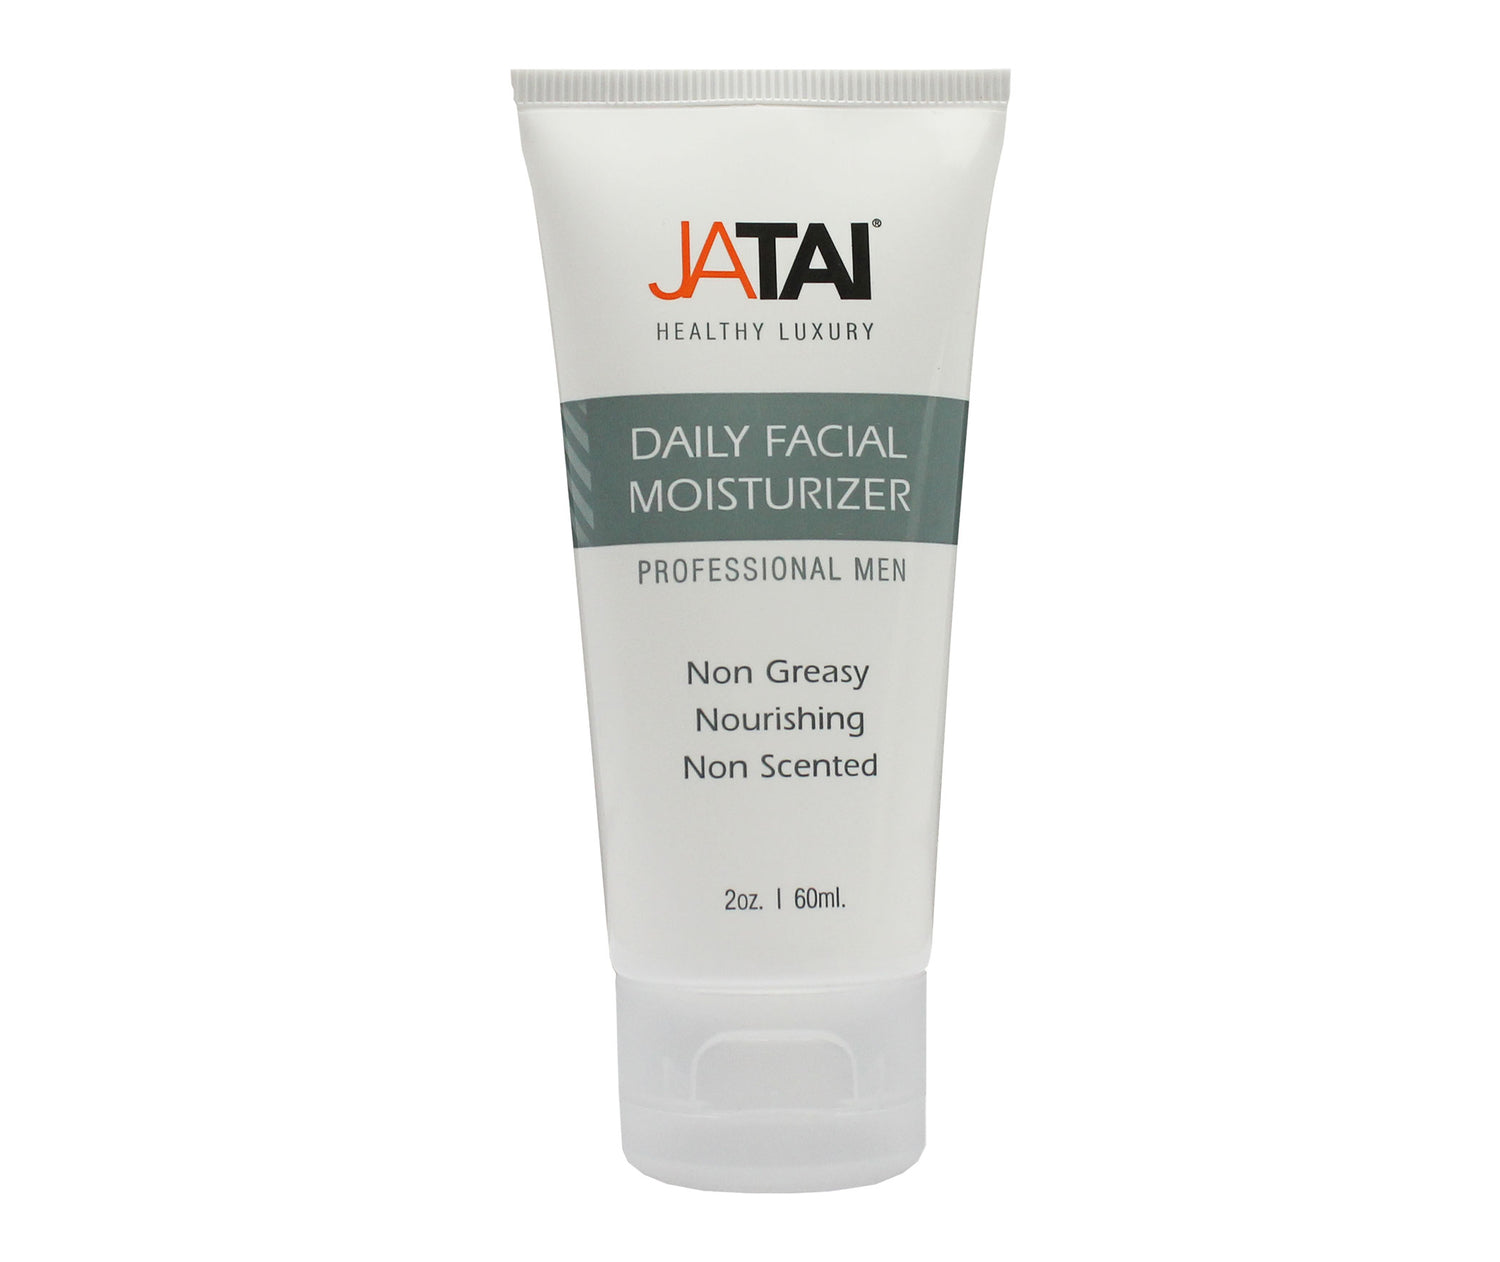
JATAI Daily Facial Moisturizer
$7.95
Unit price perJATAI Daily Facial Moisturizer
$7.95
Unit price per- Inspired by traditional barbering with advanced formulas for healthier skin
- Helps skin maintain a healthy appearance
- Penetrates and nourishes the skin, keeping it soft and supple
- 2oz. bottles are travel and TSA friendly
- Best if used in conjunction with JATAI Daily Facial Cleanser and Shaving Cream
- Made in America
RELATED ARTICLES

How to Get Rid of Blackheads Using a Blackhead Remover Tool

How to get Rid of Calluses and Corns: Treatment and Prevention

3 Ways to Effectively Remove a Splinter

Summer is here. Get Your Feet Sandal Ready with These Tips
"One of my very first graduating gifts from cosmetology was a Feather Razor"