
Heavy Medium Shag for Thin Hair Tutorial
by JATAI Academy,
07 Sep 2026
When you're dealing with fine hair or thin hair, maximizing movement and texture in a shag haircut without overdoing it is key. This medium length layered haircut incorporates face framing layers, side swept fringe and soft separation at the ends which is characteristic of shag haircuts. Watch the video and follow the transcript below.
Heavy Medium Shag for Thin Hair Tutorial:
Welcome back to Jatai Academy. I'm Russell Mayes, Director of Content. Today we're going to be doing a women's mid-length shag, but it's a heavy shag style.
Most shags that you see are really, really layered and highly textured and they give you that real wispy kind of airy look. And if you have really thick hair, it works amazingly well.
But if you don't want to lose all that thickness or you don't have the thickness to lose, say you got finer texture of hair, I'm going to show you a way to get the same type of textured layers of that real wispy on the end kind of look, but not so much that you're going to lose all of your internal volume. Let's get started.
Establishing the Perimeter

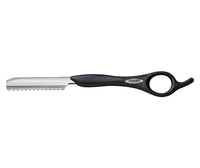
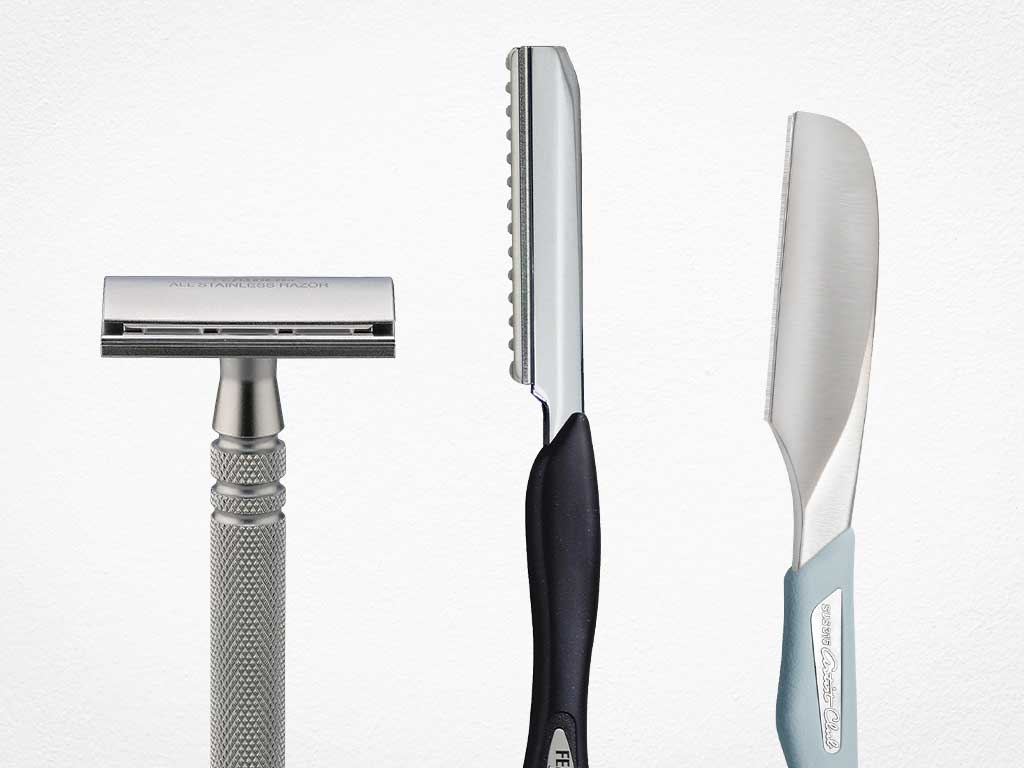
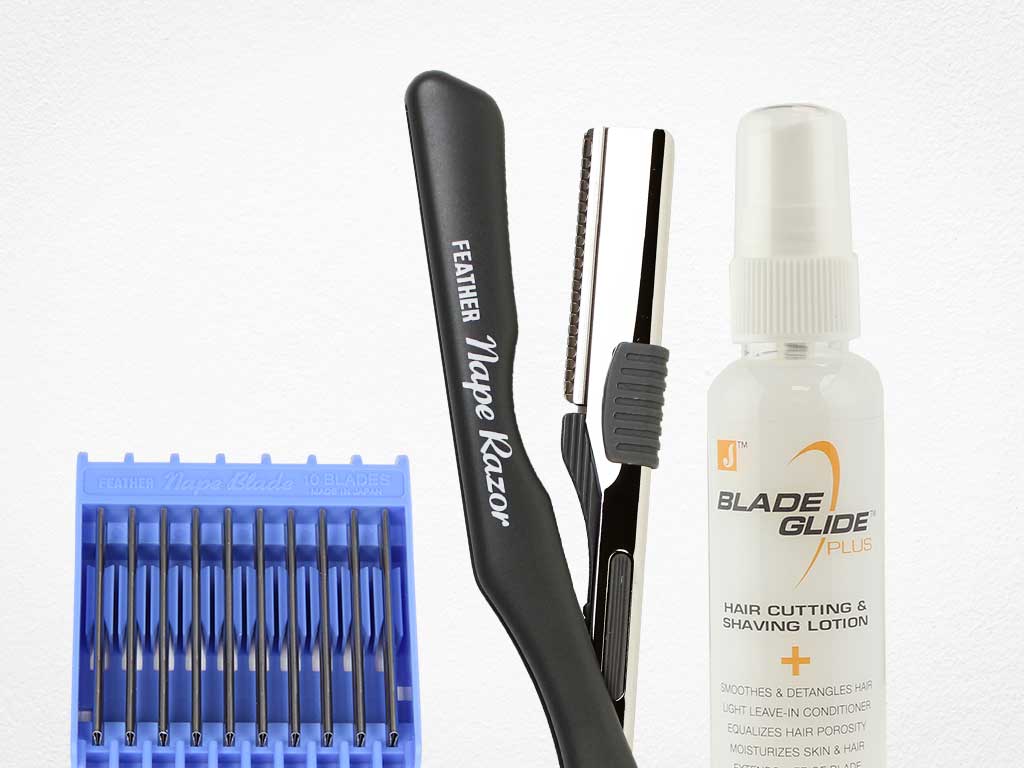
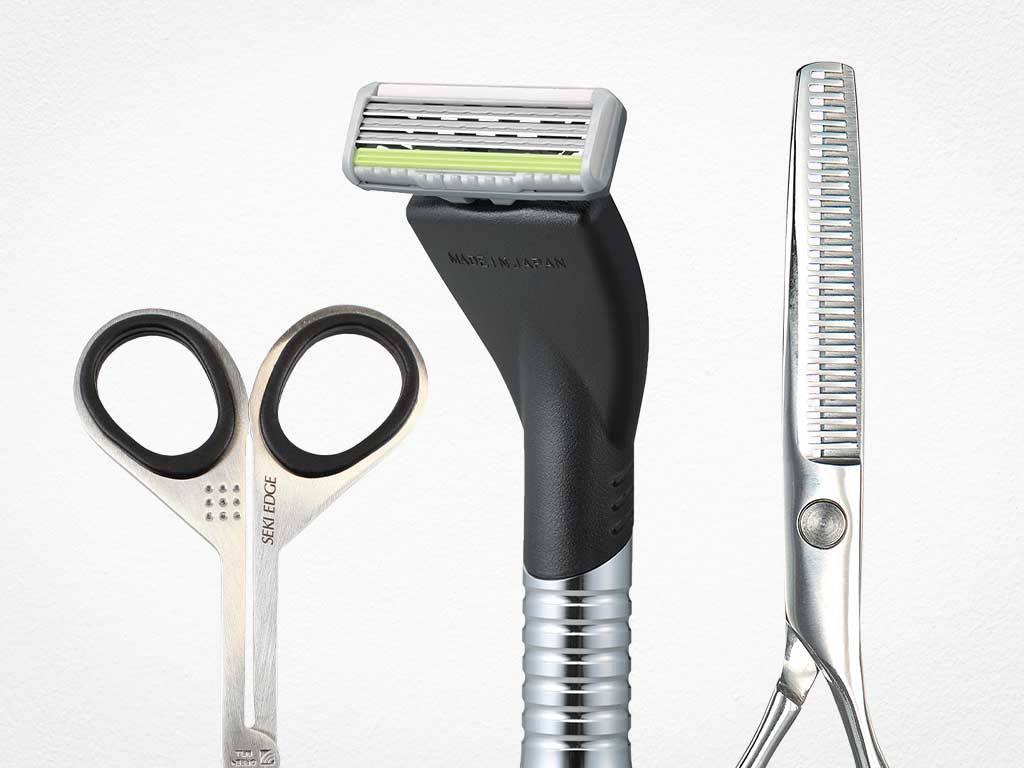
Starting in the center back here, holding down horizontal. Using my Feather Styling Razor, I'm going to go through and cut everything horizontal. So, I'm going to use about an inch to an inch and a half razor stroke and cut everything fairly blunt with just a little bit of movement to my razor stroke so I can get some lightness and some airiness into the ends.
Just holding everything straight down and natural fall and cutting straight across. It's naturally going to bevel a little bit whenever you cut anything horizontal with your Styling Razor, but that's my guide for the perimeter length.
Heavy Layering

Now I'm taking a vertical section and holding everything down at a 45 from the head and I'm cutting a straight up and down vertical section. So I'm actually cutting a layer section into the shape while I'm holding it down into a graduation elevation.
So, this is going to give me a heavier type of layering than if I was to just go through and hold everything straight out from the head and layer it. So, it's going to give me that weight from the graduation of how I'm holding it, but the lightness from the layering that I'm cutting into it.
Checking everything there. Making sure I've got everything like I want. And just cleaning it up, taking my time and cleaning up each section as it needs to be cleaned up.
Now, we're going to go through and do the same thing on the other side. You can see my line there. I'm cutting straight up and down and holding it down at a 45 graduation angle. Anything that hangs over, I will then go through and cut off and make sure that my perimeter shape is clean.
Now, I'm going to work from the back of the head into the side of the head. I don't like to separate the back from the side when I'm doing my horizontal sectioning. A lot of people will stop at the quarter part, but I'm not going to do that. I'm just going to keep working all the way around.
Starting in the center, following the same guide, the same elevation that I had, and the same angle of cut line that I'm cutting, I'm going to go through and cut anything else off in my new guide, removing half of my previously cut section, holding that out at a 45, and then cutting straight up and down.
So, by going through and doing this layering type of cut on a graduation type of section, it gives me a heavy type of layering, much heavier than if I was holding it straight out from the head.
It's not quite graduation because graduation makes the shape stack from shorter underneath to longer on top. This is keeping everything much more even. Now, as I work into the sides, I'm cutting my perimeter because I didn't cut my perimeter shape on the side before.
Going back into the center, holding that straight out, following my guide that I had before. There we go. That's a good angle right there. You can really see the straight up and down angle that I'm cutting into this section. So, by going through and doing this, it gives me layering without putting too much layering in it. I can still keep my shape really, really solid.
Continuing with the rest of the hair, taking pie sections, working from the back center into the sides, trying to follow the same razor stroke that I was using underneath.
Now, we're continuing to walk our guide in pie sections around the back of the head as we get into the side of the head. Just following the previously cut guide that was underneath and also from the previously cut sections, holding everything on the side straight back.
We're going to layer the front. So, I want to make sure that we blend into the layering in the back and our length on the sides.
Channel Cutting

After we've gone through and cut our whole shape so far, I'm going to go back in and start to remove some of the weight on the end. So the last four or five inches on the ends, I'm going to go through and channel cut just to force the hair to separate a little bit more. I can get that shag type of shape in a very very controlled way by only putting the layering on the very ends.
I've cut my shape. It's a solid shape with a little bit of layering underneath and then going through and adding just the right amount of texture really makes the hair move. It forces the ends to separate and really gives me that shag shape.
Another thing about going through and cutting your shape first and then applying your texture as opposed to doing both at the same time, I can control how much weight and how much separation that I get much more precisely if I've already precut the overall shape. And then I just apply my texture.
If I'm having to do both, it I'm going in and applying texture a little bit blindly because I can't tell exactly how much I'm cutting off as I'm cutting the length off at the same time. So, here you can see it's thick right there. It's thick right there. And then I skip that little gap right through there. It doesn't need it where the gap is, so I don't put any in. Around the front there's very little. Boom. We're done.
Now, we're going to go through and check. I'll shake everything out just to feel the weight across the entirety of the head and make sure nothing really stands out.
Side Swept Bangs

Now I'm going to go through and take our bang section, which is going to be the first bump of the head to the high point of the ear and from recession to recession. Taking that straight across. I want this to hit around the lips. That's going to be my guide. And then I'll go through following my parting. That's the line that I'm going to cut into it. So, I'm holding everything T to my parting and cutting from short down to long.
Whatever that long length is right there by the ear, that's my go to guide. I have my come from guide by cutting the wispy bangs first. So, the bangs are the short piece. The piece at the ear is the long piece. And then I just blend the two together by pulling everything forward T to my parting that I've got right there from the top of the head to the ear.
After I've got that fit in like I want, I'll go through and do the exact same thing on the other side. It's important that I cut from the top down because you notice I'll go hand up on one side and hand in on the other side so that I can make sure that the movement is the same on both sides. I can't cut one side going up and one side going down and expect it to be the same. I have to cut both sides short to long. So, I have to maintain that kind of movement.
Now, we're going to check our bangs. I think it needs to be a little shorter. So, I'm going to take a little shorter right through there. I've got the basic shape in. I didn't like that. A little bit more, I think, is appropriate. There we go. Looking good.
Shags are also known to incorporate curtain bangs, so create these instead if desired.
Blending the Front with the Back

Now, we're going to take our next section, which is the high point of the head, right to the mastoid, right behind the ear. I'll pull this down at a 45, pulling it forward and follow the previously cut guide that I had underneath. By elevating it at a 45, I'll keep my weight around the front even though I'm putting razor texture into it and cutting my shape with the razor. Because I'm pulling it at a 45, that's going to maintain that kind of heaviness. So, I can get the separation from the razor, but I can maintain a more solid shape.
The higher that I elevate this, the more weight that I'm going to remove from my layering around the front. Sometimes I want it, sometimes I don't.
Now, we're going to go through and do the same thing on the other side. And here you can see I'm still cutting from short at the center of the head down to my long piece at the ear. So, you'll notice the razor comes on top on the inside of my knuckles and cuts down to my fingertips where on the other side I cut from my fingertips to my knuckles.
Now, we're going to take the rest of the hair on this side, comb everything forward, see if anything hangs over that front section, and make sure that everything blends through and I don't have any long little pieces that don't blend from back to front.
Follow us on your favorite social media @jataifeather
Drying and Styling

Now, let's go through and blow it dry. I'm going to power dry first to get everything off of the scalp to get some volume. Then, I'm going to go through with a round brush just to make sure everything gets smooth and I get all the textures really smooth before I go through and drag a curling iron through it.
Now, when I'm putting a curling iron in, I'm taking the entirety of the section from the crown all the way down into the nape. I'll pull that through, curl the center first. As that gets hot, then I'll go through, leave the center out, and then start to work that to the end.
So, I only get curl in the center and the ends are a little softer. My first pass with the curling iron, the curls were a little too big. So, I went back in with a smaller curling iron and curled everything exactly with the same methodology I was doing before, but just with a smaller barrel.
I did not curl the bangs. I left those from whatever my blowout was. So, I have a straighter bang that has some movement to it out of the face. And I like it. I think it looks good.
End Result

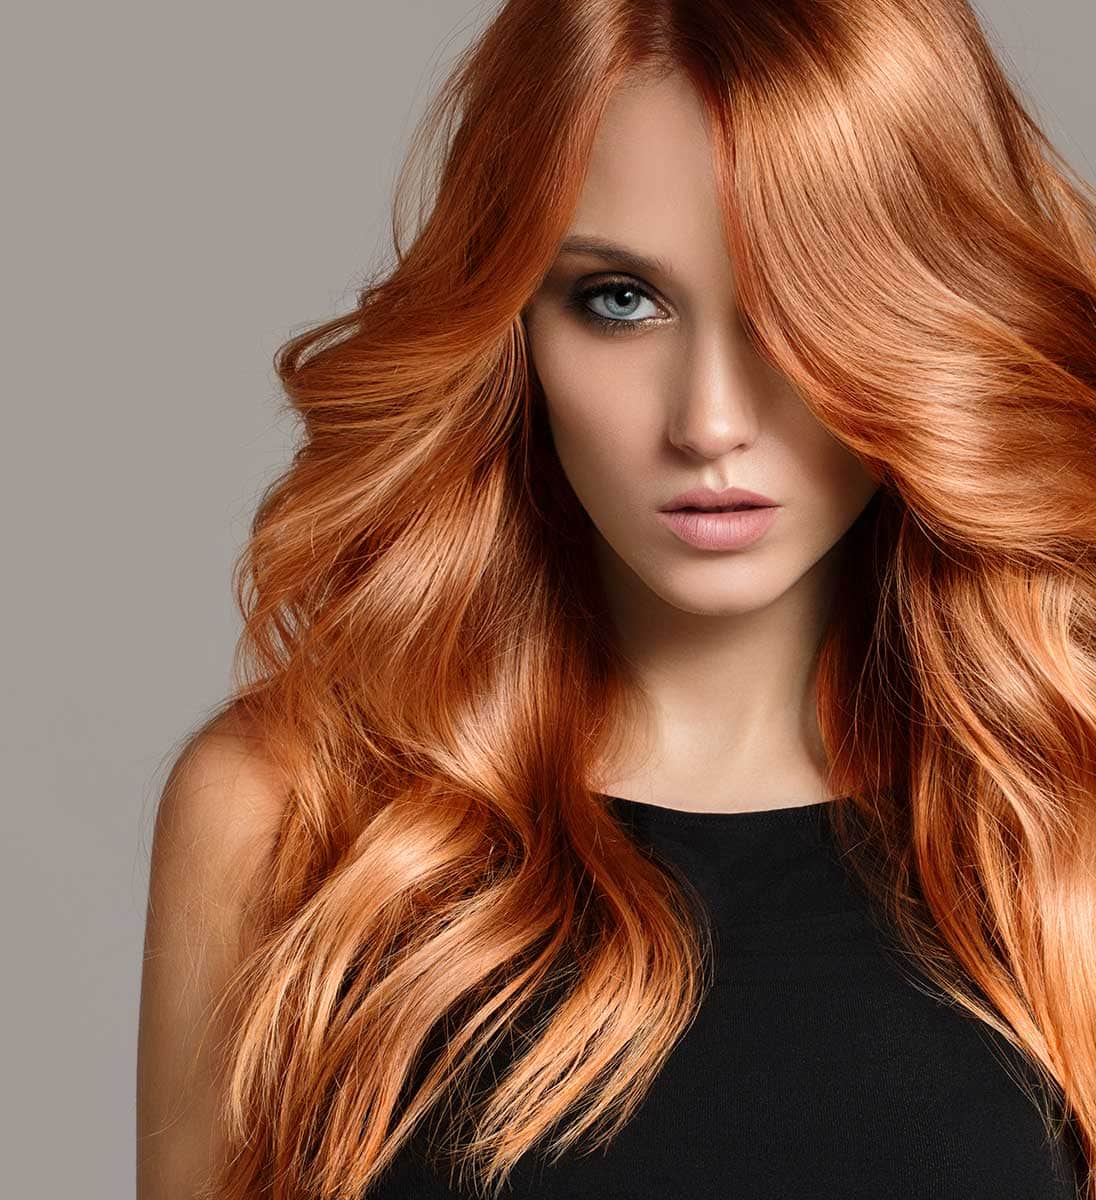
Here's our end result. And I think that this looks really good. It walks that tight rope between overly layered textured shag and overly thick kind of stiff hair that doesn't move. This gives you the texture and movement on the ends that a thin hair shag really presents and does well, but it also gives you that internal fullness so that you can get some volume and you can get some movement to it without overly layering it.
It gives you a nice kind of layering around the front, but since I'm elevating it lower, it keeps it semi-solid. And also by elevating it in a graduated shape when I go to layer it and then layering it with a vertical type of cut, it really balances between the two. So I get the fullness and the movement at the same time as getting the texture and the softness you need for a shag haircut for thin hair.
This medium shag can also be made on short hair. Same principals apply to shag short haircuts on thin hair.
Please check out the Jatai Academy. There's all kinds of fantastic information that will make you a better hair stylist and barber. Let us know what you'd like to see in the future. Thank you so much for watching. We'll see you next time.
SHARE