
The Iconic Keanu Reeves Hairstyle is the John Wick Haircut
by JATAI Academy,
21 Oct 2026
Arguably the most iconic Keanu Reeves hairstyle is the John Wick haircut. The long hair, the natural style and cool vibe makes this haircut work for his character. While the Keanu Reeves buzz cut was popular from Speed as well as his longer hair in the Matrix, the John Wick hairstyle always remained long. And in real life, he has maintained the longer hairstyle to this day. Watch this Keanu Reeves haircut tutorial and follow along with the transcript.
Keanu Reeves Hairstyle - John Wick Tutorial
Welcome back to Jatai Academy. I'm Russel Mayes, Director of Content. Today we're going to be doing one of Keanu Reeves hairstyles, the one he wore in the movie John Wick. It's cool. It's long, but it's got some layering around the front. It's got a lot of movement, but the key element is the texture. It's not a stringy piecey texture. It's still a solid shape with just that right amount of texture to give it a soft lived in, I don't care, my hair just naturally looks cool. So, let's get started.
Establishing the Length

We're going to start with a center section all the way down to the nape. I'm going to separate from the occipital bone to the mastoid. That separates the entirety of the flat in the back. We're going to take that into smaller sections to make it easier to cut.
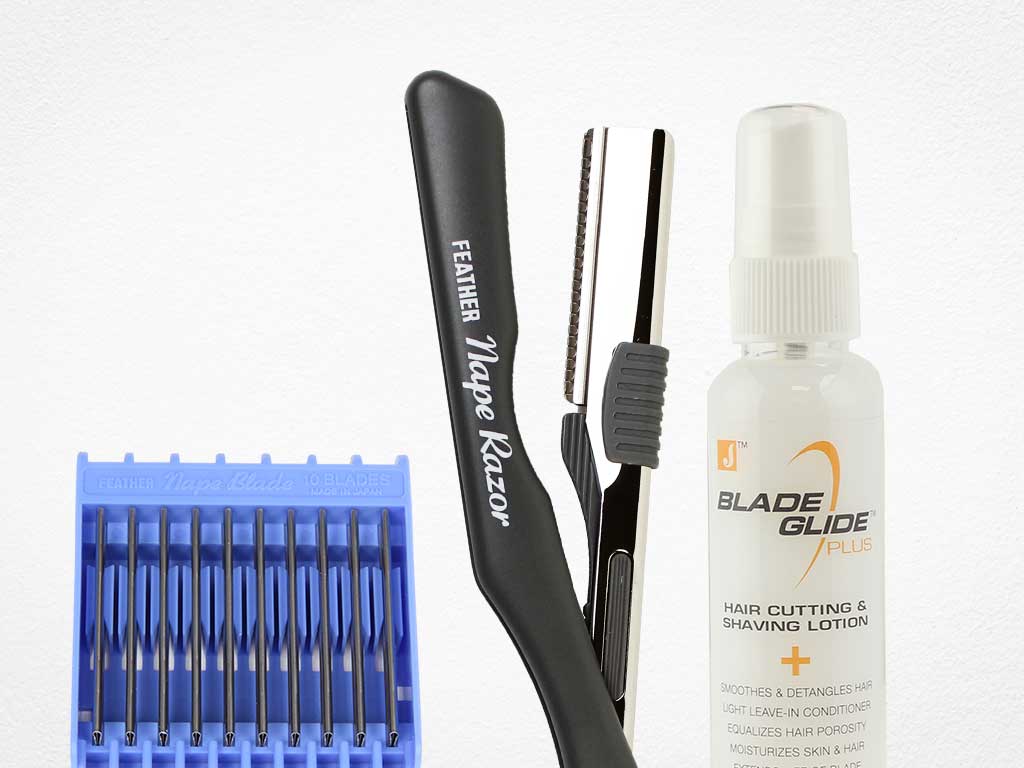
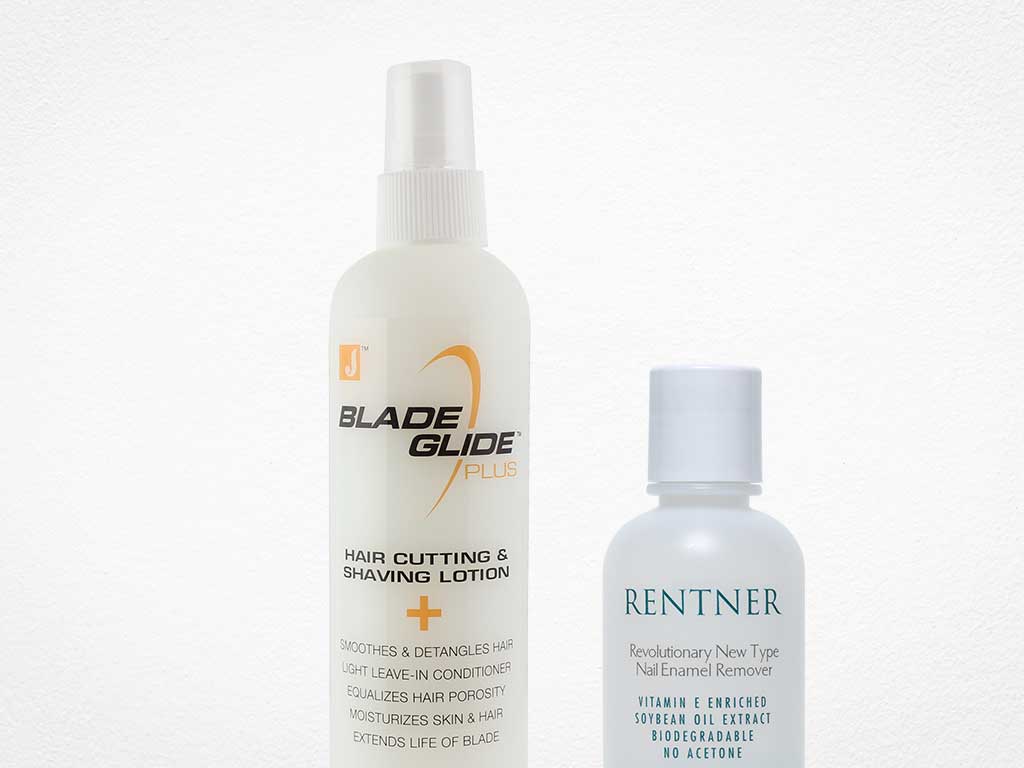
And then I'm going to go through and apply a little bit of Jatai Blade Glide all over to make my razor glide through the hair so much more effortlessly. It compacts the cuticle and makes it smoother.

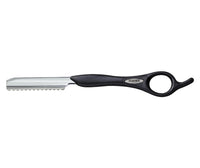
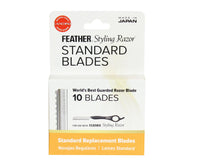
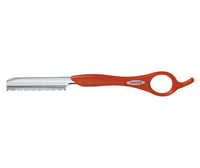
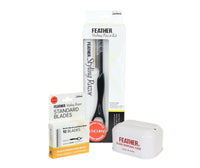
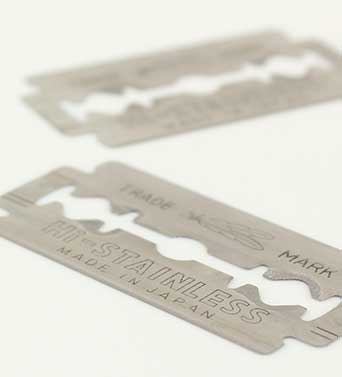
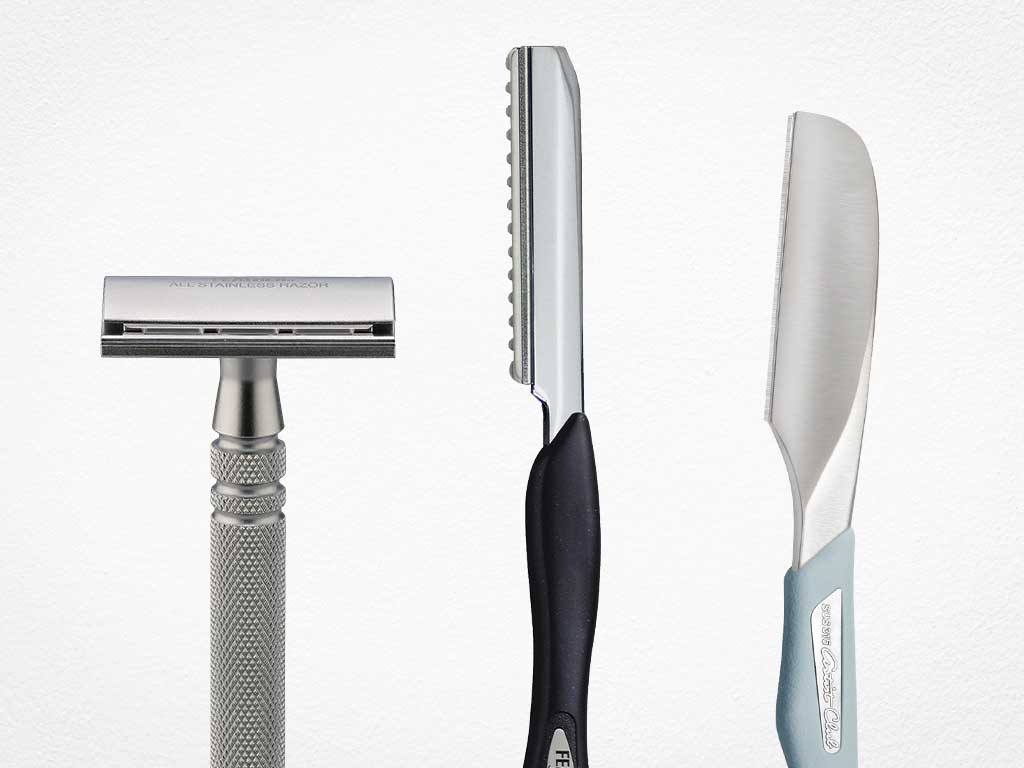
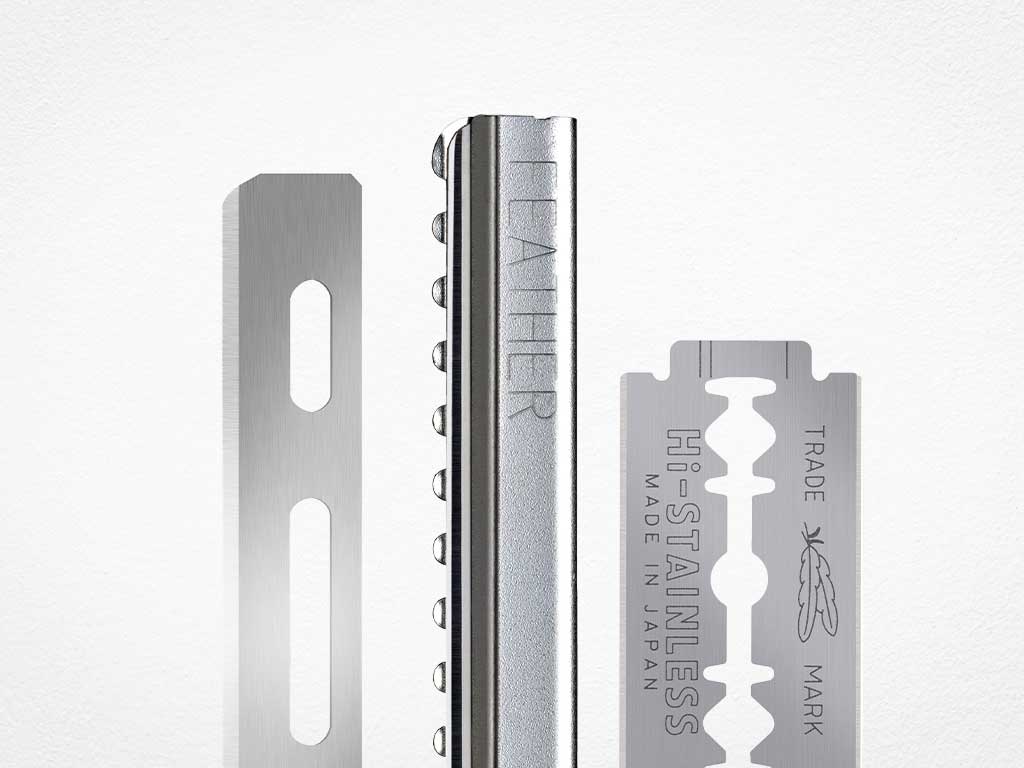
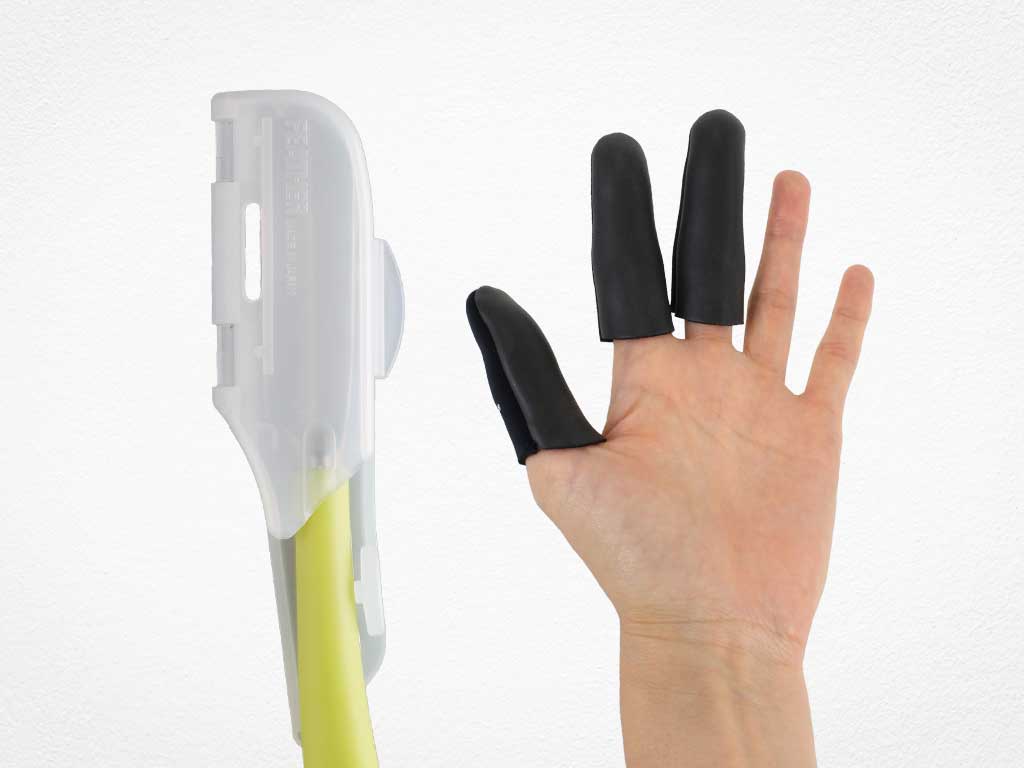
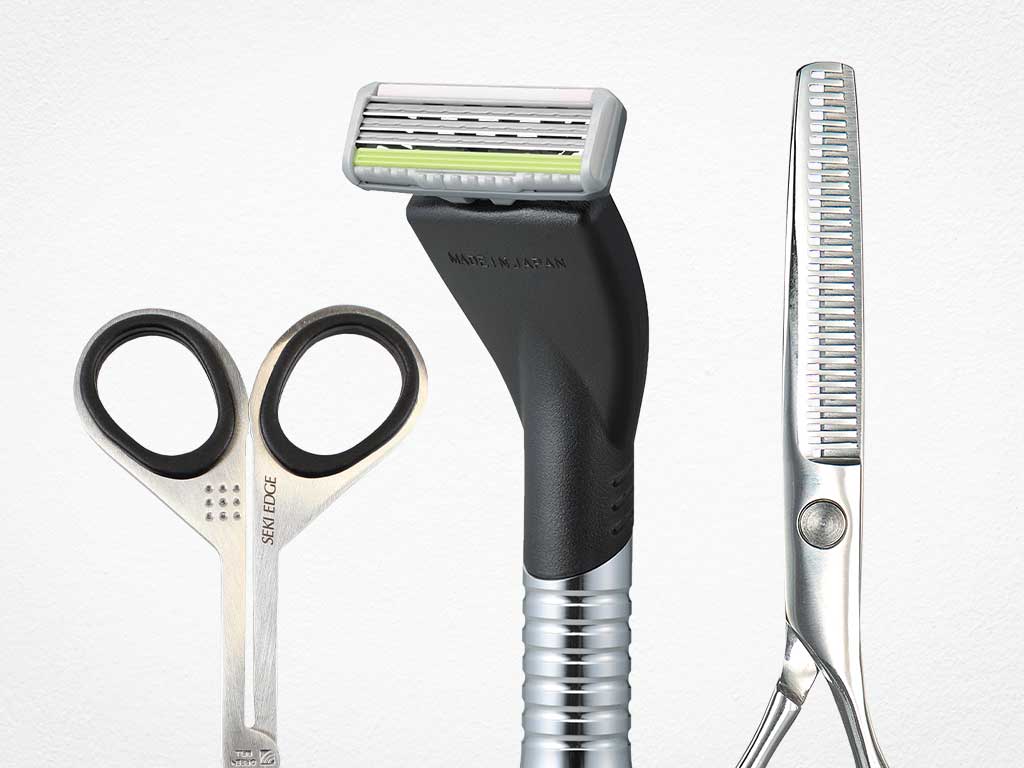
Then we're going to use our Feather Styling Razor. I'm using the fancy silver one with my Standard Blade with a guard. This goes through and allows me to cut fairly quickly without any kind of worry of cutting myself. Now, we're going to measure where that's hitting below the jaw. I want that kind of shoulder length-ish.
So, I'll determine the length, hold that straight down, and then take a small razor stroke just to cut the length off. I'm going to cut everything one length and kind of a bob shape, but I want to keep that bob shape soft. I want it to have an effortless, lived-in type of texture, and this gives me that.
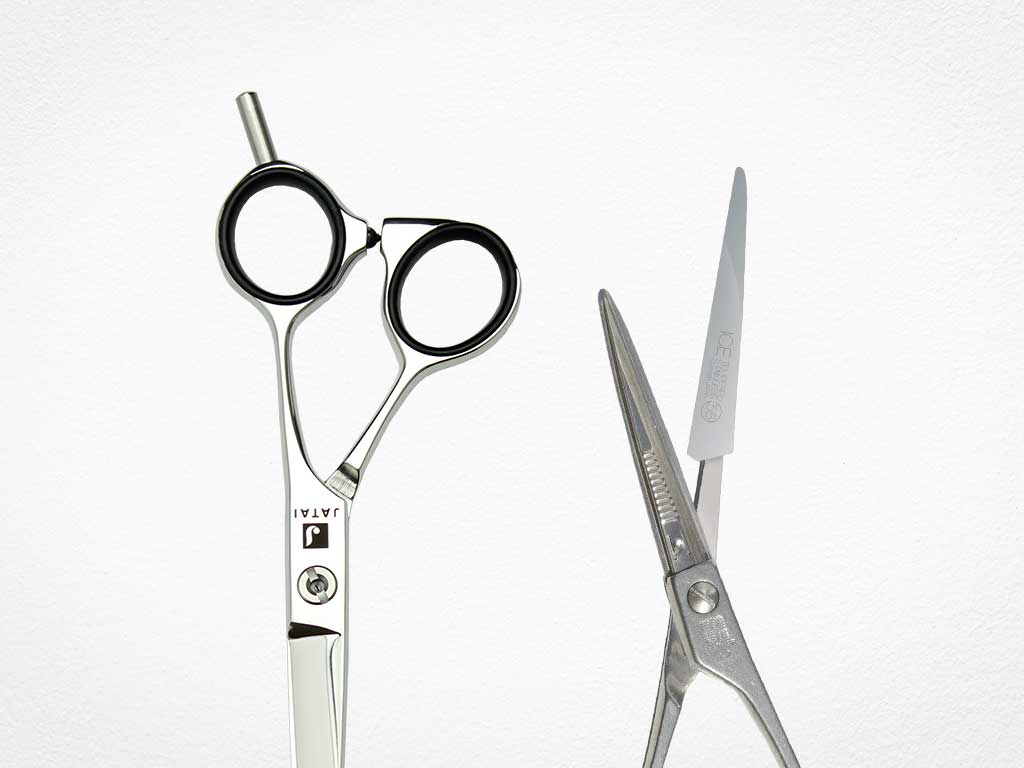
And so, I can go through and control how much softness I want on the perimeter shape by how broad of a razor stroke that I use. If I go and use a scissor to cut this and then try to texturize it, it's going to be very, very hard to get that super blunt line out of it. And this haircut, this shape is not about blunt lines. It's about I haven't had a haircut in a long time, but I still want it to look cool. So, this gives me that kind of lived-in texture to it.
I'm going to continue working my way up the back of the head, and I'm just going to comb everything down, following my original guide, and cut everything one length. After I get everything cut one length like I want, I'm going to check and see how it looks. And I feel like it's still a little thick.
Adding Texture

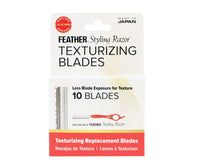
So, as opposed to going through and taking a broader razor stroke, I'm going to separate this section into two because it's just too much hair to deal with in one section. And after I section it into two, then I'm going to go through and use my Feather Styling Razor, but I'm going to use the Texturizing Blade.
So, this blade gives me like little guards across the blade that prevents it from cutting. So as I cut, it almost channel cuts for me, but since I'm laying it flat against the surface of the hair, it just gives me a nice amount of texture and a softness to it, and I can control exactly how much I take out.

As I lay the razor against the hair, I'm laying it flat against the head and just taking one stroke from about midway all the way down to the ends. I'm not going to go through and do a lot of back and forth motion. I want as seamless of a cut as I can get in one motion if I can. If I need to, I'll go back in and touch that up a little bit. But I want to make sure that when I apply the texture to this section that it's just one even movement from the mid of the length all the way down to the end.
So, I want to be mindful of how much pressure that I put on the razor because the more pressure that I put against it, the more it's going to cut. And I don't want to remove the shape. I just want to soften the shape. And this does a great, excellent job of just softening the shape.
Now, I'll go through and be very diligent to not over texturize one area more than another. I want to keep everything as methodical as possible. Now, we'll check our shape. And I feel like that's going to be a much softer kind of shape and a much more fluid shape.
Rinse and Repeat

Now I'm just going to continue to do the same methodology all the way up the head. I'll take parallel sections to my first section that I took. Hold everything down. Cut my perimeter length by going through and using my regular Styling Razor. And then after I go through and use my regular Styling Razor, then I'll go through and lay a little bit of texture on it.
So it's just very very methodical in my application even though the end result is going to be very very soft and almost haphazard almost grown out type of look. So that's what I'm doing. Now here, after I've cut my perimeter length, we're going to go through and apply my texture as methodically as I was doing before. Just one section. Move it out of the way. Texturize the next section. Move it out of the way. Texturize the next, being as consistent as I can.

Now, if I run across a section of hair that's a little thicker, yeah, I'll go back in and put a little bit more texture into it, but I want to be mindful of that. I don't want to over texturize it.
Here we've finished all of our perimeter shape. I'm just combing everything down and cutting anything that hangs off over my perimeter shape and just fine-tuning and cleaning that up. There's not a whole lot to cut on this particular doll head, but there was a lot underneath, but not a whole lot on top. Now, we're going to go through and apply our texture just like we were doing for the rest of the cut.
Now, we just continue to go through, make sure that we've got the right amount of texture. If it doesn't need any texture, then it doesn't get any texture. If it needs a little bit, we give it a little bit. If it needs a little more, we'll give it a little bit more.
This is where your creative approach and your opinion comes into play. Every head of hair is going to be a little bit different. So, it needs a little bit different of an approach. Some hair may need less texture. Some hair may need more.
Addressing the Front

That brings us to the end of cutting our perimeter length right there. And that looks pretty good. So now let's go through and separate the hair around the front. I'll take the first bump of the head right around the bang section to the top of the ear. I'll pull that forward and then determine what length I want right there by the chin. I'll cut everything exactly like I was cutting the perimeter length before.
Just cut everything one length, laying the razor flat against that section. Cutting my perimeter length around the front. And we're going to continue to pull everything forward and blend my front little bang section into the length right by the ear. So the length right by the ear is my cutting to length right there. And then the shortest piece that I cut in the center right in front of the bangs is my short piece. So I go short to long. And then I'm going to do that on both sides to make sure that we have a nice roundish shape around the front.

So, the whole idea around this is that with it shorter around the front, when he pushes it back out of his face, it tends to stay out of his face, but I still want the length to have that kind of cool factor that long, messy hair has.
Take my next section, pull that forward using my original guide, and just follow that methodology through. I did not thin the first section that I took. I will go through and thin this section, but I didn't thin the first one because I don't want to make it more difficult to control any kind of loose hairs that get out around the front. So, when I brush it back, I have less shorter hairs that I have to worry about. Pulling everything forward, following my guide exactly the same way as I was doing before.
Follow us on your favorite social media @Jatai Feather
Texturing the Front

Now, my second section that I've already cut my perimeter length for, I've already cut the length. I'm going to go through now and add my texture to it. This is just surface texture. I'm not going all the way through the section.
If I did that, I would have no shape left. And I'm just methodically applying a little bit of texture like I did through the back just to soften the weight up and to keep it mobile and fluid. So when I push it back out of the face, I have less resistance.
Being very very methodical about this and thoughtful as I go through and apply my texture. This is the Texturizing Blade. So it gives me a little bit of safeguard of over razoring it as if I did it without a guard on it. This gives me that extra guard to give me the texture that I want. There we go. Pulling everything forward. That's looking pretty good.

Now, let's brush this around and see if we've got enough texture to it and how the shape is falling. And I think that we've got the right texture. This haircut is all about getting the right texture. The lengths are really kind of irrelevant. As long as you've got this longer hair, it's all about getting the right texture.
So the right texture is a blunt-ish type of shape with just softening throughout. I'm not creating any kind of channeling to force it to separate into little pieces. I just want it lighter and airy on the ends to provide a lot of movement. And the movement doesn't come from me creating separation from channeling it.
Now we've got all of our cutting done. Let's look at it and see what we got and make sure we got the right texture. And I think that looks pretty good. I like that we can tuck behind the ear on this mannequin head a little bit. And the texture is really good. It's that kind of Walking Dead John Wick type of texture. And I think that this is going to be very very popular coming up.
Final Look

Here's our Keanu Reeves hair cut end result. And I think we're looking pretty good. I think we really captured the essence of what the shape is all about where it's long, it's layered around the front a little bit, it's got the right amount of texture to it that really walks that tight rope of not enough to where it looks overly thick and solid, but not too much to where it just starts to look like a stringy mess.
And I think that it still has that effortless cool that the character really demanded. And I think he pulled it off really well. And I think that we really captured that with this haircut. So, it's about getting the right amount of texture.
And I think that the Feather Styling Razor Texturizing Blade gives us that perfect amount of texture with one easy stroke across removes enough to give it some texture and removes some weight, but not so much that it starts to get separated and stringy.
Check out Jatai Academy. There's all kinds of information on there that will make you a better hair stylist or barber. Let us know what you'd like to see in the future. Thank you so much for watching and we will see you next time.
SHARE