
Tinkerbell Haircut Tutorial with Real Time Problem Solving
by JATAI Academy,
29 Jul 2026
The Tinkerbell haircut is one animated style that is also popular in real life! It's characterized by pixie short hair with a heavy visor bang, a perfect summer look that compliments the face. The Tinkerbell pixie trends well with modern youthful looks of today, but it can easily take a wrong turn and look like an older ladie's haircut. So beware!
This tutorial addresses this very topic as Russell encounters some real time challenges in achieving this haircut. It's a lesson that all stylists go through, that not every haircut is going to turn out perfect the first round. Sometimes it needs further adjustment based on the look you're going for. The beauty of this tutorial is that you get to see how Russell problem solves his way to the desired look. Watch this tutorial and follow along with the transcript below.
Tinkerbell Haircut Tutorial:
Welcome back to Jatai Academy. I'm Russell Mayes, Director of Content. Today we are going to challenge ourselves by doing a Tinker Bell pixie. The Tinker Bell pixie is cool. It's got a little fullness to it. It's got some side sweep, a definite part in it. But the challenge is to keep it from looking like an old lady haircut. And I tell you, the challenge is real. Let's see how we do. Let's get started.
Razoring the Sides

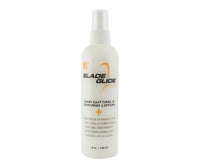
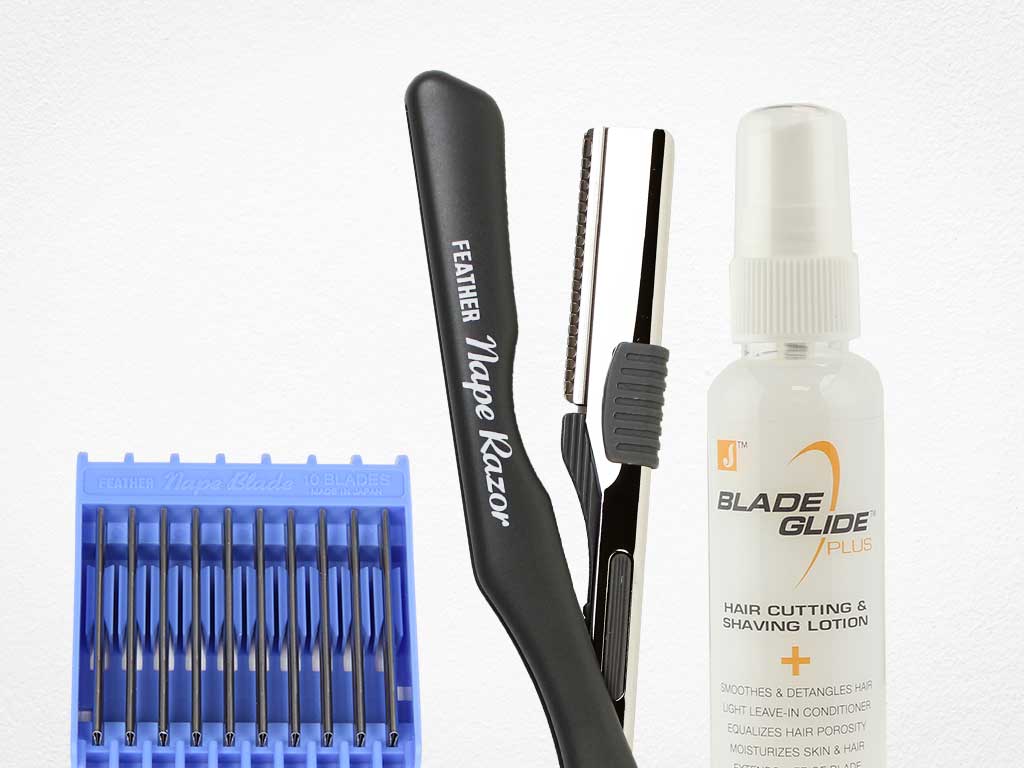
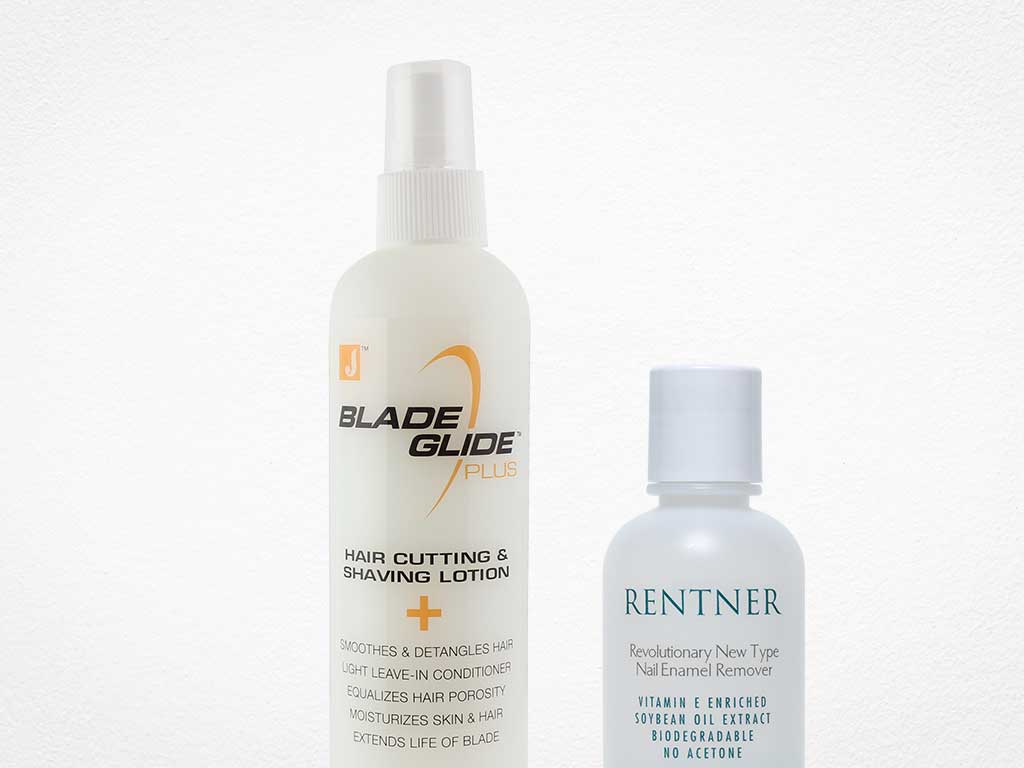
We're going to start off with a little bit of Jatai Blade Glide Plus. This gives me a compacted cuticle, makes the hair easier to comb, and gives me a cleaner cut. Now, we're going to separate the center of the recession back into the occipital bone, and this is going to separate the top of the head from the bottom of the head. The bottom is going to be tighter, and the top's going to be longer.
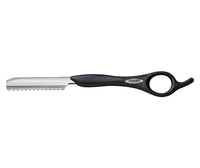
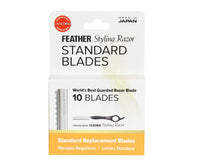
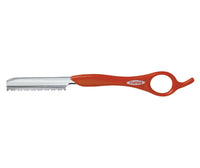
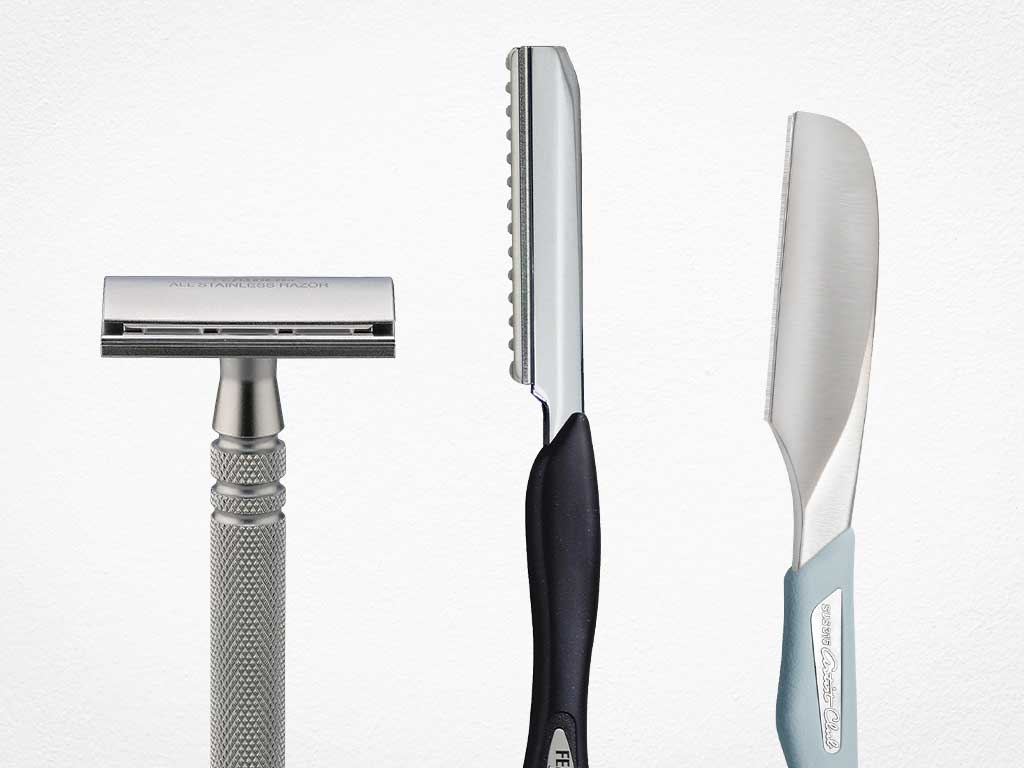
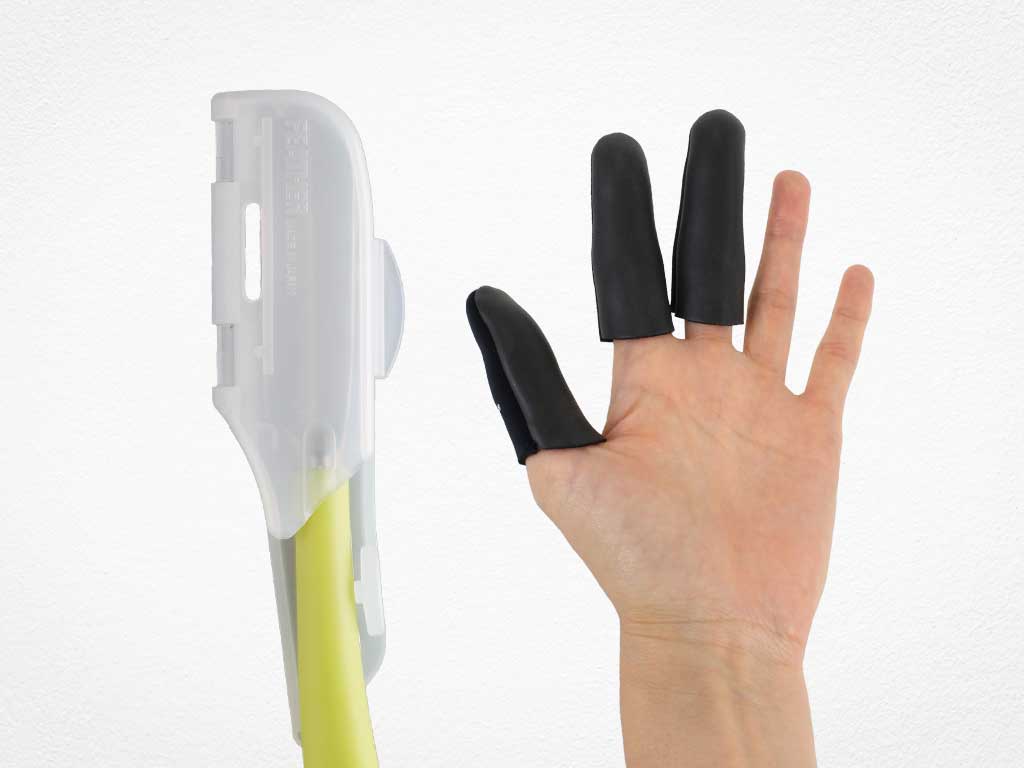
I'm using my Feather Styling Razor. This is the razor with the guard and it gives me the ability to go through and cut with a lot of texture and soften the line without any kind of fear or retribution from the razor and cutting my finger.
So, we're going to pull this forward straight out at the front of the parting. Going to angle my fingers back and then cut long to short. So, it's a little longer at the top of the parting, a little shorter right there at the top of the ear. The key things that I want to make, pay attention to, is trying to keep a consistent razor stroke whenever I'm applying my cut.
So, if I'm taking a razor stroke of say a half inch or a quarter inch or if I want something tighter or a broader stroke so I get something softer, I want to keep it as consistent as possible throughout. So, as I'm walking my guide from the front of the hairline right there at the front of the ear all the way back, I'm trying to keep a very, very consistent razor stroke and also a consistent parting size.
The more consistent that I do all these things, the better the end result is going to be. So, I'm working this down into the nape, trying to keep that clean, and just walking this guide all the way into the back center of the head as you can see here, pulling it into my previously cut section. Cutting from longer at the top of the parting to a little shorter underneath.
Graduating the Back

Now, I'm going to take that point off because we've done both sides now, and it leaves a little bit of a point in the center of the back. So, I'm going to go through and square that off a little bit just by holding it out at a graduated angle of what I had cut before and taking that corner off.
Here, we're going to separate the front half of the head from the back half of the head, which is going to go from the crown to the top of the ear or to the mastoid, whichever is better depending upon the hair.
We're going to take a vertical section, hold that out using my guide that I had cut underneath, and start to round this shape out. It's going to get a little longer as I get to the crown. So, I'm continuing to graduate this shape. And graduation is just hair on top of the head that's longer than hair on the bottom of the head or underneath.
I'm going to continue to hold everything straight out at 90. And cut everything nice and round all the way through. There we go. There we go. We got that. Now I'm going to pivot my parting from the center and walk my guide all the way around into my quarter parting.
So not only is this round vertically, but I'm rounding the shape horizontally as well. That way I can have an even amount of volume throughout the entirety of the back. And it starts to taper in and fit in real cleanly and nice around the perimeter around the hairline.
We're going to continue to pivot our parting and walk our guide all the way around, being as diligent as I can, keeping the same razor stroke as I go up into the crown. Now, we're going to move into our last section right here. There we go.
So not only do I have the guide of the previously cut section, I also have the guide of the top of the bottom section that I cut with the side section. So, the underneath is a guide and the previously cut section is a guide. As I check this out, I'm pondering, is it too long?
Follow us on your favorite social media @jataifeather
Horizontal Graduation

I determined that it's way too long. So, I'm going to go through horizontally, graduate this into a much tighter nape area. I felt like it was just getting too long. It started to look too round. And when you have a shape that's very, very round and it's very full. It has a tendency to kind of look like an old lady bubble. And that's the last thing I want to do, especially on someone that's younger and a little bit more hip. I don't want to do this.
Now, if my client is an old lady and she wants this, then then great. Then that's what I'm going to do. But I'm trying to keep this a little bit more modern and a little bit more Tinker Bell-ish to keep it youthful. I want to fine-tune this in at the nape a little bit cleaner.
Here, I'm doing a little razor under comb. I'm getting ready to say scissor, a razor under comb to keep that cleaner and softer at the hairline. And I'll just continue to go through and graduate this and fit that in much tighter at the nape. I felt like it was just too long. So, let's fine-tune it. I think that that's looking a lot better.
Blending the Top with the Bottom

Now, we're just going to make sure that we blend everything from the top into that. Anything that hangs over, just gently razor that off, keep my textures even, and keep it from building up any kind of weight lines through there. That's looking better. But still, I'm going to cut it shorter after this. And now we're going to go through and blend in our sides to the top, which is not even going to blend. We're going to leave this a little longer than the underneath.
I'll take a horizontal section, pull that over to the right side, and then using my guide at the back of the head, I'm going to razor from the back going forward. Keeping a broader razor stroke here because I want to keep this very soft and textured. But I do want to build up a little bit of weight in the shape of it, especially as I'm working from the back, which is going to be light and airy, to a more heavier front. So, we'll keep a broad stroke as we're working from the back to the front.
The reason that I'm working from back to front is that's the way I want the hair to flow. If I cut from the front to the back, that's the way that the hair is going to want to flow is going to flow from front to back. So, it's going to move back. So here I want to exaggerate that movement going forward. So I'll cut from the back to the front. And I'm going to cut it exactly the same way on the other side. Back to front. We got everything there. It's looking good. I like that.
Now, let's go through and take our center section on the top and use what we've cut in the crown as a guide to blend that layering through into the bang section. I'm leaving the bang section longer than I've cut everything else in the back to emphasize that shape around the front.
You know, when I think of Tinker Bell, it's a very dominant side part where one side is combed straight down and the other side is brushed to the opposite side. So it leaves a little heavier shape in the front. So I want to make sure that I have that length that I can deal with and fit in as I get to that section.

Now we're going to take our next section. I'm going to hold the first section, which was the mohawk section and my second section to the center of both of those sections. So I'm walking my guide from the center of the head over to each side. So here it's from the center over to the left side of the head.
Now, we're going to pull everything up into the second section that I cut and make sure everything is blended through and nothing is getting too long there. There we go. There we go. Just that little bit right through there. I've left the bang section very long. We'll do the same thing on the other side.
Texturizing the Top

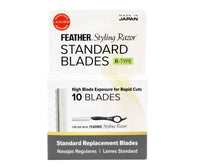
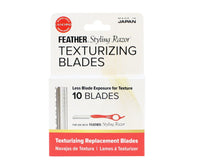
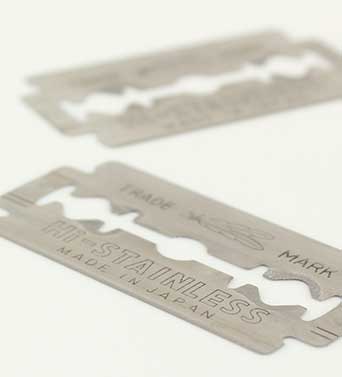
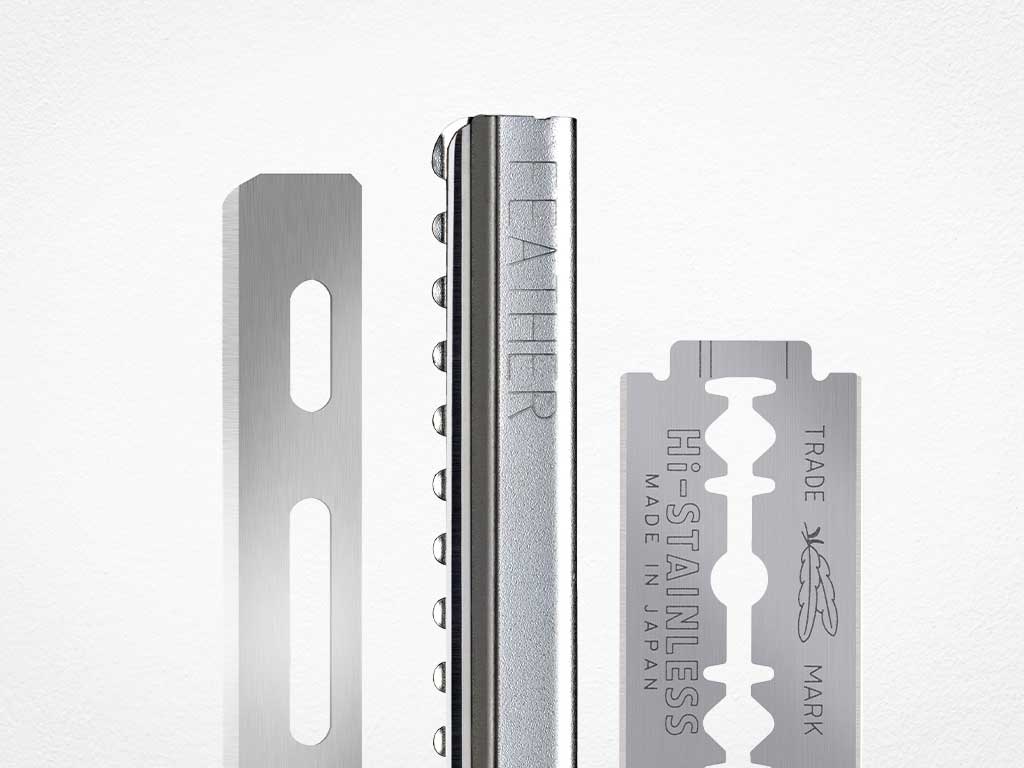
Now, after I've done that, I'm going to use my Feather Styling Razor, but I'm using the Texturizing Blade. The hair has too much weight on top. So, I'm going to go through and texturize it. And this is a nice easy way to texturize and get a lot of softness to it because on the blade, it forces it to channel cut. So, I don't have to go through with the tip of the blade and channel cut it. This way, I can lay it horizontally and just channel cut it all the way through because the blade is already designed to do that.
Now, I'm doing this very delicately because I don't want to go through and just snap all the hair off and leave it stringing. I want to go through and put in enough texture to create that softness and that movement. So I'm doing this very judiciously and paying attention to what I'm putting in. I don't want to get too exaggerated with it and just go hog wild and then go, "Oh my gosh, where'd all the hair go?" So, I want to apply this with intent.
The Visor Bang

We've done texturized everything. Now, I think that front piece is too long. Originally, I wanted to leave this to a point in the front because I pulled everything to the left and I pulled everything to the right, which is going to leave a point.
And I wanted to leave that point to exaggerate this kind of visor bang that she always had in my memory of this heavier kind of bang that brushed over and had a visor kind of feel to it. The one side where it blends in where the part is going to be flat, but the other side had a certain amount of movement and separation. So I'm initially leaving that length there.
Now, after I go through and color it, I realize it's way too long right here. So, it didn't look right. Like, when I look at this, it looks like she wants to see the manager, you know, and I'm looking at this and thinking that's just too long. She wants to see the manager, and it doesn't have that youthful vibrance that Tinker Bell has.
Problem Solving with Further Texturizing

So, after I go through and apply some color on this, I'm going to go through and texturize the snot out of it because it's way too much hair. And I'm going to cut the bang shorter. And so instead of it going to a point, it's just going to... I'm going to round that shape off in the front here. I felt like it was still too long underneath to have any kind of modernity to it, if that's even a word. So I'm going to go through and taper that in much shorter around the edges with using my clipper. Clipper over comb. Cut all that nice and short.

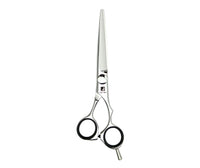
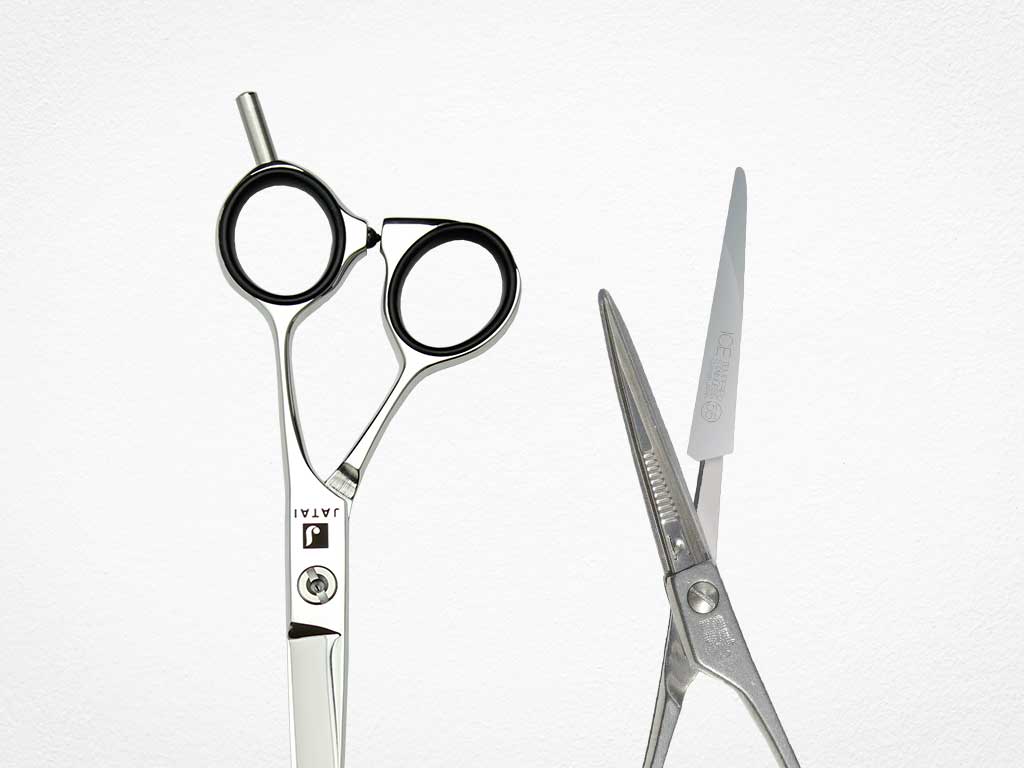
Initially, I went to blend the top to the bottom using a horizontal section. Now I'm going to use my Jatai Kyoto Scissor to go through and put a more vertical section. So it's going to be shorter at the back of the head and longer towards the front. So I'm going to exaggerate that as it blends in with the side where initially I had a horizontal shape. So I'm going to fine-tune that in and make sure it exaggerates the front.
Now, after I've texturized this a lot, I want to go through and deep point cut these, blending on the side so that I start to build in a little stronger shape and I can get some more separation and some more pieciness to it.
You know, I did this haircut three times and some days you're just gold and everything that flows out of your fingers is magic and then other days it's not. So, you just keep working it until you get it right.
Final Look

Here's our end result. And after the struggle of being real, of not cutting it short enough the first time, cutting it shorter the second time, putting texture in it, not putting enough texture in it, going through and adding more texture in it, and then finally just getting to the point where it looks too round and too fluffy and too bubbly.
We just went through and just tapered the sides and the back real nice and short with the clipper and put more texture in the top and cut that point off at the bang. I thought that that point would really make it kind of pop out and give it that kind of shelfy bang that Tinker Bell has, but all it did was make it look like she wanted to see the manager.
So, end result here, I think we're looking pretty good. It's a matter of fine-tuning the haircut to fit the model and the hair texture and the type that you're working on. Work it a little bit, whittle it down, see if it works, modify your approach until you get something that looks nice and looks good.
Check out Jatai Academy. There's all kinds of fantastic information on there that will make you a better hair stylist and barber. Let us know what you'd like to see in the future. Thank you so much for watching. We'll see you next time.
SHARE