
Liam Gallagher from Oasis Haircut, A Modern Caesar Cut Tutorial
by JATAI Academy,
26 Aug 2026
If you like Liam Gallagher's hair from Oasis, this one is at treat. The Oasis hair is a modern take on the Caesar haircut. Perhaps you have mend coming into the salon or barbershop requesting longer haircuts.
As a business, you want to be able to provide the haircut services your clients desire. The Oasis haircut is a unique, stylish and modern longer hairstyle for men. Learn how to adapt the classic Caesar into a modern one. Watch this Oasis haircut tutorial and follow along with the transcript.
Oasis Haircut Tutorial:
Welcome back to Jatai Academy. I'm Russel Mayes, Director of Content. Today we're going to be doing a modern version of the classic Caesar cut. It's going to be kind of an Oasis take on the Caesar, which is a little bit more British rocker version of a Caesar, but the shape is the same. The only thing that changes is the proportions. So, let's get started.
Scissor Over Comb

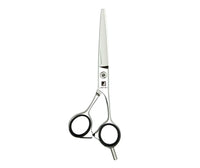
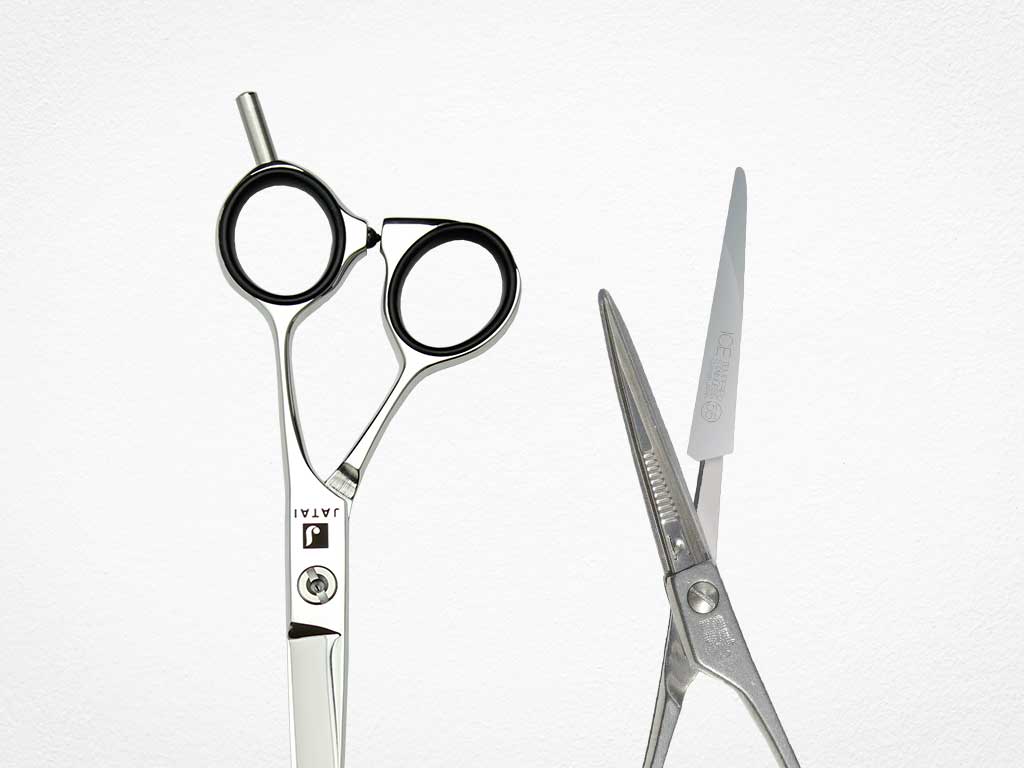
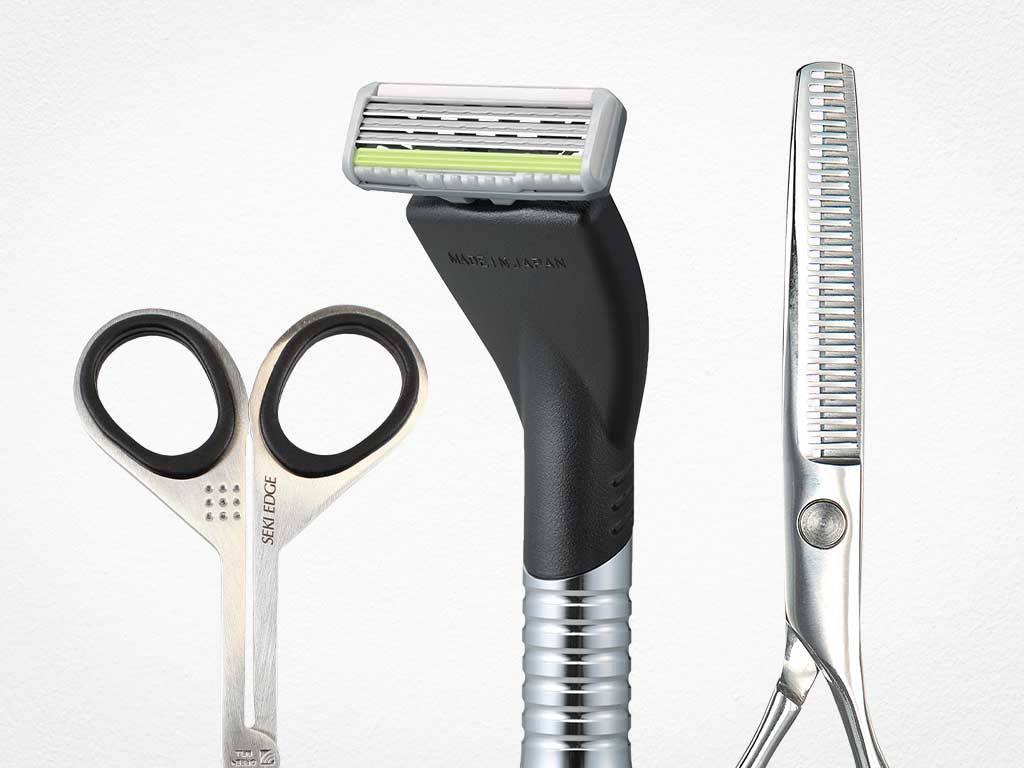
So, let's start separating the top from the bottom. And the bottom is where we're going to do all of our scissor over comb using our Jatai Tokyo scissor. It's a 6-in long blade, has a good sharpness to it, and it makes it easy for me to go through and apply my scissor over comb.
We're going to start with a really rough, crude cut just to get some of the length away and to start to build our shape. I'm not worried about this being really, really perfect right now. I'm just trying to get a crude shape in so that I can start to fine-tune it.
I'll start in the center and then work to the right. After I finish the right, then I'll go back and work to the left. And at this point, I'm, as I said, I'm still just getting a very, very crude shape. Once I reach the mastoid right there behind the ear, I don't move any forward. I'll deal with that when I get to the sides.
Now, after I finish the back, I'm going to go through and start fine-tuning it. Now, to fine-tune scissor over comb just means that I'm going to cut it a lot more times. I'll start at the bottom. I'll make a cut. I'll start to make another cut.
As I go up the back of the head, the more scissor cuts that I make, the cleaner that the section can be. I want to make sure that when I'm cleaning it up, all I'm focused on is retracing what's already there. I'm not trying to recut it. I'm tracing what's already there. And each time that I trace it, it should get a little tighter and a little tighter and a little cleaner.
So, I just keep going over it until I get it as clean as I want. After I finish the left side, I'll move on to the right side. After I finish both sides, I'll go through and clean up my perimeter. So, just combing everything down, fitting that in, making sure that that looks good.
Now, we're going to move into the sides. I'm going to take the entire side section, pull it up to the top of the section, and cut it at a desired length right at the top of the section. That's going to leave me longer hair at the ear. So, I'm going to hold the next section up, and I'm going to work that back into the nape right there at the occipital bone. And then I'm going to start to fine-tune from the back into the sides.
Now, I'm not trying to re-cut all that side length off that I've preserved. I'm just going through trying to visually blend the sides into the back right there around the mastoid area and leaving that length in the front.
Blending the Sides with the Top

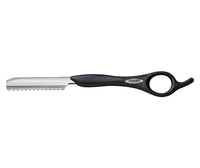
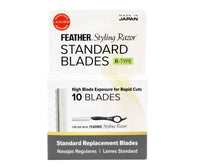
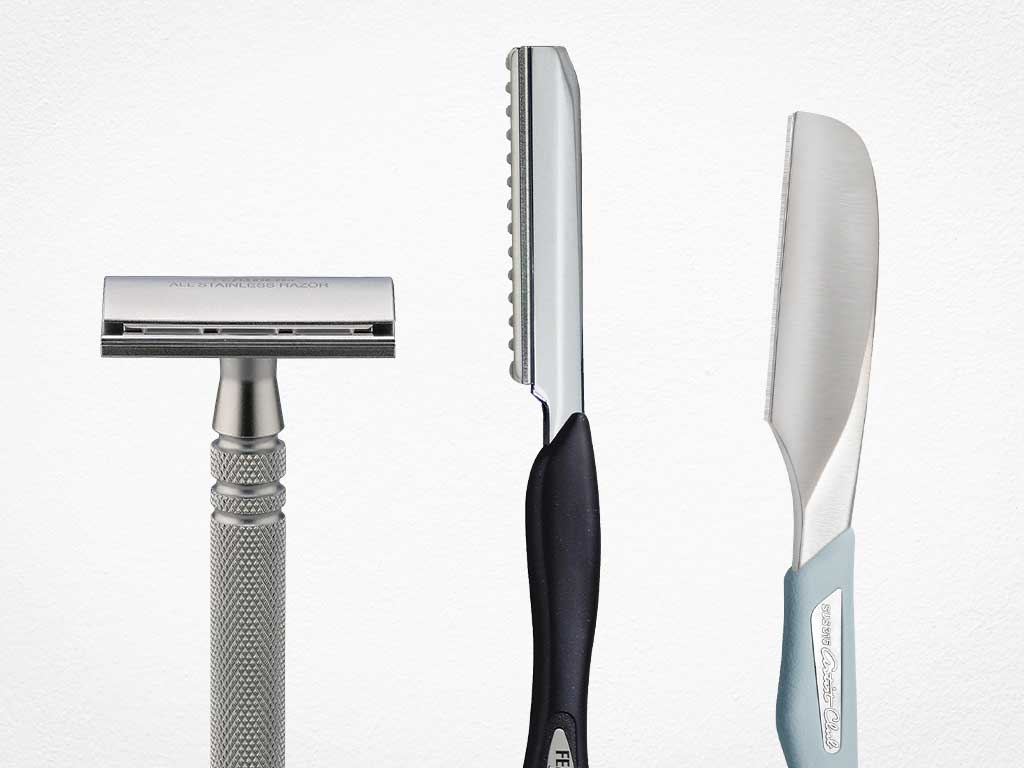
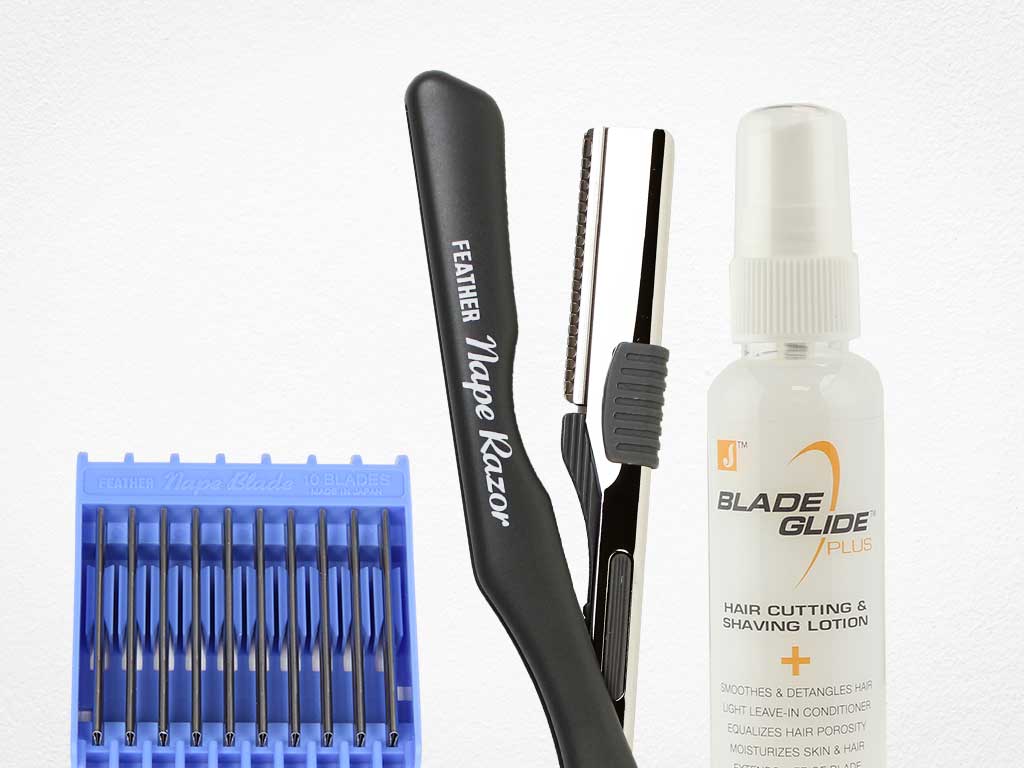
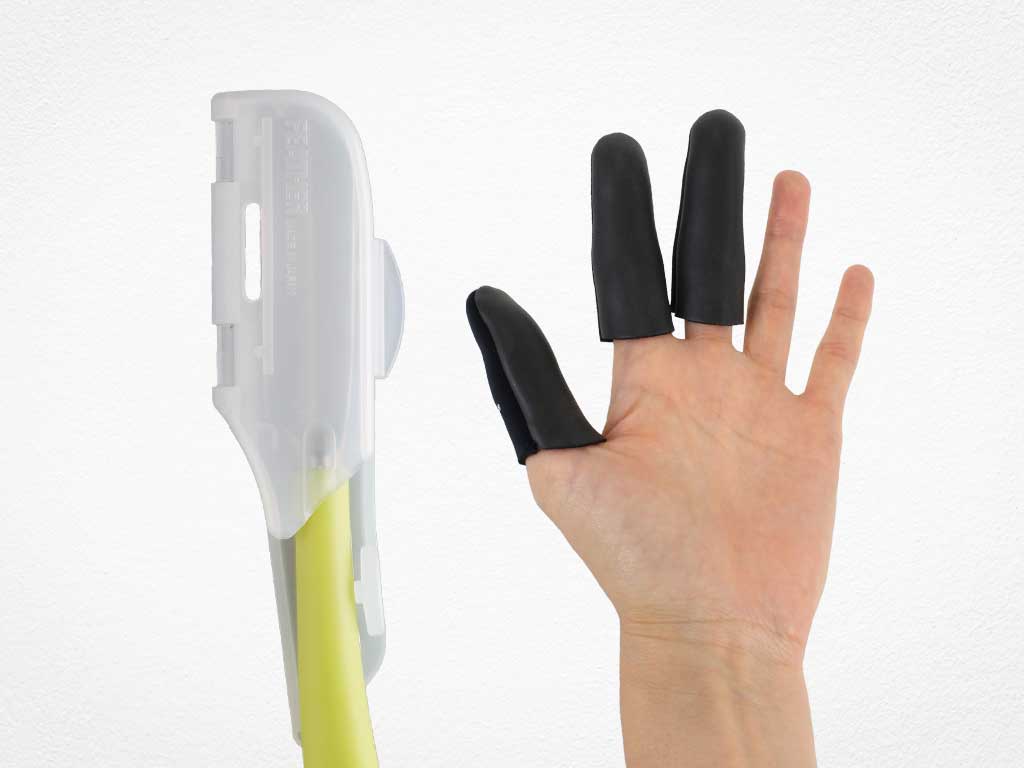
Now, we're going to go through and use our Feather Styling Razor. This is a razor with the guard so I can really get in there and detail what I'm doing without worry of cutting myself.
I'll go through and take my section right at the sideburn, hold that straight down, go through and channel that off, cut the length off, and make that fit in like I want. I want to leave it long just to cover the ear, but I don't want it longer than the ear.
After I get that fit in, I'm going to continue to work diagonal back sections as I go through and clean everything up and dial it in and make sure it fits and flows smoothly. Perfect. That's looking good. I like that.
Now, we're going to go through and start blending the sides into the top. I'll take a horizontal section that is parallel to the previous section that I took to separate the top from the bottom. And then I'll take a subsection, comb that out straight over towards the hair that's been cut underneath, using that as a guide, and then blending anything that hangs over that, cutting that off.
And I'll work from the front all the way into the back. Once I got that fit in like I want, I'll go on and take my next section, which is parallel to the previously cut section, hold that straight out and over towards the right of his head.
Anything that hangs over the previously cut hair, I'm going to cut off. I'm taking a pretty broad razor stroke just to keep everything nice and soft. And then as I work here into the back, you'll notice that that diagonal section is going right to the occipital bone. That's going to help me blend not only the top to the bottom, but the side into the back.
I'll work that all the way over until I get into the center part of the head. Because anything over the center part of the head is not going to reach. Combing that over. Anything that hangs out, we'll go through and cut that off. This is just to make sure the top doesn't hang over the bottom at any point in time.
Mohawk Sections

Now I'll go through and take a mohawk section right down the center of his head. Starting at the front, holding that straight up and out from the head, I'll go through and cut whatever length that I think that this needs to be on the top, which is going to be fairly short.
I'll cut that head shape all the way from the front into the back at the occipital bone. Just taking my time, gently using the razor, using the motion of the razor to cut, not force. Right there at the very end, I'll cut that off to make sure it blends.
Now I'll take a parallel section to the previous mohawk section. Hold those two sections together and then cut that through using the center piece as my guide. Cutting all the way from the front into the back exactly like I did on my first section, taking my time, letting the razor do the work. Anywhere the hair is too short, I'll just lay my thumb against the guard and anything that hangs out, I'll cut off.
Blending the Corners

Now, here I'll remove the original section that I took. So, I have my second section and then I'll take a diagonal section and then use my center section and the section at the side of the head and just blend that corner off. So, we're keeping the shape very, very round. Using my center guide, blending it into the sides.
So, we're keeping this shape very, very round, but we will keep the edges very, very solid and blunt, not real soft and wispy. Now, we'll just work that all the way through and make sure everything blends through there, that there's nothing that hangs out, no lumpiness at all. I'll go back. I'll take the center section that I started with.
And now, I'll take my first section on the left side of the head. And here I'm showing you I'm cutting from the front to the back just like I did on the other side. Now, this is a little uncomfortable in that we always want to cut the opposite way on each side of the head. But if I cut it the same way on each side, it will flow much better.
The Piecey Fringe

Now, we're going to separate the hair right at the front. I'm going to take a small piece right in the middle. This is going to determine my overall length for my fringe, for my bangs. I'll comb that down and cut my guide. And then go through and channel cut everything off to make sure that it's soft, it's piecey around the front, and also separates.
Now, anything that hangs out a little too long, I'll just take off right through there. I'll pinch cut. Now I'll continue to blend this center cut right at the bangs all the way into the sides of the head. Channel cutting my texture and length at the same time. Pinch that off. That's looking good. And I just fine-tune. This is the most important part of the cut. So I want to take my time and really dial it in.
Now I don't want to get it too long or too short. So that's why I take my time to make sure I get the right length. It's always easier to go back and take more length off than it is to put it back on. So be careful about that. Continuing to work from the center on the left side of the head just like I did on the right side of the head.
And that's why using a a razor with a guard really really helps doing something like this because I can focus on the cut and not give any thought to any kind of fear of cutting myself.
Removing Weight with Texturizing Scissors

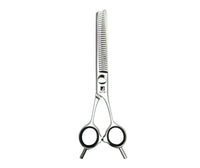
Now I'll go through with my Jatai Tokyo Thinning Scissors. And this is the perfect amount of texturizing scissor that to remove just enough weight to keep the shape moving without over thinning it.
I'll start at the bottom and I'll go through and thin the entire side of the head. into the parietal ridge, the roll of the head, to make sure I can get everything nice and smooth and blended. I'll cut the top later, but I'll start at the bottom and I'm going to cut about halfway into the length.
When I cut into the length, I'm removing thickness. When I'm focusing the thinning on the very tips, I'm blending things together.
Follow us on your favorite social media @JataiFeather
Now, let's blow it dry. I'm going to blow dry the sides down to make sure they don't stick out as much as I can. And just kind of get everything nice and dry and smooth, keeping everything in its natural fall. Apply a little bit of clay to get some texture to it. And taking my time to go through and separate the pieces to make it just right.
Final Look

Here's our end result. And you know, I think that this looks pretty good. The shape is there. It's not the classic tapered version of it where the sides and the back is cut real short and everything on top is cropped real short, but the shape is the same. It's just I left a little bit more length here in the back because I'm finding the fade uninteresting anymore.
So, I think a little bit more hair is much more interesting and much more fashionable. And I think a lot of the clients that we have are tending to grow their hair out and are kind of over the fade. They're the fade is fading, so to speak.
So, we left it a little longer on the side so you can have that Oasis kind of shape to it. Bangs are cut short. If you were to take the sides short like the back, it would be a classic Caesar, but with these sides left out a little longer, it is the much more rocker version. The shape is a classic, so just modify the proportions and you'll get all kinds of variations from it.
Check out the Academy. There's all kinds of fantastic information on there that will make you a better hairstylist and barber. Let us know what you'd like to see in the future. Thank you so much for watching. We'll see you next time.
SHARE