

Korean Layered Haircut with a Heavy Bang Tutorial
by JATAI Academy,
12 Aug 2026
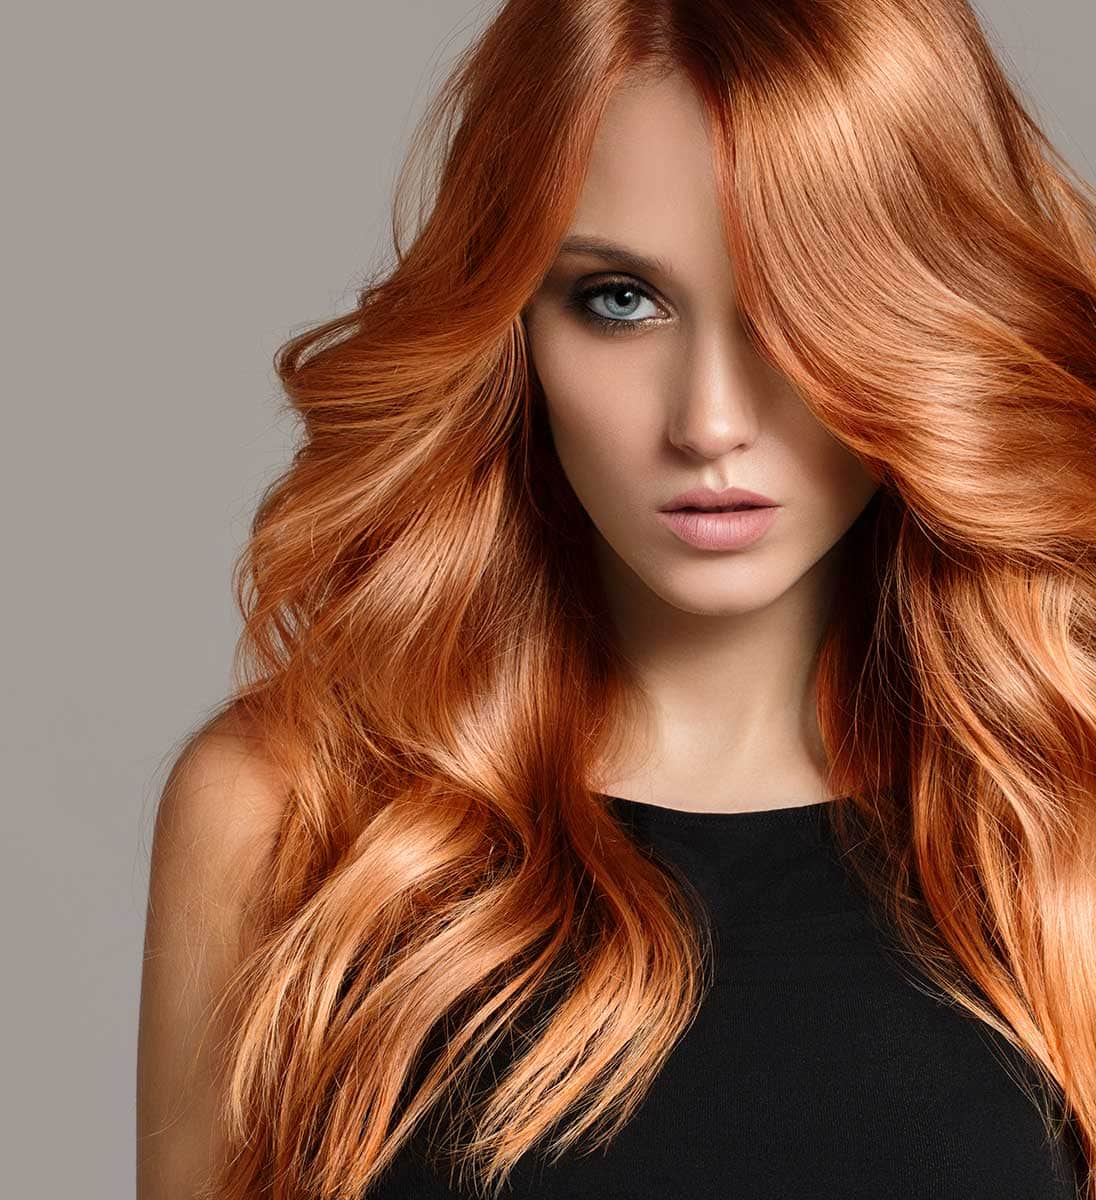
The Korean layered haircut has a distinct look. It's characterized by face framing layers and a heavy bang. This style has a classic look and feel. It's very pretty and feminine. This is one of those layered haircuts that give fullness but doesn't overpower the face. This layered Korean haircut is a common style women request in the salon so follow along with the video and transcript below.
Korean Layered Haircut Tutorial:
Welcome back to Jatai Academy. I'm Russell Mayes, Director of Content. Today we're studying different types of layering around the world. We're going to start in Korea.
A very popular style of layering in Korea is that it's not layered a lot in the back, but it's layered a lot around the face, and it really has a nice soft edge to it in the front. But because the back is not layered a lot, it keeps it really full and luxurious in this voluminous really pretty hair. But if you keep it layered around the front, it will keep it from overpowering the face.
And it has a real heavy bang that kind of separates it from the rest of the layering. So that's what we're going to study today. I'm going to show you how to section it, how to cut it, where to add the layering, and how to do a heavy bang. So let's get started.
Cutting the Length and Texturizing

We're going to start with the center part. We're going to separate from the occipital bone to the mastoid. And we're going to pin everything up out of the way. Now, I'm going to separate that section in half so I can deal with just a smaller amount of hair. I find that when I'm dealing with a razor, it's better to not try to overload the razor with working with the section that's too thick.
So, I'm going to hold everything straight down. I'm going to slightly channel cut and then cut my length at the same time. This allows me to add a little bit of texture and control the length that I cut in one step without having to go through and cut my length and go back in and then texturize it. I can do it both at the same time.
Now, I'm not putting an extreme amount of texture into this. I'm probably just channel cutting the last inch or two. I don't want a whole lot of separation, but I do want a lot of softness. And the separation that I want, I want it to just be on the very tips. I'm not going real deep with my separation. Now, we're going to go up, take half of the section that we had pulled out because I feel like the hair is pretty thick here in the nape.
So now I'll take a center section, make sure her head is in the correct position, comb everything straight down, and follow my previously cut guide as closely as I can, trying to keep the same type of razor stroke that I was using before so that I can keep everything as consistent as possible.
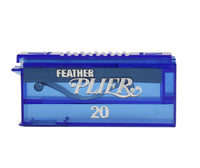
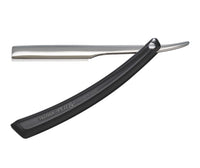
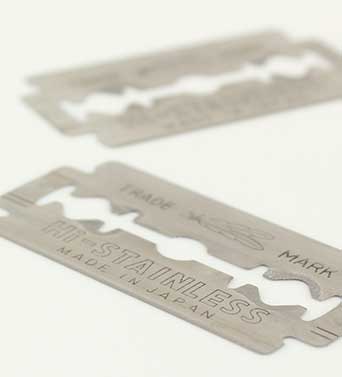
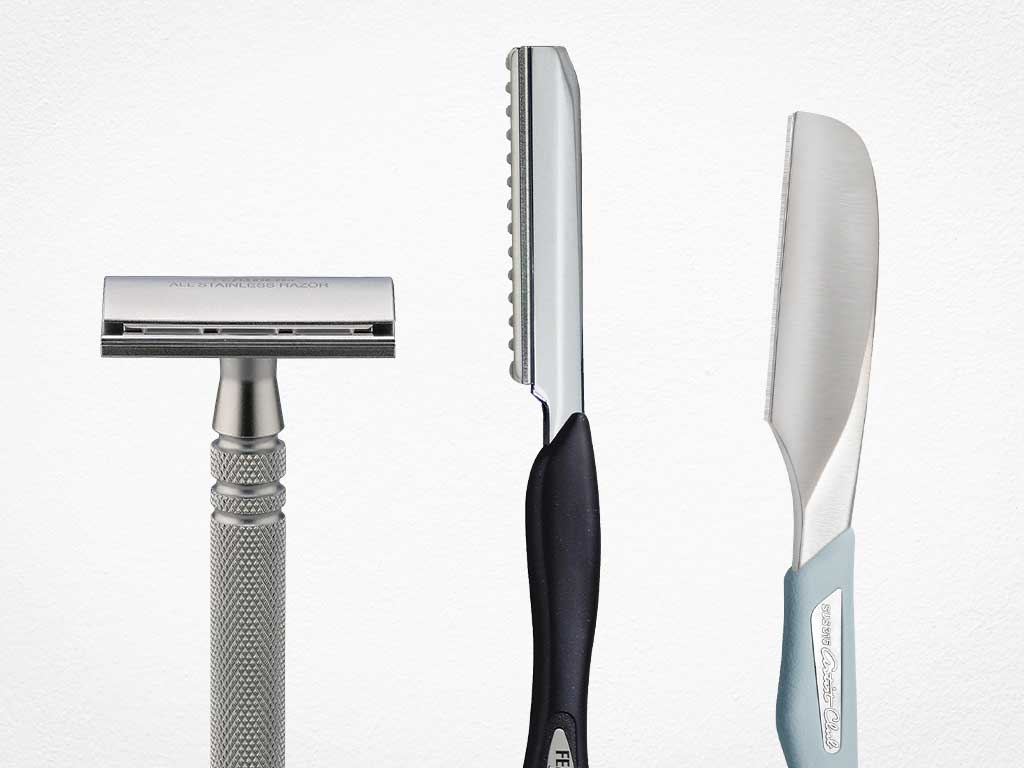
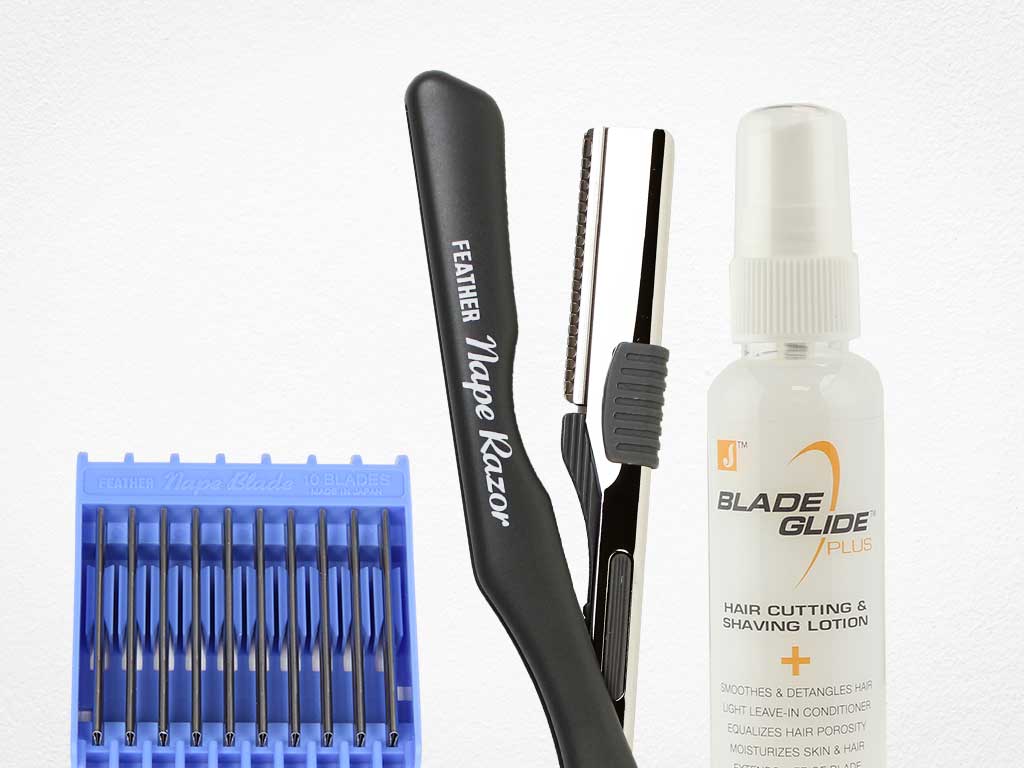
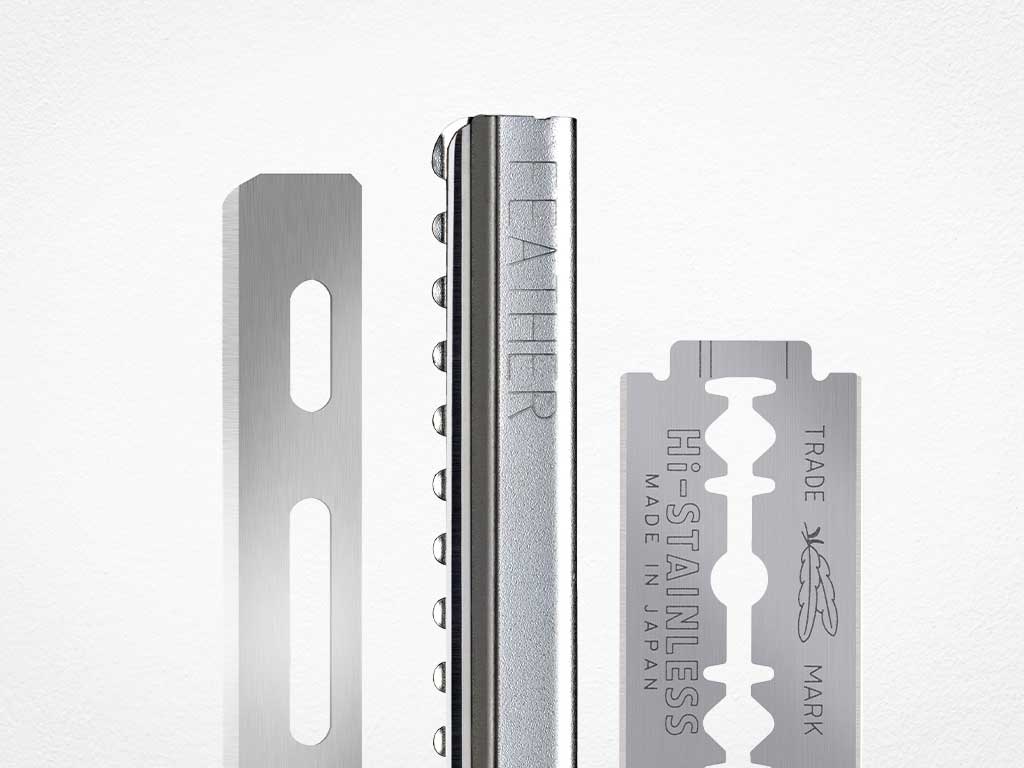
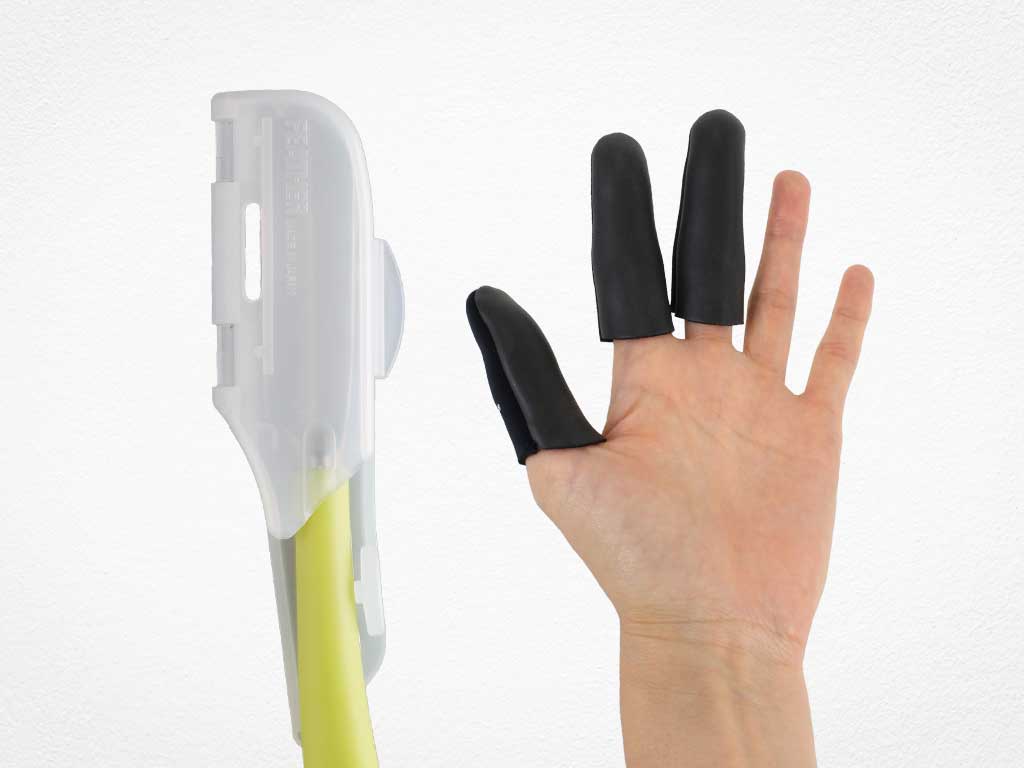
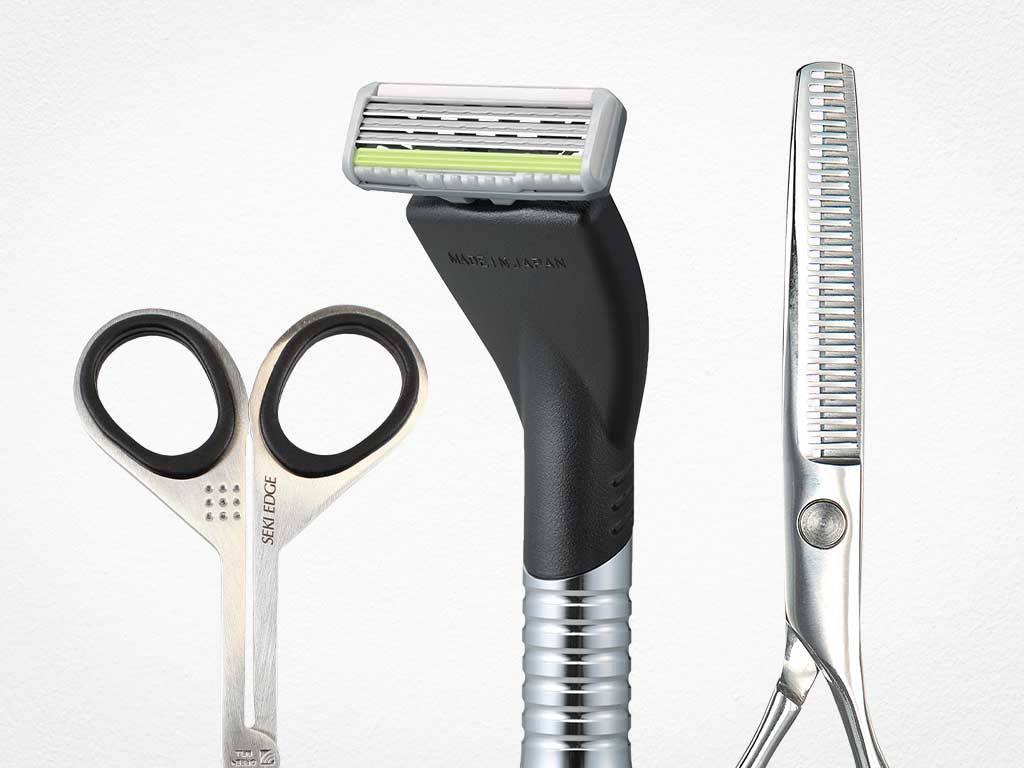
When you first start cutting with the razor, it's best to start with a Feather Styling Razor because it has a guard. But eventually, you're going to graduate to a guardless razor like the Plier because it gives you a lot more control over exactly how much you want to take off and and where you're going to take that weight from.
Now I'm taking the rest of this flat section in the back of the head and using my previously cut guide to go through and do exactly the same thing I was doing before. Just a little bit of channel cutting and then cutting the length. Channel. Cut the length. Channel. Cut the length and so on as consistently as I can to make sure I get a nice even line across the back. Here we go. There's our last section. And I'm trying to be very patient and diligent with this because the razor you can't get all wild and crazy with.
Creating Separation at the Ends
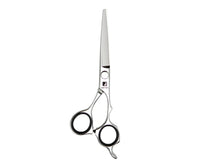
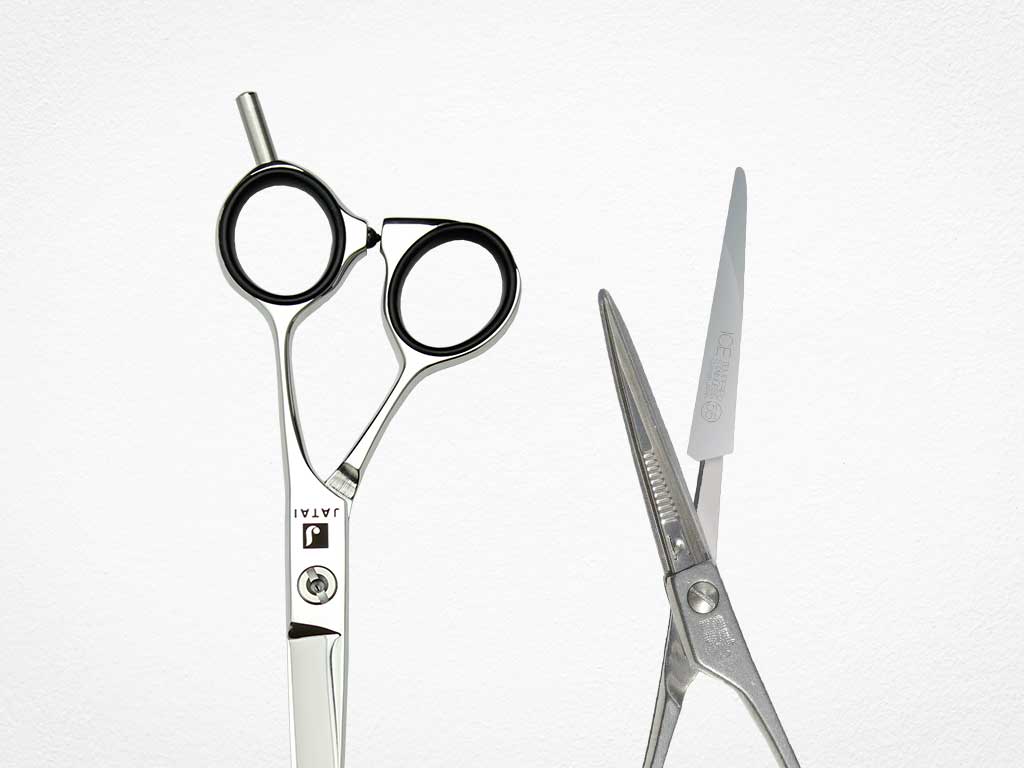
Now I'm going to go in with my Jatai Osaka Scissor and I'm just going to blunten up just the very tips because I want the ends to separate a little bit and keep that softness. And by going through and blunting up the ends with the scissor, it keeps it from that diffused softness that I can get with a razor or that really extreme channeling to force it to separate.
So by doing this, this extra little step here, the hair will separate into little pieces without having to apply product. Now, we're going to go through and take a parallel section as I move up the head and comb everything straight down and follow my previously cut guide.
I have to make sure that she doesn't lift her head and end up making me graduate my section because she has a tendency of always looking up and holding her chin up high.
So, I want to keep her chin down a little bit so that I don't inadvertently start layering this section of hair because if she lifts her chin, I'm actually going to cut the top layer of the section a little bit shorter than the underneath layer and I'm going to start layering it. It's going to start flipping and shifting.
So, if I keep her chin down, that's going to slightly undercut that section. And since I'm going through with my soft texturizing, I want to make sure I minimize that flipping as much as possible. After I cut that section, I will go through with my Osaka scissor and just the same way I was doing before, blunt point cut the end of that section just to force those ends to separate.
That's looking pretty good. Keeping everything nice and point cut and blunt. Now, as we go up the rest of the head, I'm going to follow the same pattern I was doing before, except when I get to the ear.
Now, as I get to the side of the head, you notice how I'm having her turn her face to the left or to the right, depending on which side that I'm working on. So, that's going to allow this hair to be cut behind the shoulder and relieve some of that elevation that I would get if I was to try to elevate it and hold it over the shoulder.
If she's looking straight ahead, the shoulder's in the way. So, if I have her turn her head one way or the other, it gets the shoulder out of the way.
Now, we're finishing off with our last section here. We've held everything down, followed our sections. When we get to the side, I have her turn her head all the way to the left or the right so that I get the shoulder out of the way and it allows me a cleaner cut.
Layering with Mohawk Sections

Now, I'm going to take a mohawk section right down the center of the head. I'm going to hold everything straight up towards the ceiling, 90 degrees from the head. I'm going to take my razor and very gently determine where I want my layering to start and cut from the front of the head going towards the back.
I find it a lot easier when I cut my layering to cut on the inside of my hand going towards my fingertips. It allows me a lot more control over the razor and I don't have to worry about pushing the hair into my hand. I can push it out.
So, we're just going to continue to hold everything straight up off the head. As I go into the back and I start curving around the back, I'm still going to over-direct this straight up, a little bit drawn back but still going up towards the ceiling. And then just finish everything off right through there.
By doing this, I layer the hair from the mastoid forward a lot more than I layer the hair in the back. You can see my guide length right through there. Go through and follow that. Take a nice even stroke. And as I get back past the quarter part where the mastoid is, I will start to elevate that forward, elevate that up and you'll see my finger angle change. So, I'm actually layering the hair in the back a lot less.
Follow us on your favorite social media @JataiFeather
Now, we're just going to finish off the whole right side of the head. Actually, this is actually the left side of the head. And do the same thing on the other. Here's our layering in the back.
Cutting the Heavy Bang

Now, let's go through and take our bang section. I'm going to take a section right in the center. This is going to be my shortest length. As I work on my heavy bang, I'm going to pull that forward, determine where I want it to hit. I want it to go right at the nose and then cut that blunt. I'm filleting that right across blunt. I'm not channeling this. I want to keep this solid but soft.
If I was to go through and channel it, I'm going to soften the whole edge up and it's not going to have the same kind of weight distribution. It's not going to hang separate like I want. Pulling everything forward, following on both sides, cutting from the inside out to create a little movement away from the face. That's my heavy bang.
Layering Around the Front

Now, I'm going to use that as my guide. Comb everything forward at a 45 degree angle and then blend from my short piece at the bang down to my long piece right there at the top of the ear.
If I want more Korean haircut layers around the front, instead of holding this down at a 45 degree angle towards the floor, I would pull it straight forward. If I wanted even more layering around the front, I would hold it at a 45 degree angle going up.
So, I would elevate it. The more that I elevate this section, I can still follow the same guidelines, but the more that I elevate that section, the more layering that I'm going to be putting around the face, the more it's going to exaggerate and the softer that it's going to be. I don't necessarily have to get softness only through thinning the hair out and over texturizing.
Styling with a Round Brush

Now, we're going to go through, run a round brush through it. Just get everything up off the scalp. Blow it smooth. Try to keep even tension from the root all the way out.
Now, here in the back, I don't want this hair to be real curly. So, I'll use a larger brush at the root and the mid-shaft, and then a smaller brush just on the ends. So, I get a little bit more movement on the bottom, but not so much internally.
Now, as I get around the front, using this larger section, because I don't want a whole lot of wave in this, I'm pulling it forward the exact same way that I cut it. I keep checking the heat on the hair so I don't get it too hot. And I keep stretching until I get everything perfectly glassy smooth. Just follow this same pattern as I finish all the other sections on the head until we get everything perfectly dry.
Korean Layered Cut Final Look

Here's our end result of this Korean layered hair cut. And I think that looks pretty good. We've got fullness in the back where she needs it to keep it luxurious and voluminous and full and really pretty, but then we don't want it overpowering the face. So, we have it really layered a lot from about the cheekbones down and a heavy solid bang. I think that that really adds to the look and I think it's very very iconic of a lot of really pretty K-pop girls hair where it's not layered a lot around the back but layered a lot around the front.
Let me know what you think. Check out Jatai Academy. There's all kinds of fantastic information on there that will make you a better hair stylist and barber. Let us know what you'd like to see in the future. Thank you so much for watching and we'll see you next time.
SHARE