
Jenna Ortega Haircut Tutorial
by JATAI Academy,
23 Sep 2026
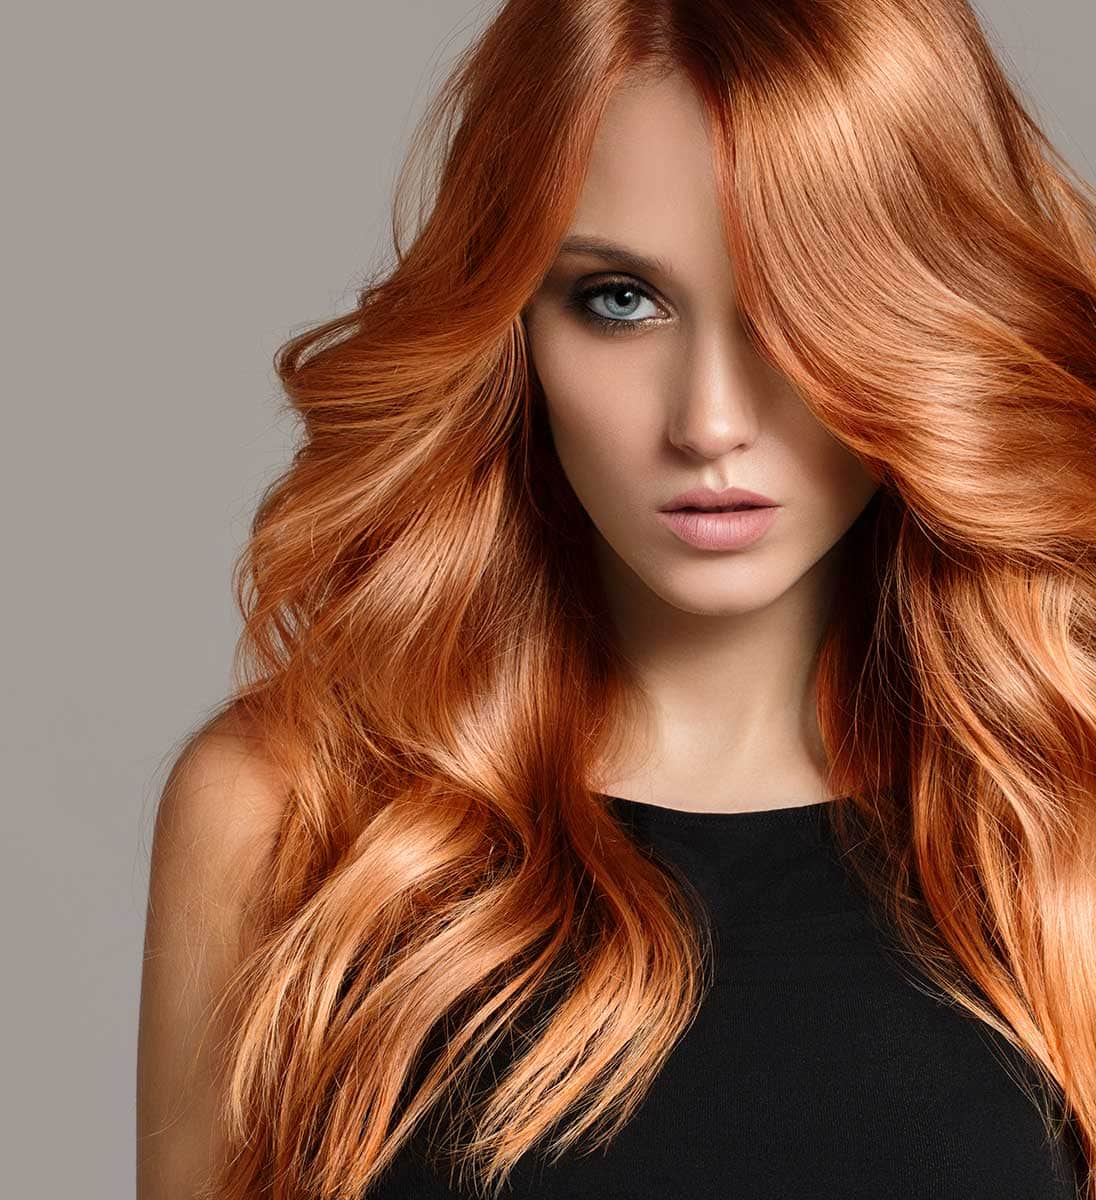
Jenna Ortega has had many hairstyles over the years. But the look she seems to always come back to is a heavy bang with lots of layering. The Jenna Ortega haircut gives a modern, young vibe. It's a versatile look that works on many different types of hair. Watch this Jenna Ortega hairstyle tutorial video and follow along with the transcript.
Jenna Ortega Haircut Tutorial:
Welcome back to Jatai Academy. I'm Russell Mayes, Director of Content. Today we're going to be doing the Jenna Ortega haircut. She has the heavy bang, lots of layering around the face with a little bit of wave. We're going to keep everything soft, but we're not going to keep it real wispy.
I'm going to show you how to balance softness of the razor and the texture with the bluntness of going through and point cutting it. And I think that that really adds a little something special to this cut. So let's get started.
So let's start with a center part all the way down to the spine from the occipital bone to the mastoid. That's going to give us our base section that determines the length for the whole haircut.
Establishing the Length and Creating Internal Texture

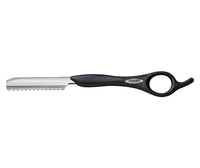
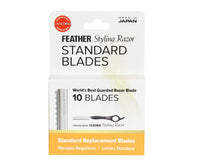
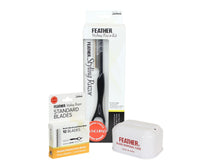
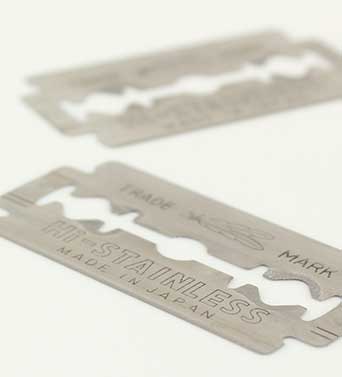
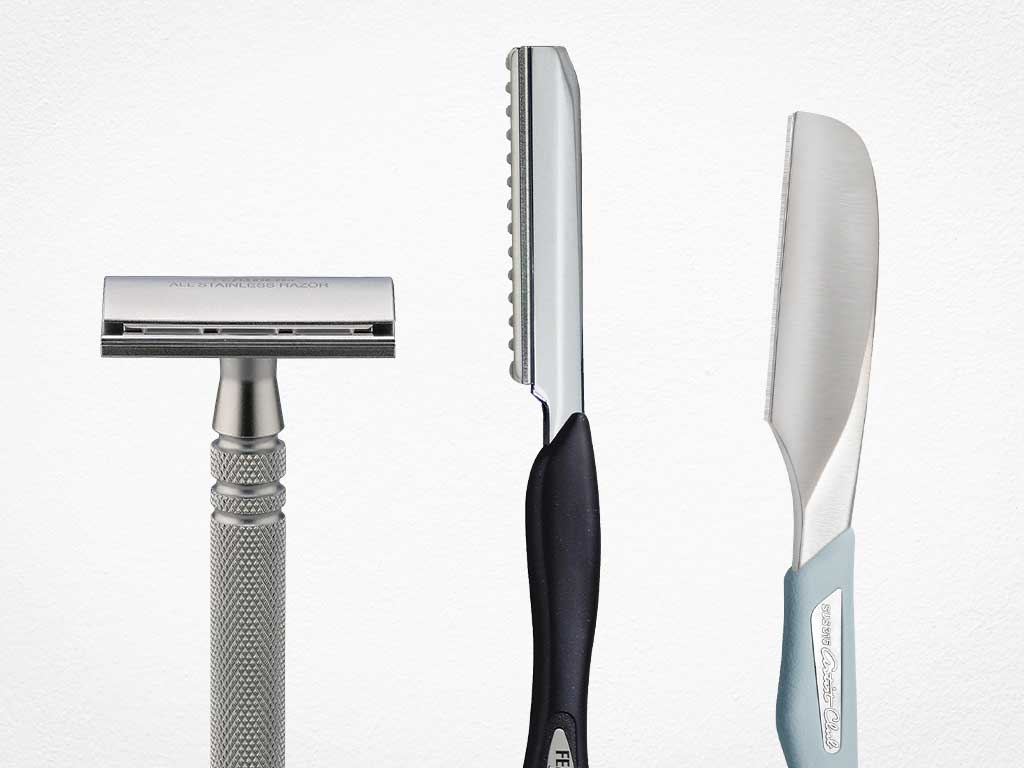
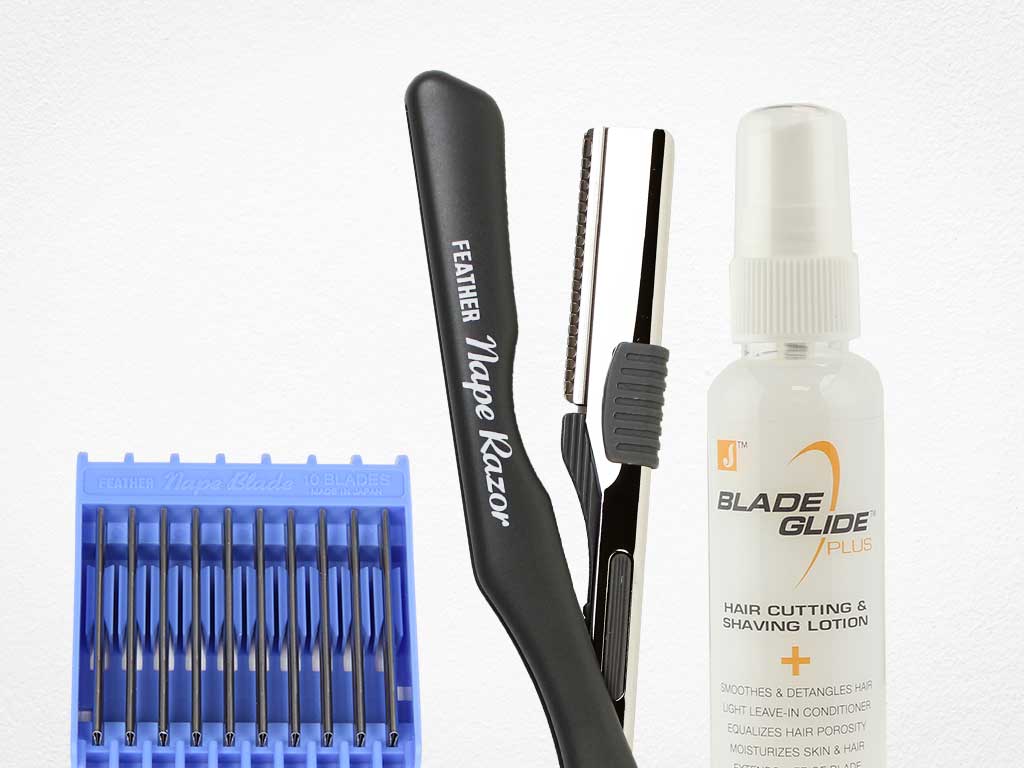
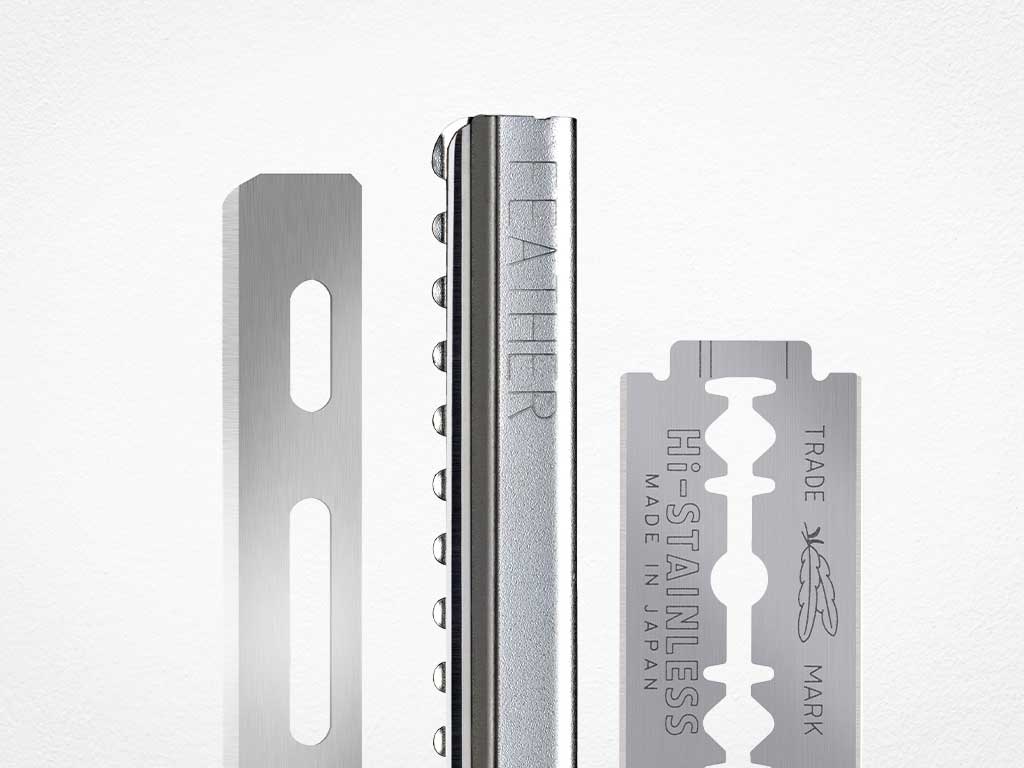
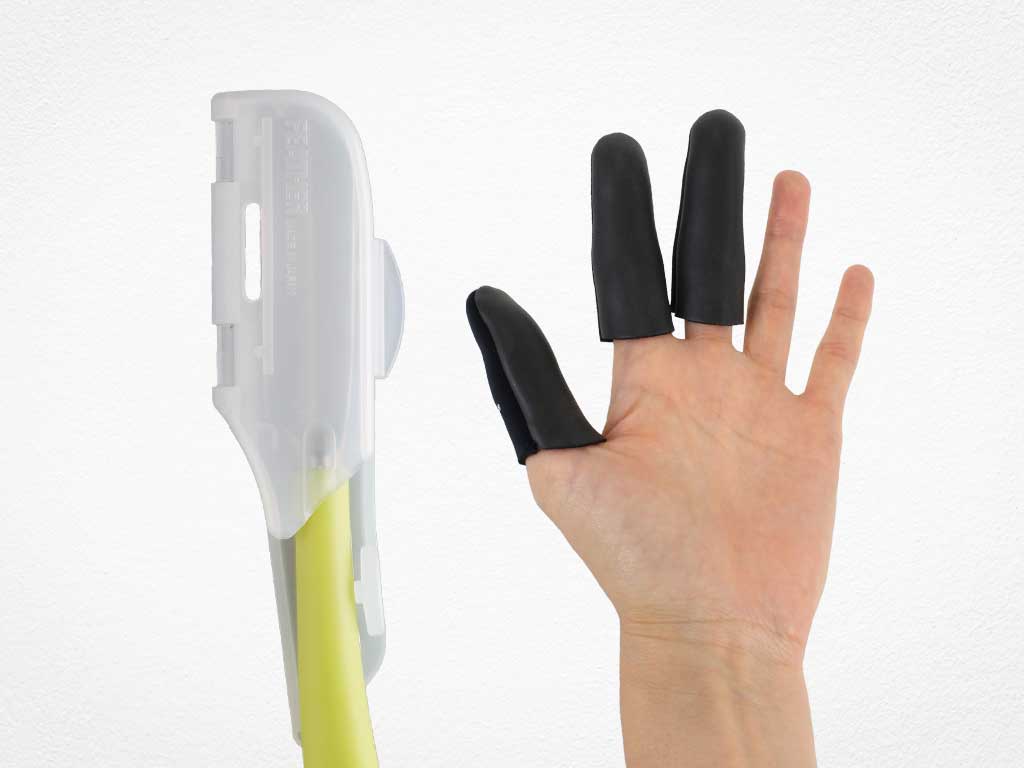
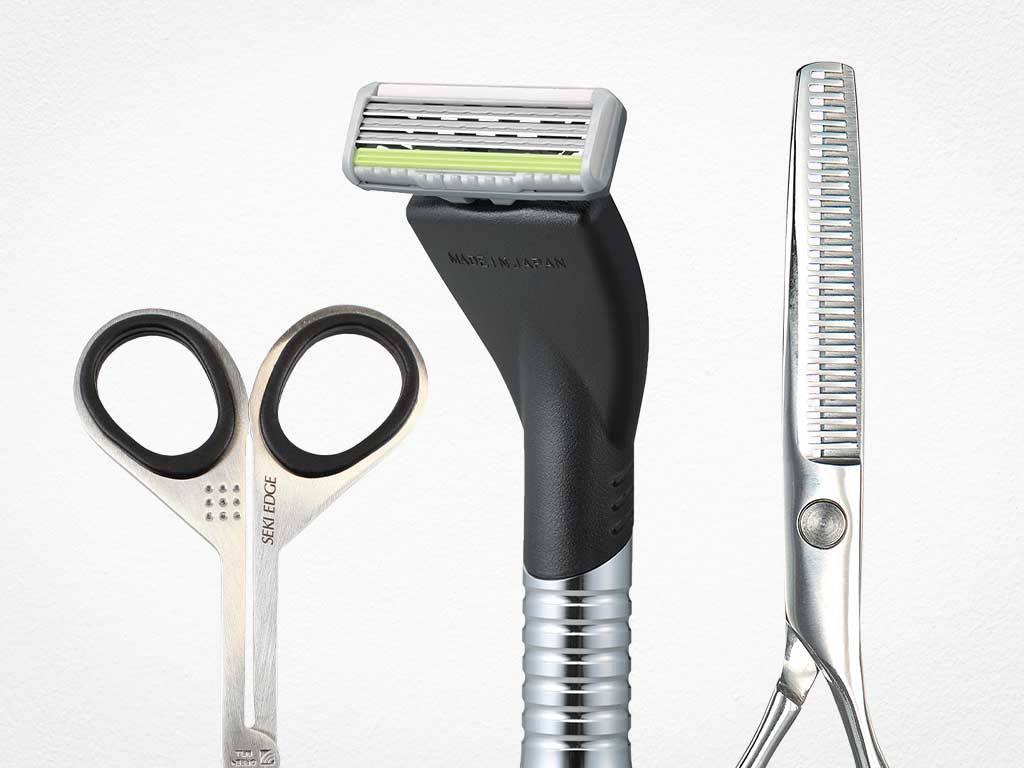
I'm going to start right in the center and I'm going to use my Feather Styling Razor. This is really the industry standard when it comes to a guarded razor. It gives a very very sharp blade so I can cut through a lot of hair and I don't have to worry about cutting myself.
So I'm going to go through and channel cut to create internal texture and separation and cut the length at the same time. So I'll place my fingers at the exact length that I want my overall shape to be. Take the razor, put it in vertically, channel cut, and then cut the length across the bottom. So that way I can introduce texture and softness and movement and cut the length at the same time.
As opposed to going through and cutting my length and then going through and putting texture, I can do both at the same time with this technique. Now I have to be open to the line not being perfectly even and straight and blunt. So this haircut demands a little bit of softness and a little bit of texture and a little bit of movement on the bottom.
Maintaining Bluntness in the Perimeter

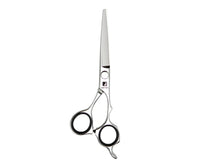
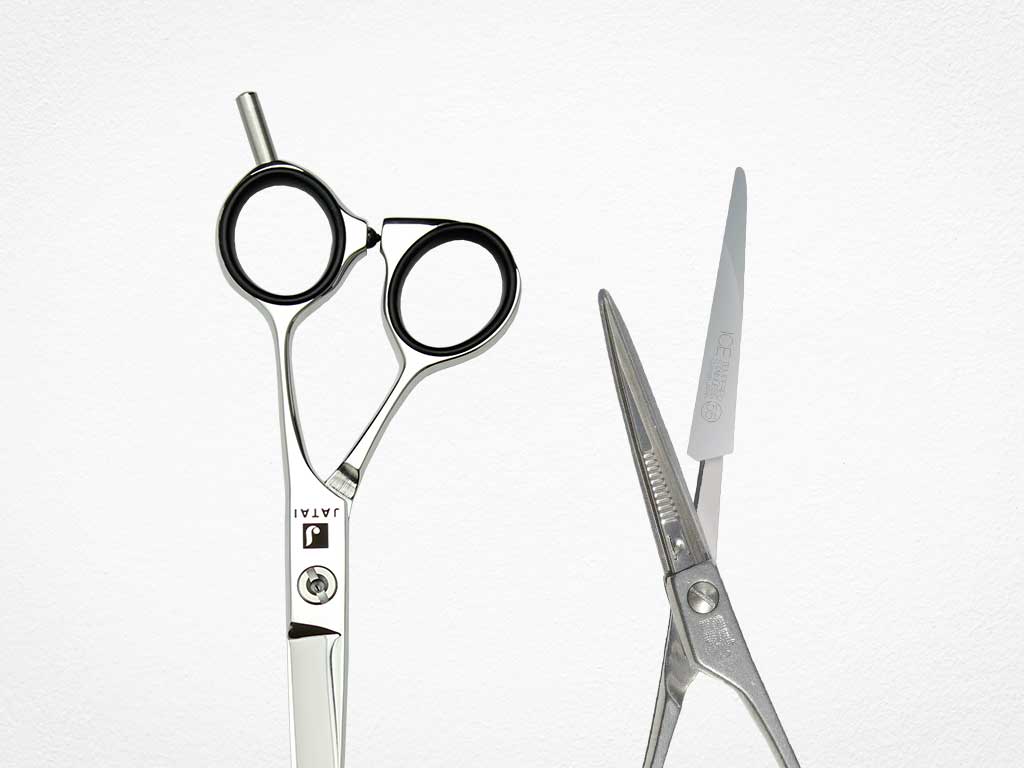
So after I do that, I go through and use my Jatai Osaka Scissor. This is a very, very sharp, brilliant blade. I'll comb everything straight down and then point cut the bottom. So as I go through and razor, that creates softness and diffusion.
The channeling helps create a little bit of separation. But if I want to maintain a nice solid blunt shape overall, after I go through and initially cut it with the razor, I'll go through with my scissor and point cut into the bottom. This forces the edges to separate into little pieces.
Where if I do it with a razor, it can separate into pieces, but it's a much more diffused separation. So now as I move up the back of the head, I'm following the exact same methodology I was doing before.
Plant my fingers, my left hand, where I want my length to be. Channel the last 2 inches, maybe 2 - 1/2 inches, and then cut my length. The further apart that I put my channels, the less texture that I put and the more my cut line's going to be exposed.
The closer that my channel cuts are, the more separation and the more softness that I'm going to have. So, I have to find a balance between the two. How much texture do I create? How much length do I create?
So, I'm changing my approach according to each individual's hair texture, hair thickness, and hair type. And then I'm going to follow this same methodology until I completely run out of hair. This is my last section here, and I'm doing the exact same thing.
Follow us on your favorite social media @JataiFeather
Heavy Razor Bangs

Now, we're going to go through and separate her bang section. I'm going to determine the length that I want this to fall, which I want it about her nose. That's going to be the longest part of this bang that I want. I'll pull everything forward and just flat razor this off to create my length. And there's a little piece that was missed.
Now I'm going to separate in the center. I'll pull it over to the opposite side and cut the very center of this section a little bit shorter. So when I initially cut it, I determine my overall length. So I'll make sure the length is the same on both sides closest to the ear. And then I'll separate in the center and pull it over parallel to my parting and then cut the center of the section shorter. So when it's shorter in the middle, it forces it to go to the outside.
Face Framing Layering

Now I'll take a section from the high point of the bang section to the high point of the ear. Pull that forward T to my parting, going from my short piece where my bang was all the way down to my overall length that I cut initially.
So I have my short piece that I'm cutting from. I have my long piece I'm cutting to. This establishes my face framing layering. I can add more layering if I want here or more face framing by changing my angle and by taking a stronger deeper stroke with the razor.
The stronger and deeper the stroke with the razor, the more softness and airiness that I have. Now I'm taking my next section which is the high point of the head to the mastoid and I'm pulling this forward at a 45° angle just to maintain a little bit more weight.
Layering the Sides

I've got my face framing already, but I want to start working in layers in the back. So, I'm going to hold this down at a 45 degree angle to maintain a little bit of weight. Make sure we get everything fit in right through there. And that's looking pretty good. Now, as I look at this, I realize there's not enough layering in the sides.
So, instead of holding it down at a 45, I am instead going to pull it straight forward from my parting all the way straight forward to the front of the head. And you can see how much more length that I'm taking off just by changing my angle of elevation.

I'm still following the same guide that I had from underneath, but because of my elevation, it's going to layer this section a lot more. So, after I get everything layered like I want through here. There we go. We've got that done. Now, we check that out. That is a much better, more opening uh layering around her face. So, it's not as heavy.
Now, we're going to take the rest of the hair. We're going to go from the crown down to the corner of the hairline and the nape. And I'm just going to pull everything forward exactly the same way that I held the previous section. Everything gets held forward and I follow my previously cut guide, working from the top all the way down to my perimeter shape.
After we finish the one side, we're going to go through and do the exact same thing on the opposite side. Starting in the center, right above the nose, and then working down from my shortest piece to my longest piece, which is my perimeter shape, pulling everything forward, taking a broad razor stroke, trying to keep my razor stroke the same on both sides.
Now, this shape, I'm focusing the layering just around the face by pulling everything forward. That keeps it shorter around the front and a little longer in the back. So, I can have more versatility with keeping the hair out of her face as opposed to doing a neutral layering where I pull everything straight up. That would possibly fall all into the face. I'm going to shake everything through, see how it looks, see if there's any heavy spots.
Styling

Then, we're going to go through and blow it dry. This is just to make sure that I have all the texture of the hair very very smooth and just take sections and make sure it's very very smooth and shiny before I run a curling iron through it. I'm going to put a little bit of curl in it to try to make it look as close to the photo that we had as an inspiration as possible.
Final Look of the Jenna Ortega Haircut

Here's our end result. And I think this looks really good on her. It gives you that heavy kind of swept out of the face bang with that layering that kind of frames the face, but it's got so much layering that it doesn't become overpowering around the face. It opens everything up.
And I think that this haircut works really well on a lot of different thicknesses of hair, a lot of different textures as well. If the hair is finer, maybe you don't elevate it so high, maybe you elevate it a little bit lower.
If the hair is thicker, maybe you elevate it a little bit higher because you can control how much weight you have around the front. and how much it opens up.
Check out the Jatai Academy. There's all kinds of fantastic information on there that will make you a better hairstylist and barber. Let us know what you'd like to see in the future. Thank you so much for watching and we will see you next time.
SHARE