

60s Round Textured Bob Hair Tutorial
by JATAI Academy,
13 Oct 2026
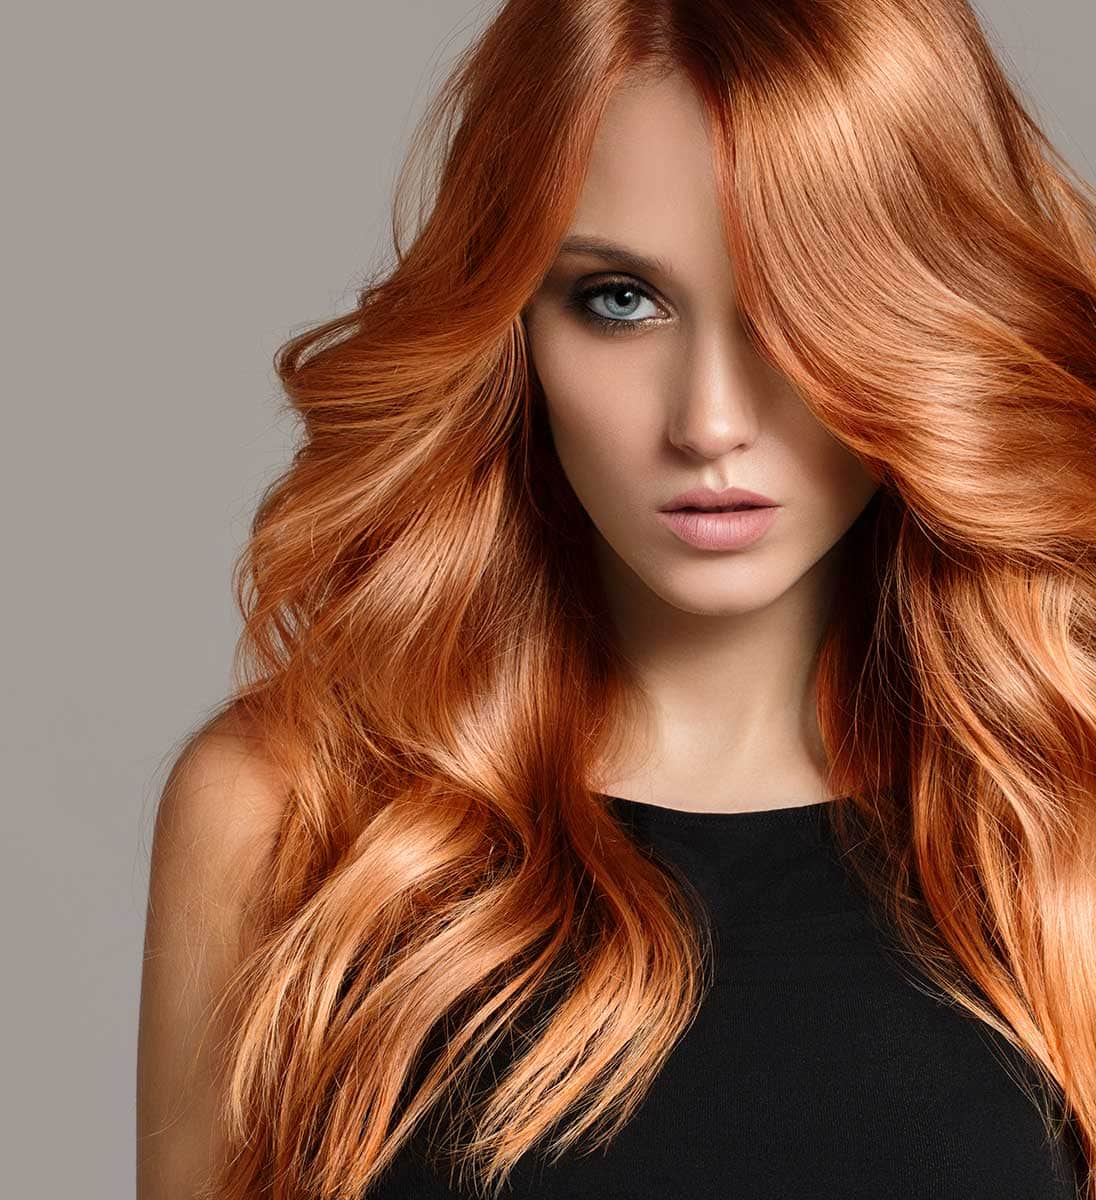
Bobs will always be a popular style. But there are many versions of the bob and one that has faded is the 60s round bob. In this tutorial we'll visit a medium textured bob hair look thats inspired by the 1960s but finessed with a modern touch. Think anime. This bob haircut is low maintenance and with the right cut and styling, this layered rounded look can fit right in with the current bob trends.
The medium textured bob haircut has a solid shape, but using the razor to add some layers creates subtle volume and separation. These shorter haircuts are always interesting yet classic and can fit many face shapes and hair types, even fine hair. Watch this tutorial and follow along with the transcript below.
60s Round Textured Bob Hair Tutorial:
Welcome back to Jatai Academy. I'm Russell Mayes, Director of Content. Today we're gonna be doing a round bob. All the bobs that we've seen for so long for the last 40 years have been these square angular-ish bobs. I'm gonna take us back to a round bob with the early 60s, but we're gonna modernize it with a lot of anime texture to create some separation to it and keep it still looking cool. Let's get started.
Establishing the Perimeter and Length

So if I'm using thick sections, it's no problem cutting all the way through it. We're going to take our center section, comb that straight down, cut everything straight across, blunt at the bottom, try to get that even.
Now as I start to work my section into the sides, I'm going to angle my fingers up because I want this shape in the back to be rounded and beveled. So the center piece I'll do flat. As I get to the right, I'll angle my fingers up at whatever angle I think I need to start making the curve that I want.
Then I'll go through and try to match this curve on the other side. And this is a difficult part. The first section you have to just take your time with to make sure that you get the angles matched on both sides. Because on one side I'm cutting into the center. From the other side I'm cutting out from the center. So it makes it a little difficult to get your angles right. So I make sure I check and get my angles right.
Elevating to Bevel

Once that is correct, then I move on to my next section. Next section I'm going to elevate off the head here that you can see my elevation. And as I elevate what that's going to do is that's going to bevel my base cut line.
The base line, the perimeter shape, as I start to elevate it as I go up the head, it bevels it and curves it. So not only is this section or this haircut being curved horizontally going up on the sides, it's also being curved vertically as I'm going up the head.
And as I continue up the head, I'll just take sections as big of a section as I can deal with. I'll try to keep them flat so that when I measure each section, I'll lay the comb against the head and that will determine the width of my section.

So each little section that I take should be a little flat section of head and then I'll elevate off of that flat section of head to keep everything at zero degree elevation from the parting that I'm pulling from. And then I'll just follow the guide underneath working from center all the way into the sides on both sides of the head.
As I get to the side you'll see that my elevation is lower because that's what the head. As I get to the side you'll see that my elevation is lower because that's what the head is showing me. The head is showing me zero degree elevation from the head right there is straight down. I'll just continue following the same section pattern that I had from underneath so whatever that angle is that's the angle I'm going to take as I work up to the top of the head until I run out of hair.
I still elevate off of the peak curvature of the head where the head is showing me zero elevation is from. That's the elevation I go through. Once I get that right, I try to stay on top of my previously cut guide so that I soften the shape by beveling it a little bit through here as I work into the sides from the back into the sides. And that's looking pretty good.
Here's our last section. I'll take everything, anything that hangs over what I've done before following the same methodology and the same pattern that I was doing until I get everything blended through like I want.
Now I don't separate the side of the head from the back of the head. So a lot of people will go through and take a center part to separate the left from the right and then they'll take a quarter part to separate the front of the head from the back of the head. I don't like to do that.
I just continue everything from back into the sides all the way around. So I feel like that has a better blend from back into sides and it doesn't separate the head into two pieces so I can keep the movement the same. But that's just me.
If you want to separate the quarter part from the sides and the back, that's fine. You can do it either way. It doesn't really matter in the big picture of things. Following my guide all the way through, trying to make sure that my sides are the same on both sides.
Pulling Everything Forward

Now we're going to separate a section from the front. I take the first little flat section right there where the bang section is all the way to the high point of the ear. I'm going to pull that out, find my length that I want to cut, cut that across, use that as my guide and pull everything straight forward, T to my parting, and then angle my fingers at whatever angle I think I need to get to that length right at the top of the ear.
And that's a good representation right there. We cut right to that length on top of the ear which is a guide length from my perimeter shape on the bottom. I will go through and round this shape out around the front, do the same thing on both sides and then continue my next section, taking the same parallel section that I did in the first, and then continue to pull everything forward off the head shape at zero degree elevation from my parting.
Take a small piece as my guide and then work that down section by section from top of the head into my perimeter at the side of the head. Make sure that I stay on top of my guide as I'm working from top down and just combing everything clean and forward and trying to maintain a consistency in my cut and my section size and in my pattern and in my elevation.

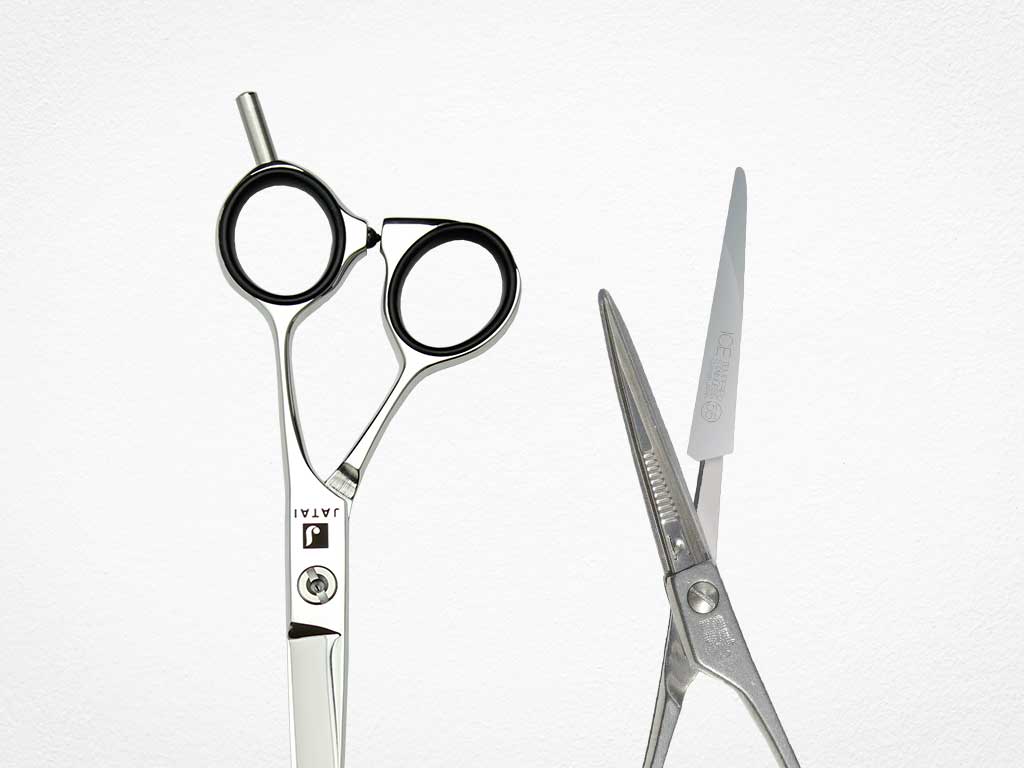
It's all about consistency when you're cutting here. It's about, ooh, ninja skills there almost dropped it, but I caught it midair. It's all about the more consistent that you are applying your cut line which consists of combing it clean from the roots all the way to your fingers, making sure that the section is not so thick that it overpowers the depth of the teeth on your comb. Because if you have a real shallow comb, you can't handle thick sections like this. This comb here has very, very deep teeth, so I can handle a lot of hair.
But if you're having one of those regular little hair cutting combs, you can't handle a half of this hair. So make sure that your comb is deep enough to handle the thickness of the hair that you're working on. There we go. We've got everything blended through from the front into the sides. Now I have my entire perimeter shape cut.
Mohawk Sections

Now let's go through and take a mohawk section. I will take a section on top of the head. I'm going to hold that at 90 degrees from the head and I'm going to cut this head shape using my guide from the front as I work from the front all the way to the back. I'm holding this to the center of my mohawk section as I work from front to back.
I'm using the guide in the front to determine the length that I cut and I'm following the head shape all the way into the back. Trying to keep everything nice and consistent and everything combed clean from the roots all the way to the ends. And that's looking pretty good.
Trying to stay very, very methodical with this. And that is, yeah, not too bad through there, following my guide, trying to be patient. A lot of times it's easy to get impatient and just kind of speed through something, but consistency dictates that we be mindful as we're going through and cutting each section of hair so that by the time we get to the end result, it's worthy of the efforts that we put into it.
After I finish my main section right in the center of the head, I will take a parallel section on the left side of the head. I will now comb these two sections together and hold this at 90 degrees from the head. Following the center cut as my guide as I cut the next new section on the left side of the head.
Following that through, trying to stay on top of my guide as best I can and trying to keep my shape very, very round. Everything that I'm doing through this entire haircut, the shape is round. The perimeter shape is round, the elevation is beveled to keep it round, it's rounded around the front, it's rounded through the layering. Everything is round in this shape. Work all the way down into the nape, just like we were doing before.
Follow us on your favorite social media @jataifeather
Just keep going, doing the same thing, the same methodology I was doing before, holding these two sections into the center of both of those sections. There we go. Now I will remove the original guide that I had, the mohawk section, and I will add a third section into the second section. So now I combine section 2 and section 3 and hold to the center of both of those sections. Using section 2 as my guide for section 3 as I cut from the front all the way to the back just like I did my original mohawk section.
There we go, we're powering through that. Looks pretty good. Now I will remove section two and add section number four to section number three, which is going to include the entire rest of the hair on the side of the head.
And then I will hold that at 90 degrees from section three. So that's going to bevel that shape a little bit, but leave me some extra added length around the ears so I don't end up rounding all the bubble out too much. I still want a little bit of weight near the ears. And here's the end result of all of our perimeter shape and our layering. Now this gives us the basic shape.
Razor Texturing

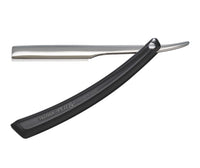
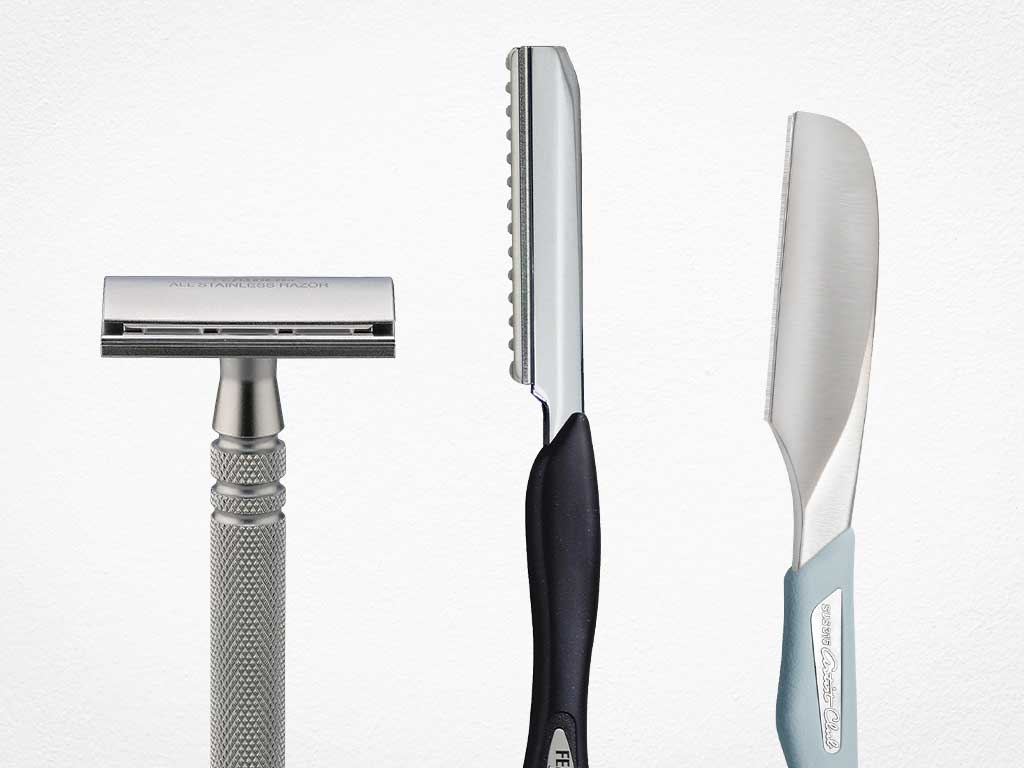
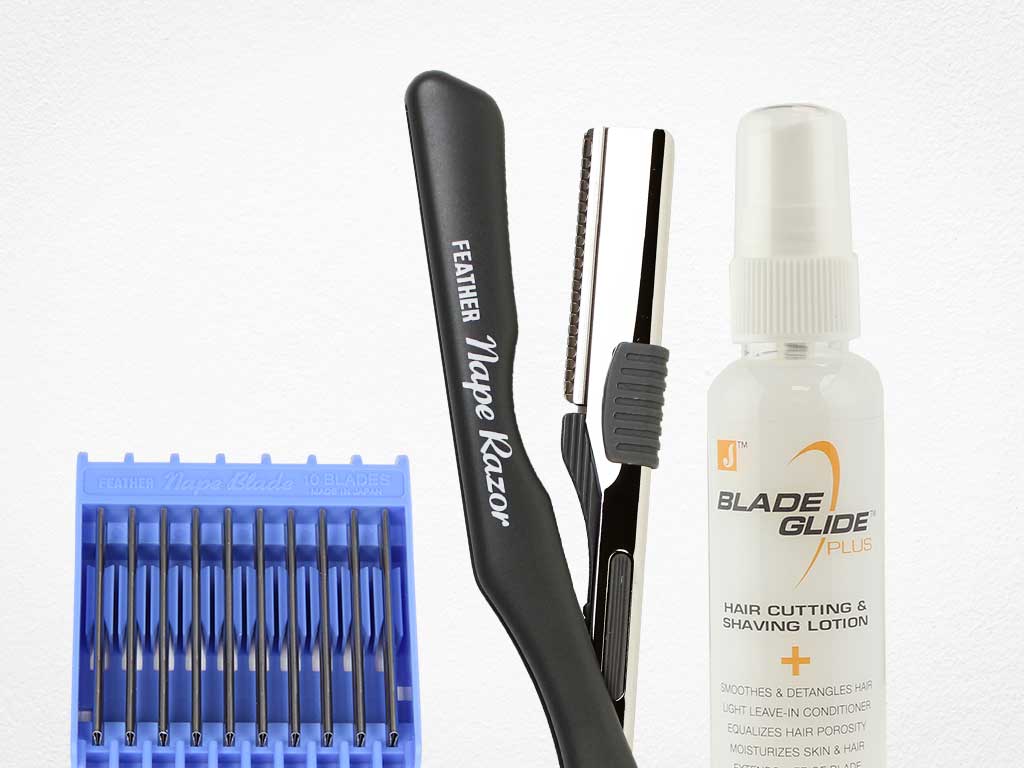
I'll take the section I'll hold it flat and then I'll hold the razor flat against the section and the tip flat against the hair as I go through and just fillet some weight off of the ends. I want to be very aggressive with this so that I can remove a lot of weight.
Now since I've gone through and cut this blunt, it's going to be very, very difficult to remove that blunt shape out of it. And that's okay. I don't want to remove the shape that I've put into it. I just want to highly texture everything else that's in it. So I'm going to go through razor very aggressively, but very methodically and lightly with my touch. I'm not trying to cut through the whole section. I just wanna remove weight.

If you're first starting and learning how to do this, start very, very light, take a little bit out, do the whole head, see if it gives you the end result that you want. And if it doesn't, then you go back in and take a little bit more. Now we're working through every section on the head. I'm only taking the section that I'm working on, not including any guide from underneath. So I'm just going through and razoring every section on the head, independent of every other section.
Final Look

Now let's blow it dry, style it and see what we got. Well here's our end result and I think that we got a really great kind of anime texture to it, gives it some separation without it looking thin. So that's the thing about trying to add texture to something is you want to balance how much you add because every bit of texture that you add to it's going to start to erode the shape. So you don't want to destroy the shape, but I want to add texture and separation to the layered bob. So it's hard to find that right balance. So it's easy to start with a little and then don't go through and do a whole lot. So meter your texturizing.
But I think we're looking pretty good, a nice round beveled shape here in the back, round around the front, we got a great texture to it. And I think that this textured medium bob looks pretty good.
Check out Jatai Academy. There's all kinds of fantastic information on there that will make you a better hairstylist and barber. Let us know what you'd like to see in the future and we'll see you next time.
SHARE